When I first started photography (with a serious attitude, I mean), a few years before 2000, the capability of creating panoramas by stitching together multiple photos was well known. The same for High Dynamic Range (HDR), that is the capability of creating images with a dynamic range higher than the one offered by the camera, by merging multiple photos of the same subject, taken with different exposures. Indeed it can be said that both techniques were born with photography itself, as there are some samples dating back to the XIX century.


In the digital word, circa 2000, these techniques could be implemented by means of a mostly manual approach: I mean, working with Photoshop, cut & paste, and layers. The most challenging task was to achieve a good alignment of the photos in order to avoid a degradation in the image sharpness; this was particularly true for the HDR technique, where a misalignment would bring sharpness degradation across the whole picture, and not only at the junction parts. This basically mandated the use of the tripod. I remember a couple of attempts made with scanned slides and then giving up, because it was really time-expensive and I really needed to first focus on the most basic aspects of photographic technique.
A few years later some pieces of software appeared that were capable to automatically perform the required alignment for both techniques, up to the point that one could even shoot hand-held. Those pieces of software are quite popular today, but until recently they were not good enough for me, since my workflow is based on RAW file formats and stays entirely inside Lightroom. Converting a RAW file to TIFF, using an external editor and then re-importing the file into Lightroom for tonal and colour adjustment appeared to me still too time expensive (also considering that in the past years I'm accumulating a pile of photos to post-process: it seems I'm faster in taking photos that processing them). Call me lazy. That's why I really appreciated the recent release of Adobe Lightroom 6 which introduced the capability of doing panoramas and HDR without leaving the RAW workflow (I have to say that I'm disappointed about the direction that Adobe is taking for the so-called “cloud” option, but this is another story). Basically, you just have to select the candidate items for stitching/merging, activate a menu and eventually choose a couple of options. Lightroom 6 shows you a preview and then creates and automatically imports into your catalog a new DNG (Adobe Digital Negative RAW format) that can be edited as usual in a non destructive way.
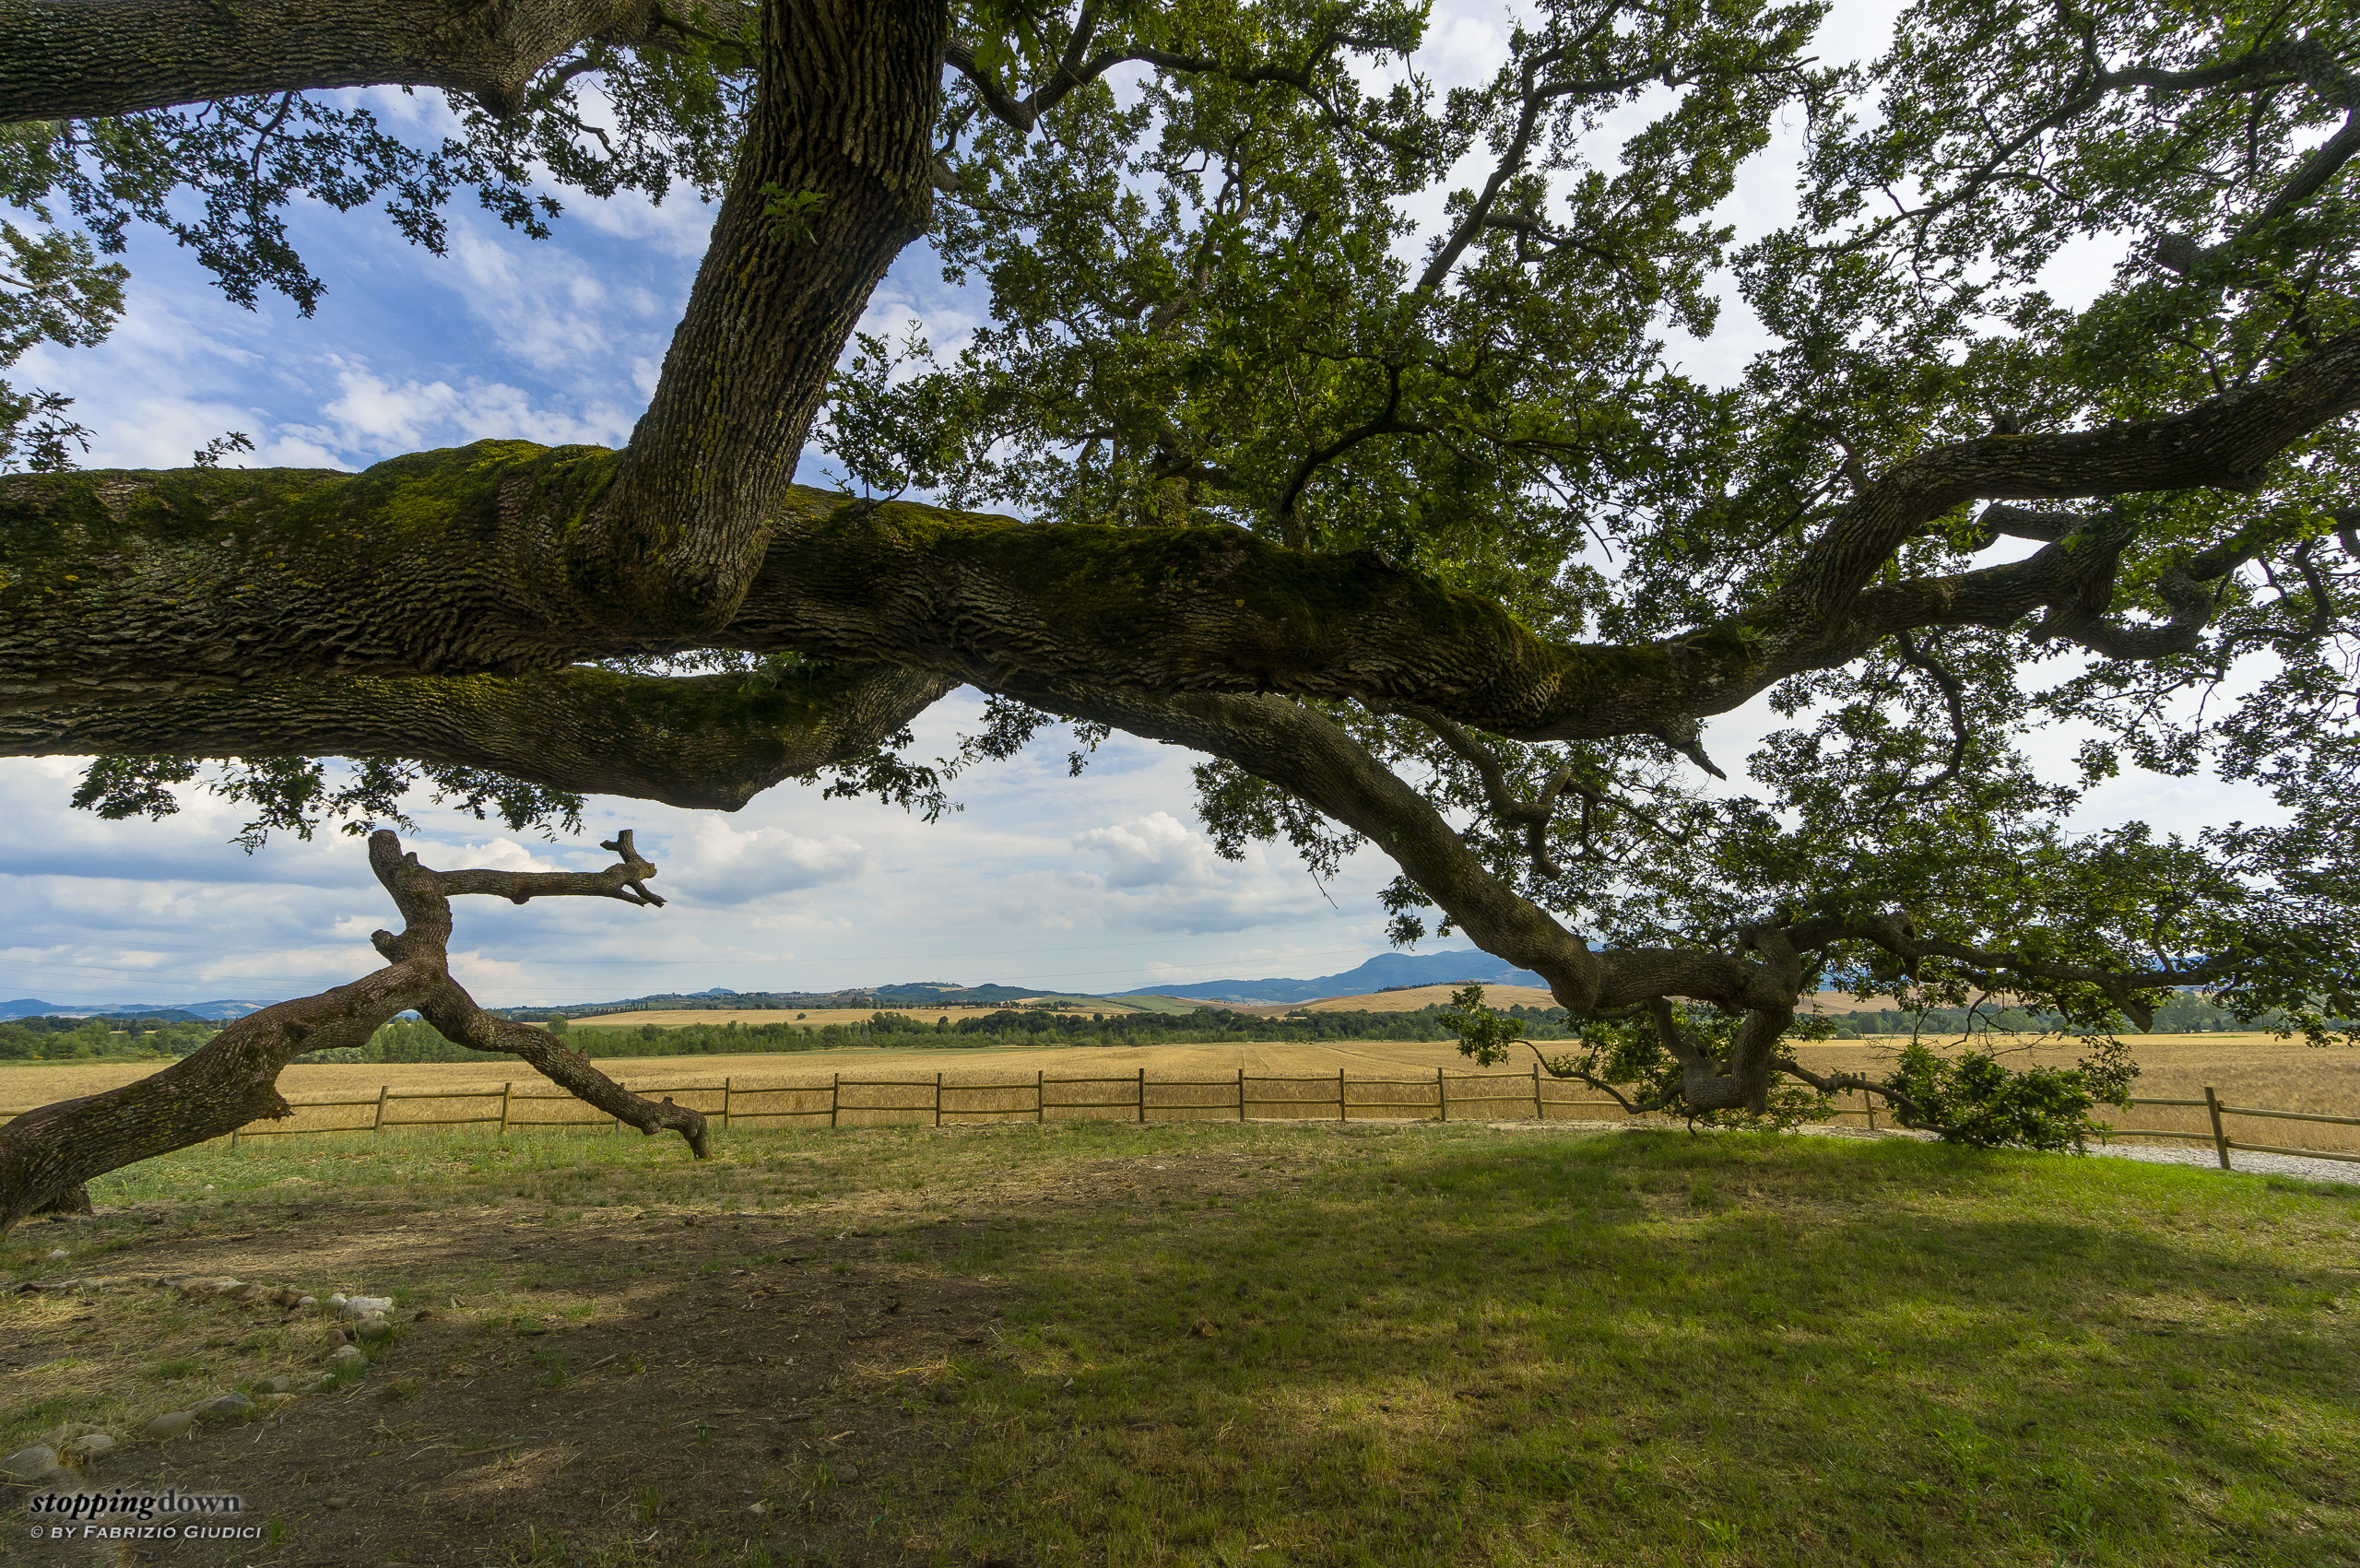
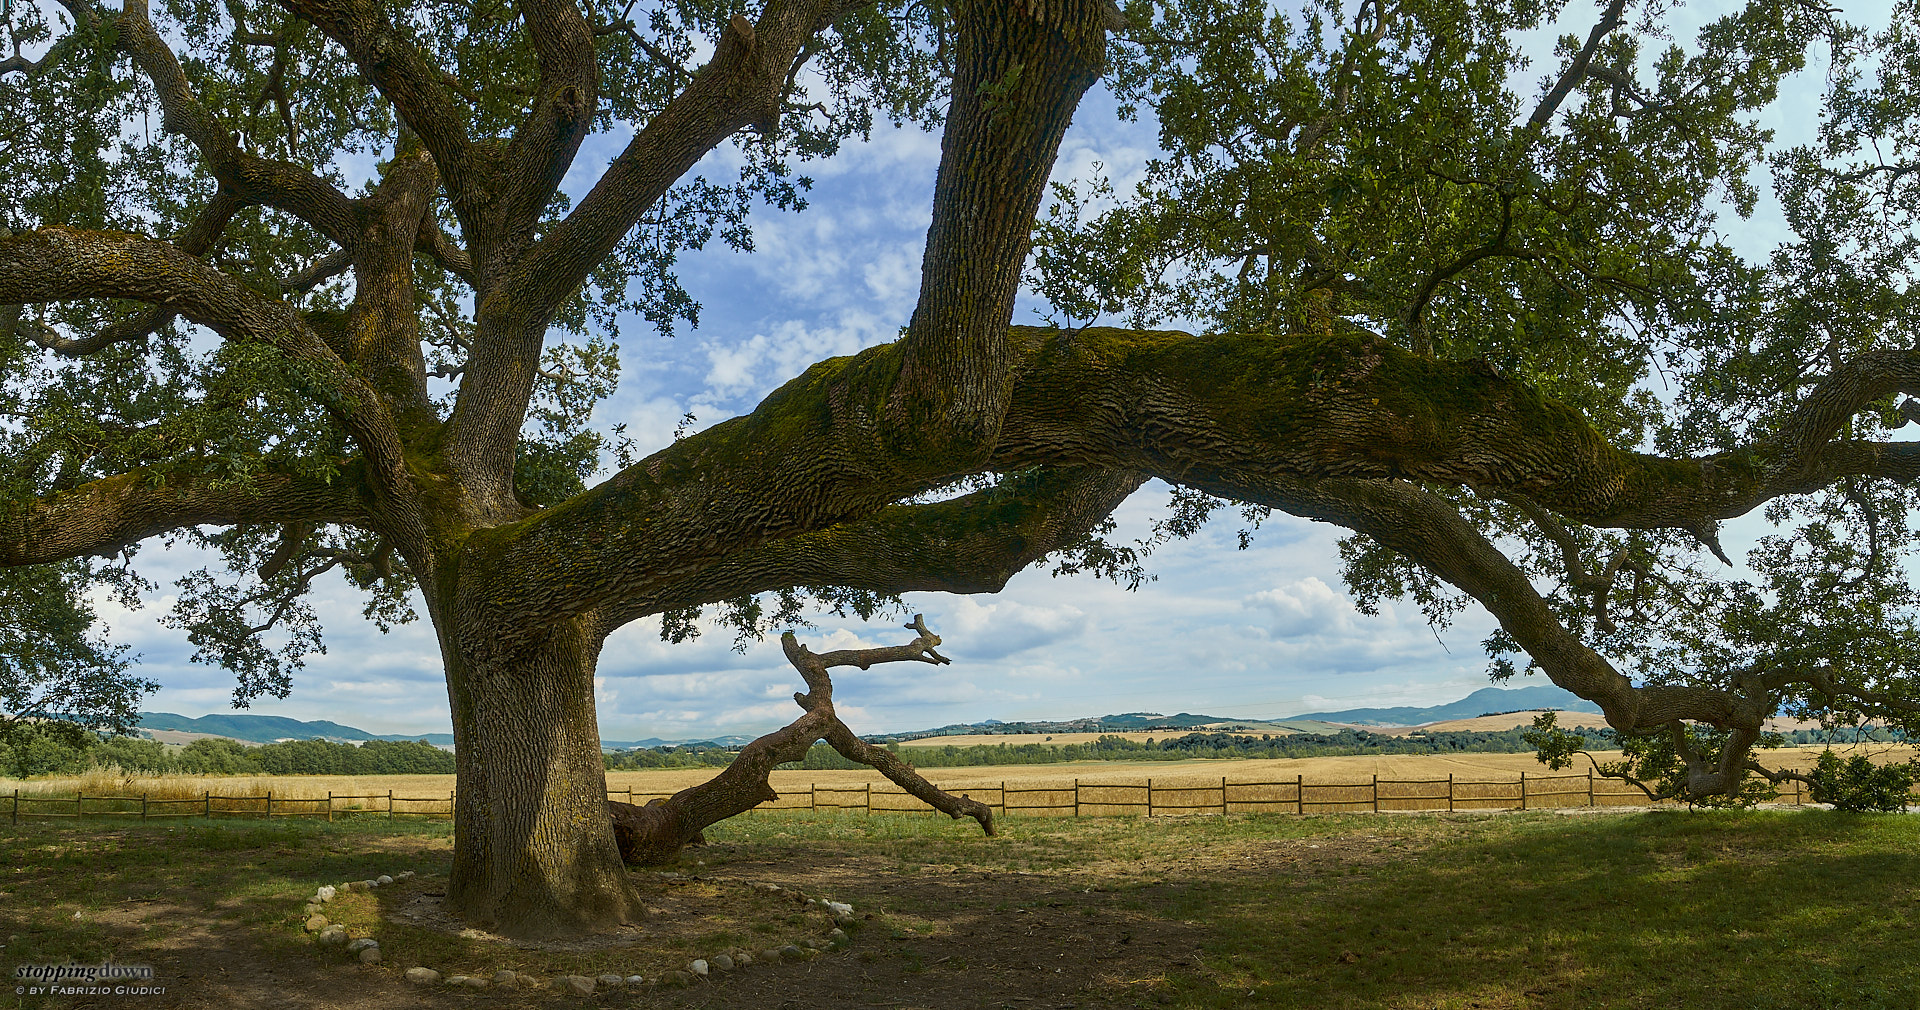
The past week I had to cancel a just-begun journey to southern Tuscany because of (yet) another health problem; but at least I was able to have my first experiments with Lightroom panorama and HDR on the field. The above picture of the “magpies oak”, a monumental tree near Pienza, is the result of two photos taken at 10mm, that can be individually seen below. They were shot hand-held, without any special care, just standing in the same point and pivoting on my feet.
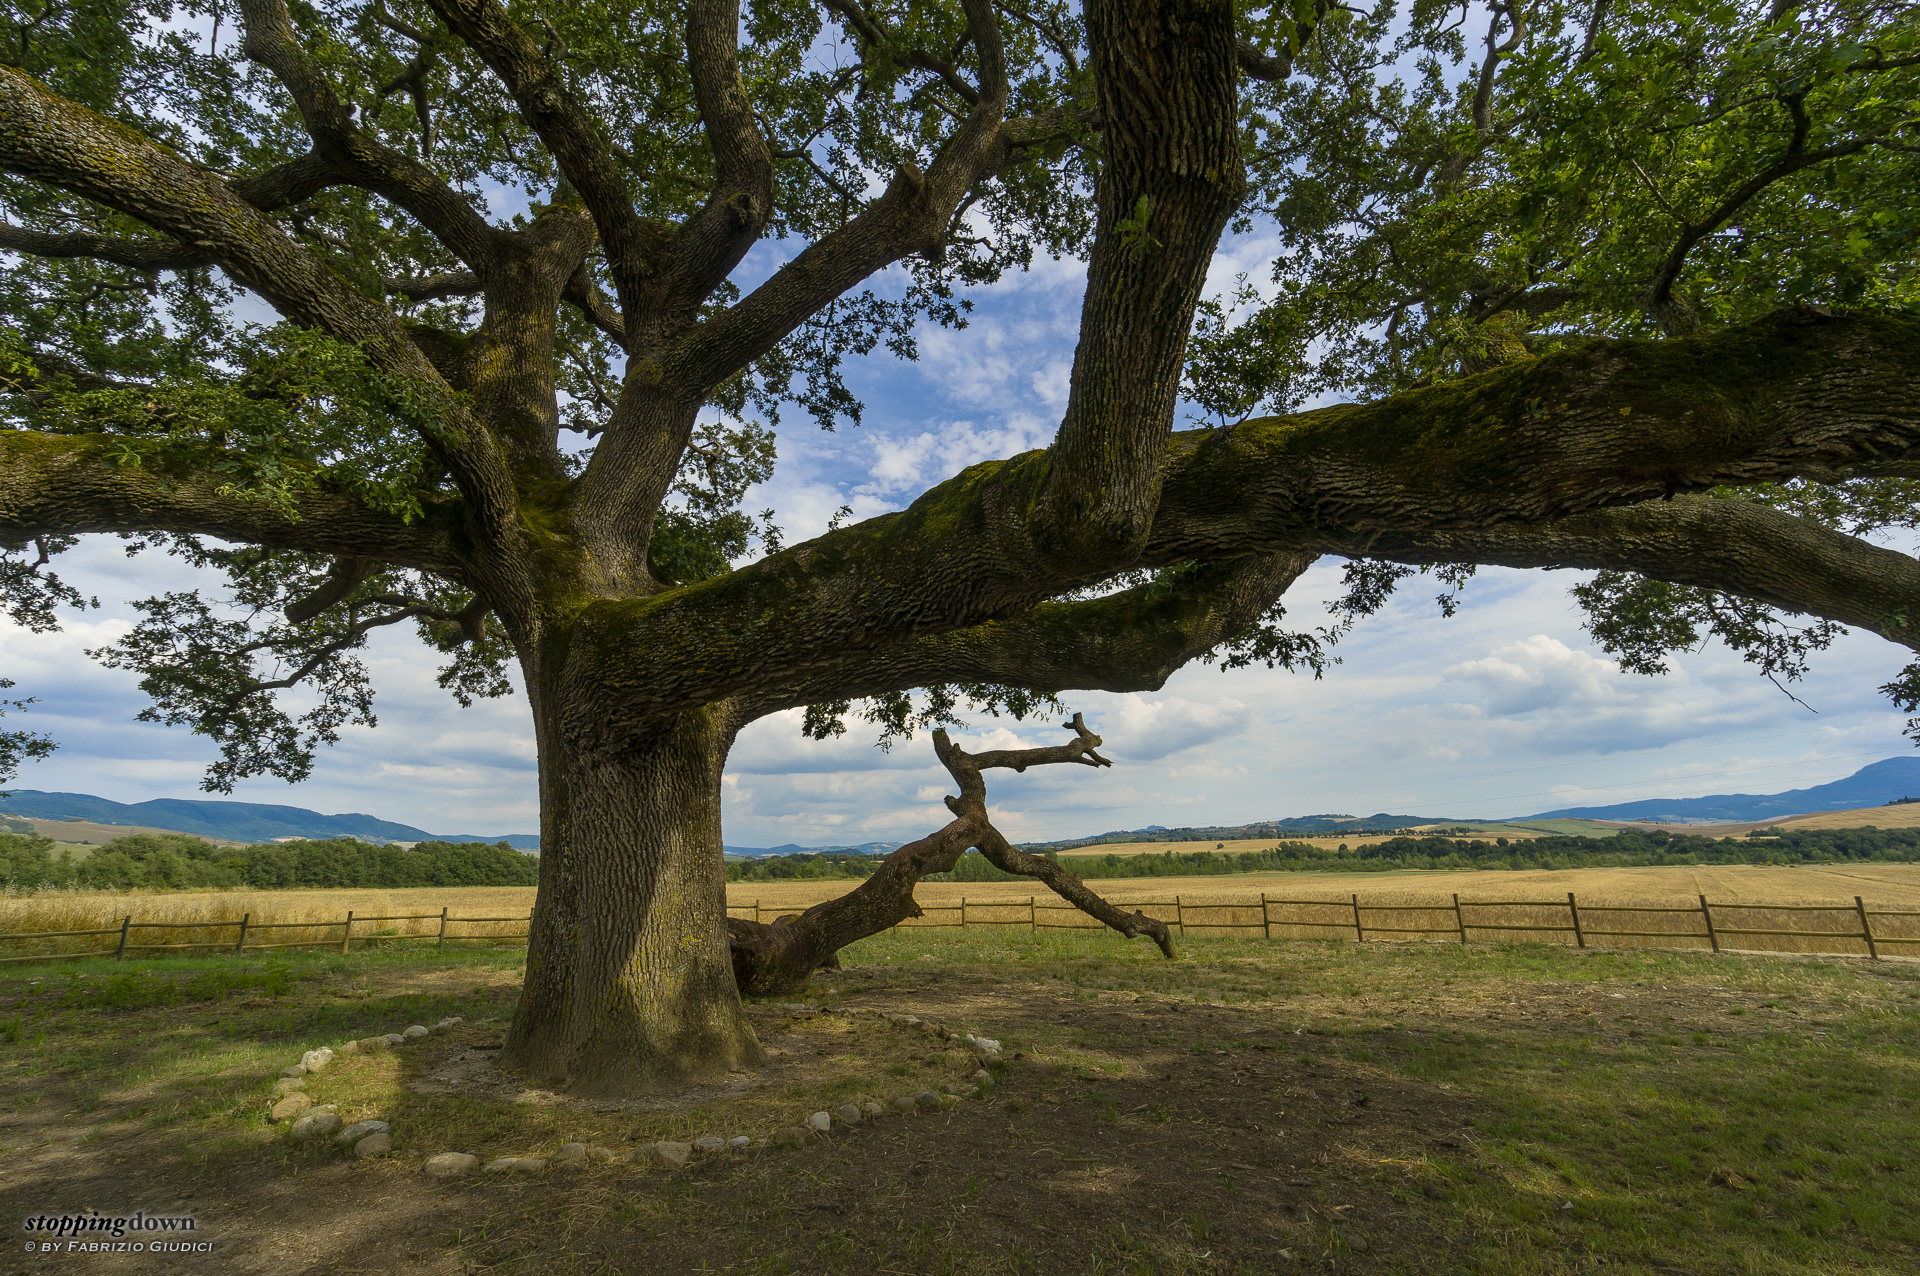

Sony NEX-6 + Sony E 10-18mm F4 OSS @ 10 mm, 1/160 sec @ ƒ/8, +2.00 EV, ISO 100
La Quercia delle checche.

Sony NEX-6 + Sony E 10-18mm F4 OSS @ 10 mm, 1/160 sec @ ƒ/8, +2.00 EV, ISO 100
La Quercia delle checche.
10mm with APS-c is roughly 109° of angle-of-view (diagonal). As a wild estimate, the two photos overlap for about one-third, so the resulting angle-of-view should be roughly 150° (horizontal). It's a quite interesting capability, since for this kind of ultra-ultra-wide shooting (big tree seen from under its branches) I usually need the fish-eye. But the fish-eye introduces a relevant distortion and forces you to put the horizon right at the middle of the photo — this means that you have to cut to a wide-screen format, if you wish to comply with the rule of thirds (you needn't to always comply with that rule, but in most of cases it is really the most aesthetically pleasing option). Given that in the end you have a wide-screen format, I found that going with the panorama approach is much better.
A further consideration is needed. The two original photos are 4912x3264 pixels, 16MP. The resulting panorama is 5019x2817, 14MP. Strange enough? Less pixels than a single original image? It is because the panorama needed cropping: below you can see the original, 6240x3572 pixels, about 22MP, which is a number roughly consistent with the overlap percentage. So the problem is a relevant amount of cropping, which is required by the fact that I used a UWA for the original samples, which came with their very different horizontal perspectives, and I pointed the lens upward, introducing also a vertically distorted perspective; Lightroom had to perform a strong geometric correction to have the two images to perfectly overlap. Indeed, it did a very good job and, after a pixel inspection, I can say the stitched photo has very sharp pixels. But you have to pay for the good result with some heavy cropping.
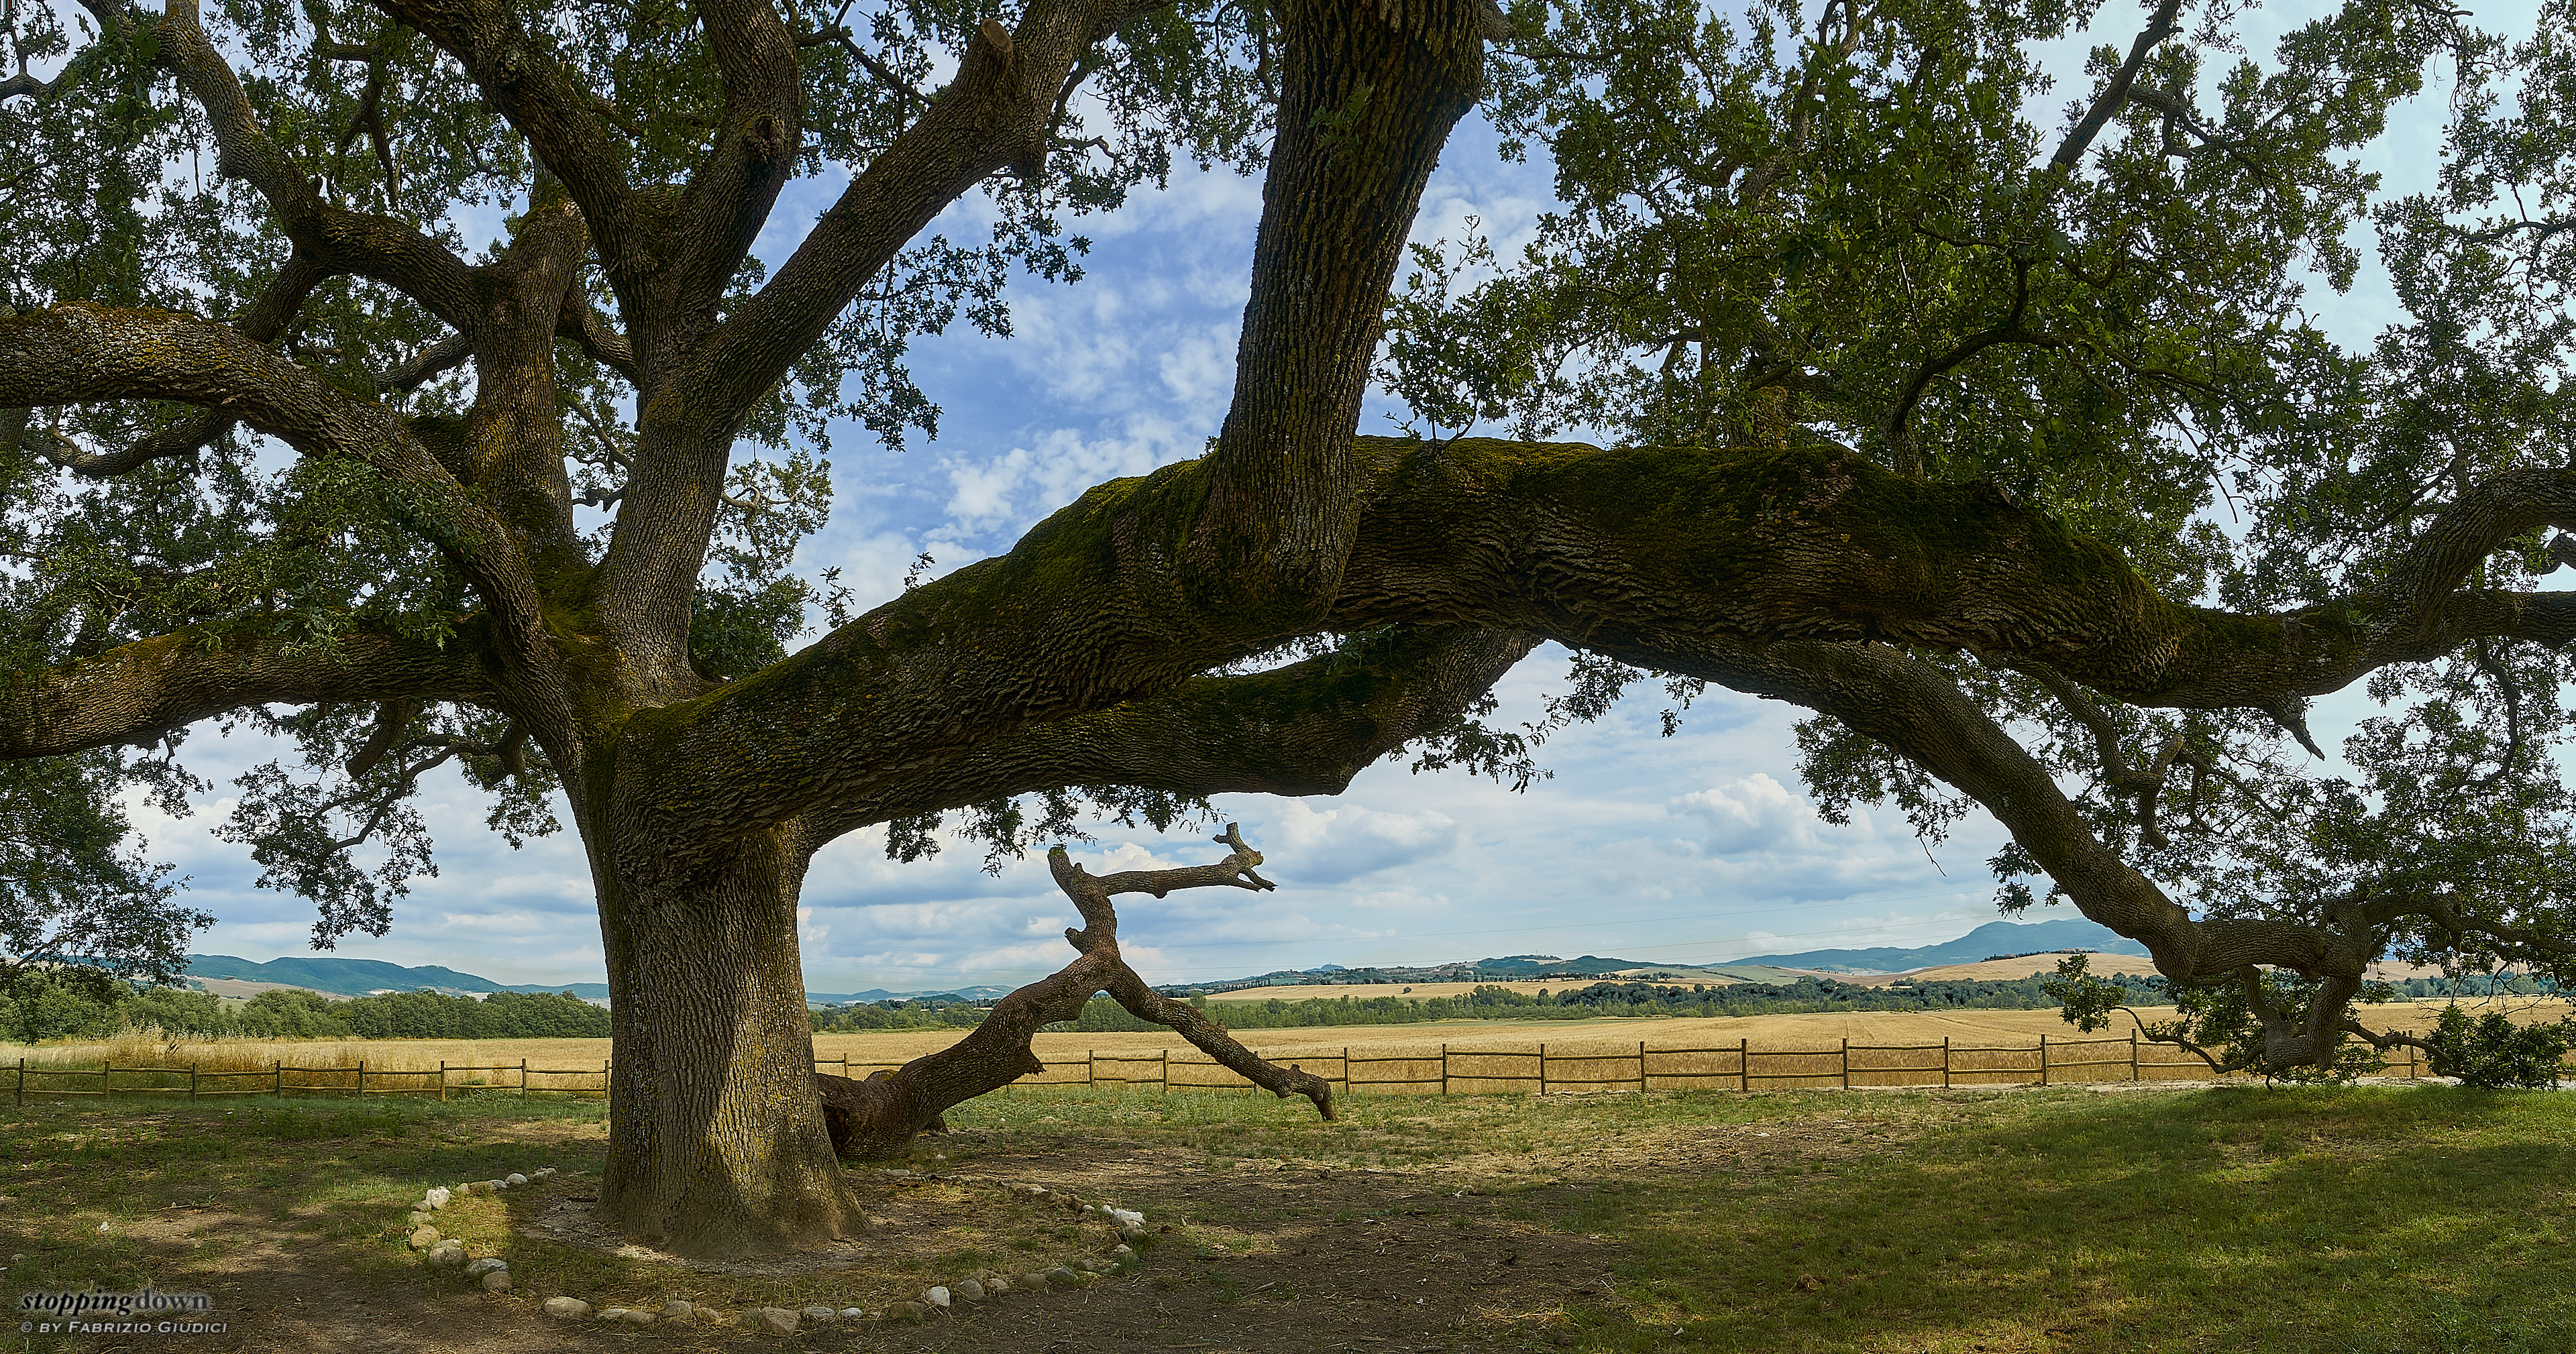
Sony NEX-6 + Sony E 10-18mm F4 OSS @ 10 mm, 1/160 sec @ ƒ/8, +2.00 EV, ISO 100
La Quercia delle checche.
Lesson learned: by starting with a UWA lens you need to add a lot of room at both sides, because you will have to extensively crop. Another approach could be to use a less wide lens (for instance the 18mm extreme of my SEL1018) and take three or four shots.
By the way: too bad that Lightroom doesn't let you pick the background colour for the “extra image” pixels; if I could use a dark gray, or black, I think I could turn the uncropped photo above in a usable thing, even with its irregular border. Anyway, the change of the background colour could be done in a few minutes by exporting the image to Photoshop.
If you don't use a wide angle for the initial shots, there's no big problem with cropping, as in the photo below that has been created starting from two shots at 70mm (the lower extreme of the SEL70200G). While I could have used the other camera body with the SEL1670Z, it is an interesting experiment about the capability of “widening” a lens in circumstances where perhaps you want to stay extremely light and carry along with you a single camera body and lens.
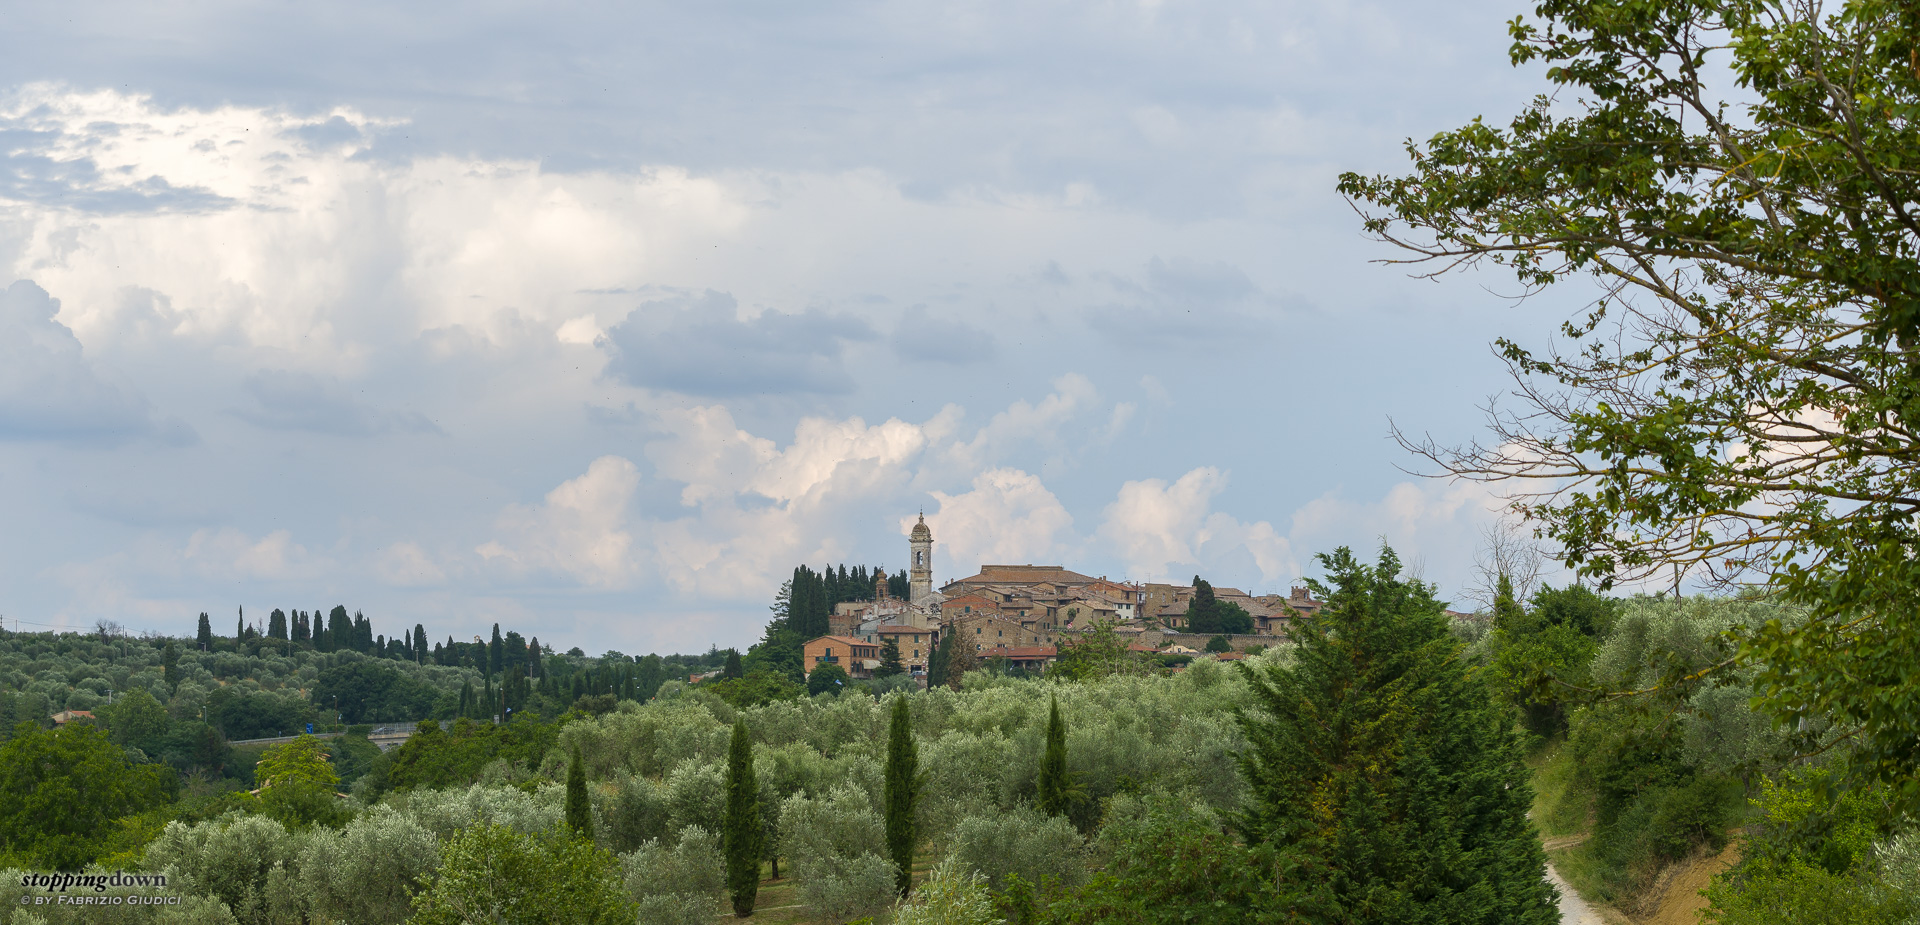
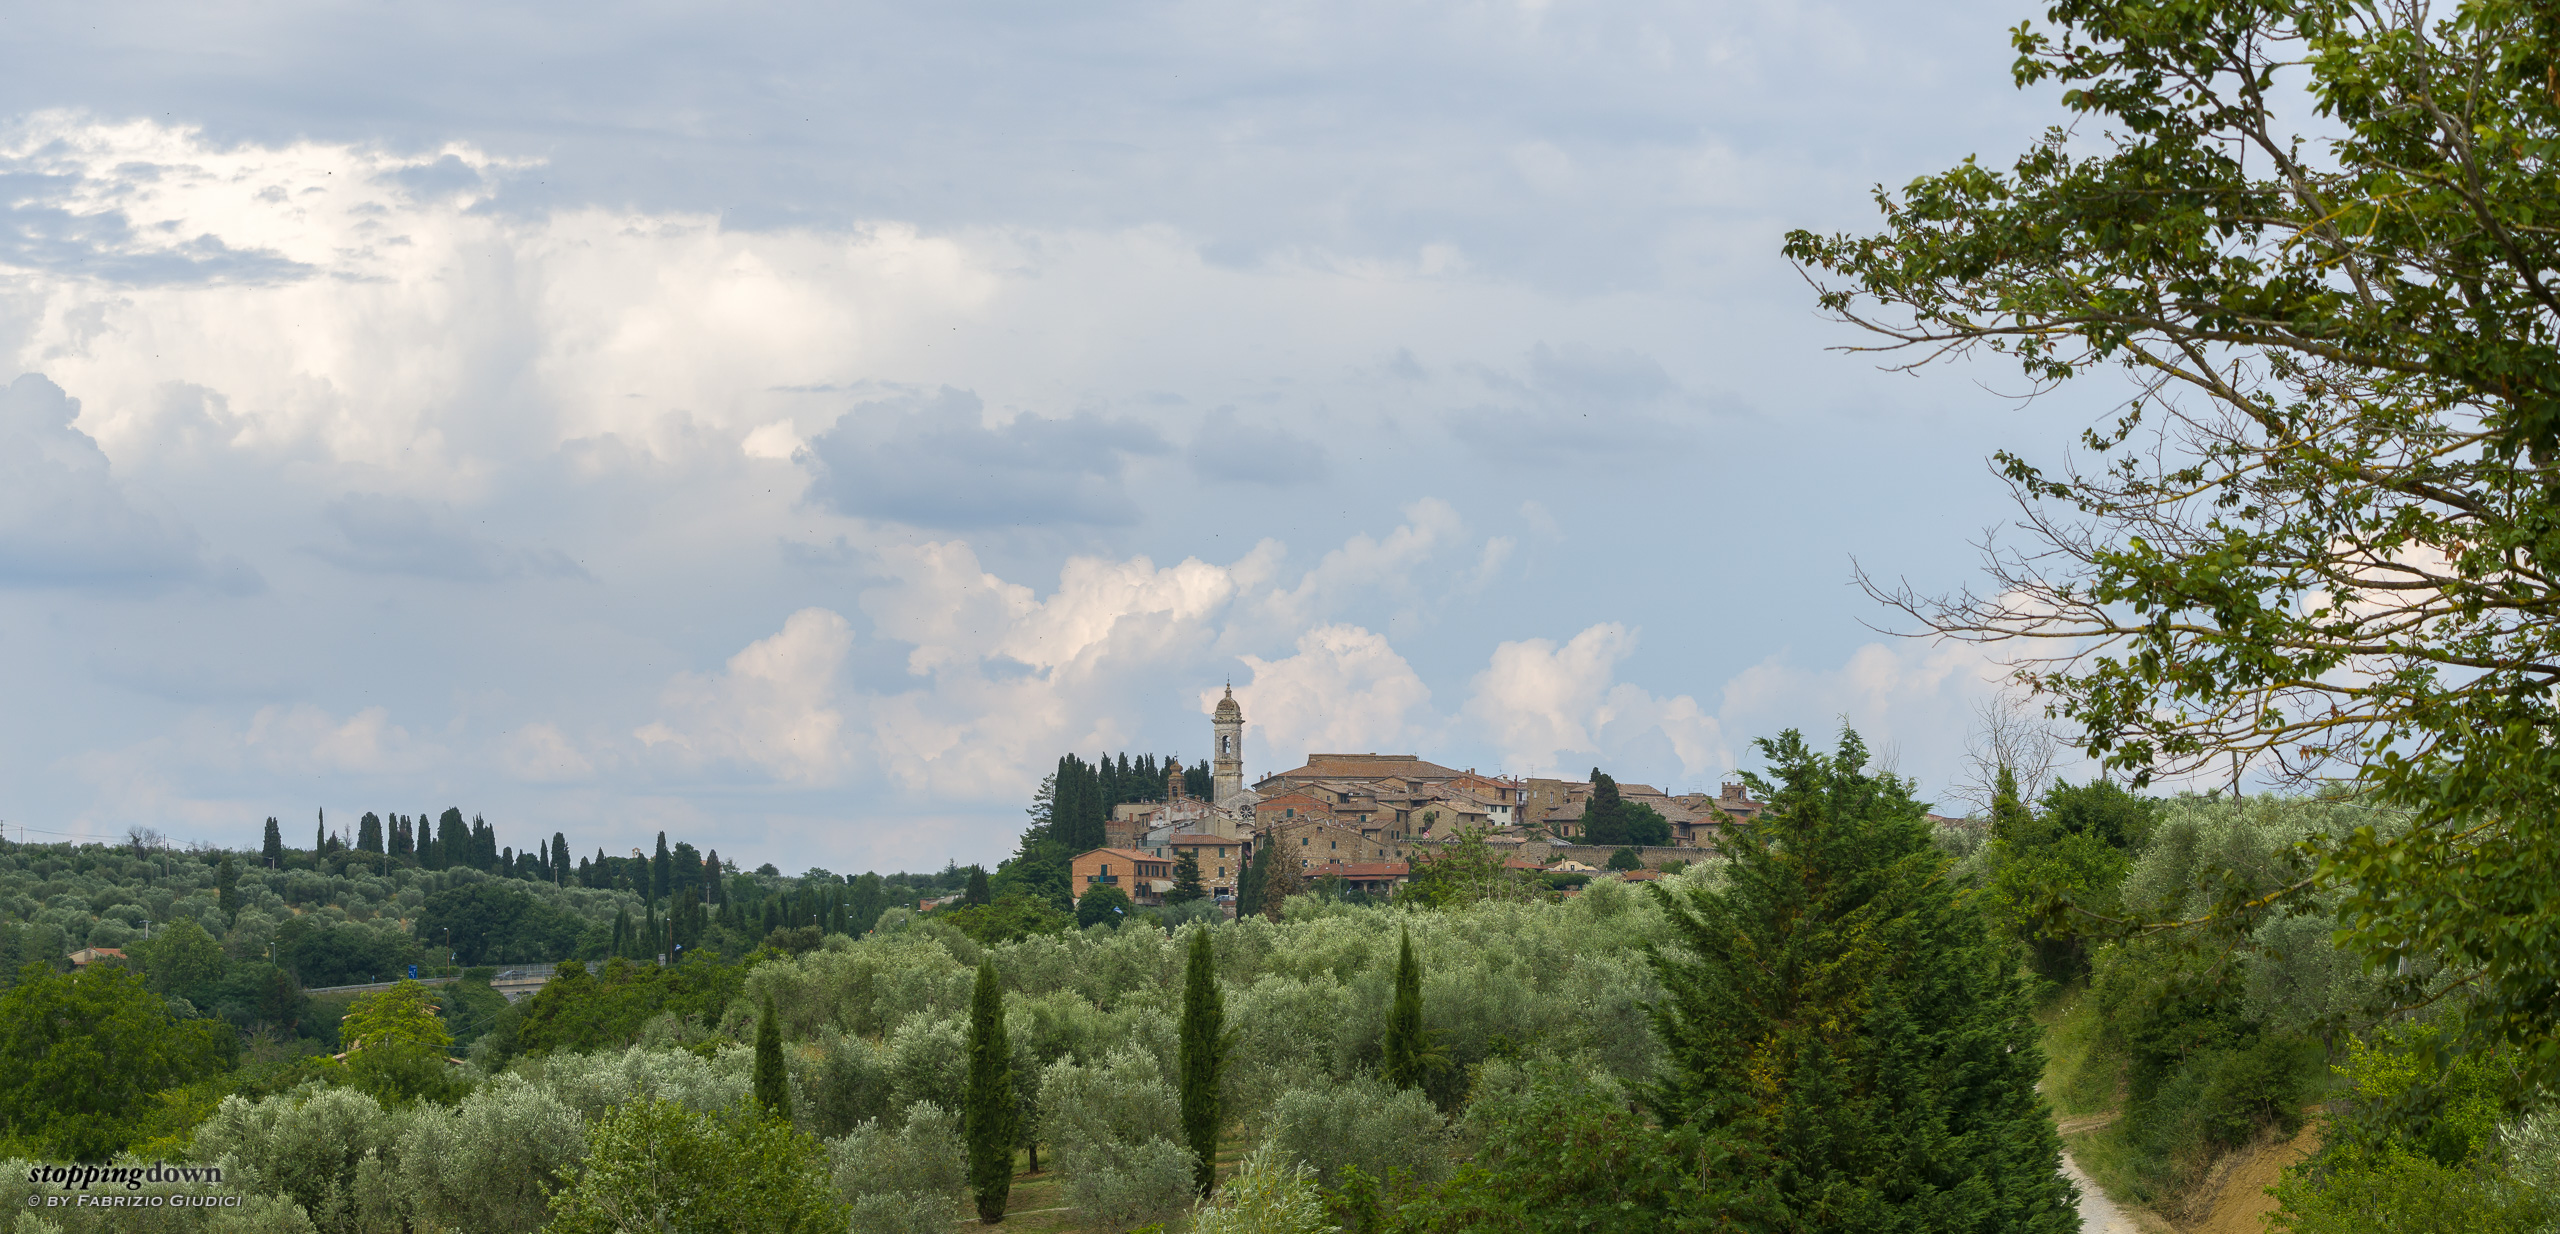
Sony α6000 + Sony FE 70-200mm F4 G OSS @ 70 mm, 1/250 sec @ ƒ/8, +0.70 EV, ISO 100, hand-held, two stitched photos.
San Quirico d'Orcia.
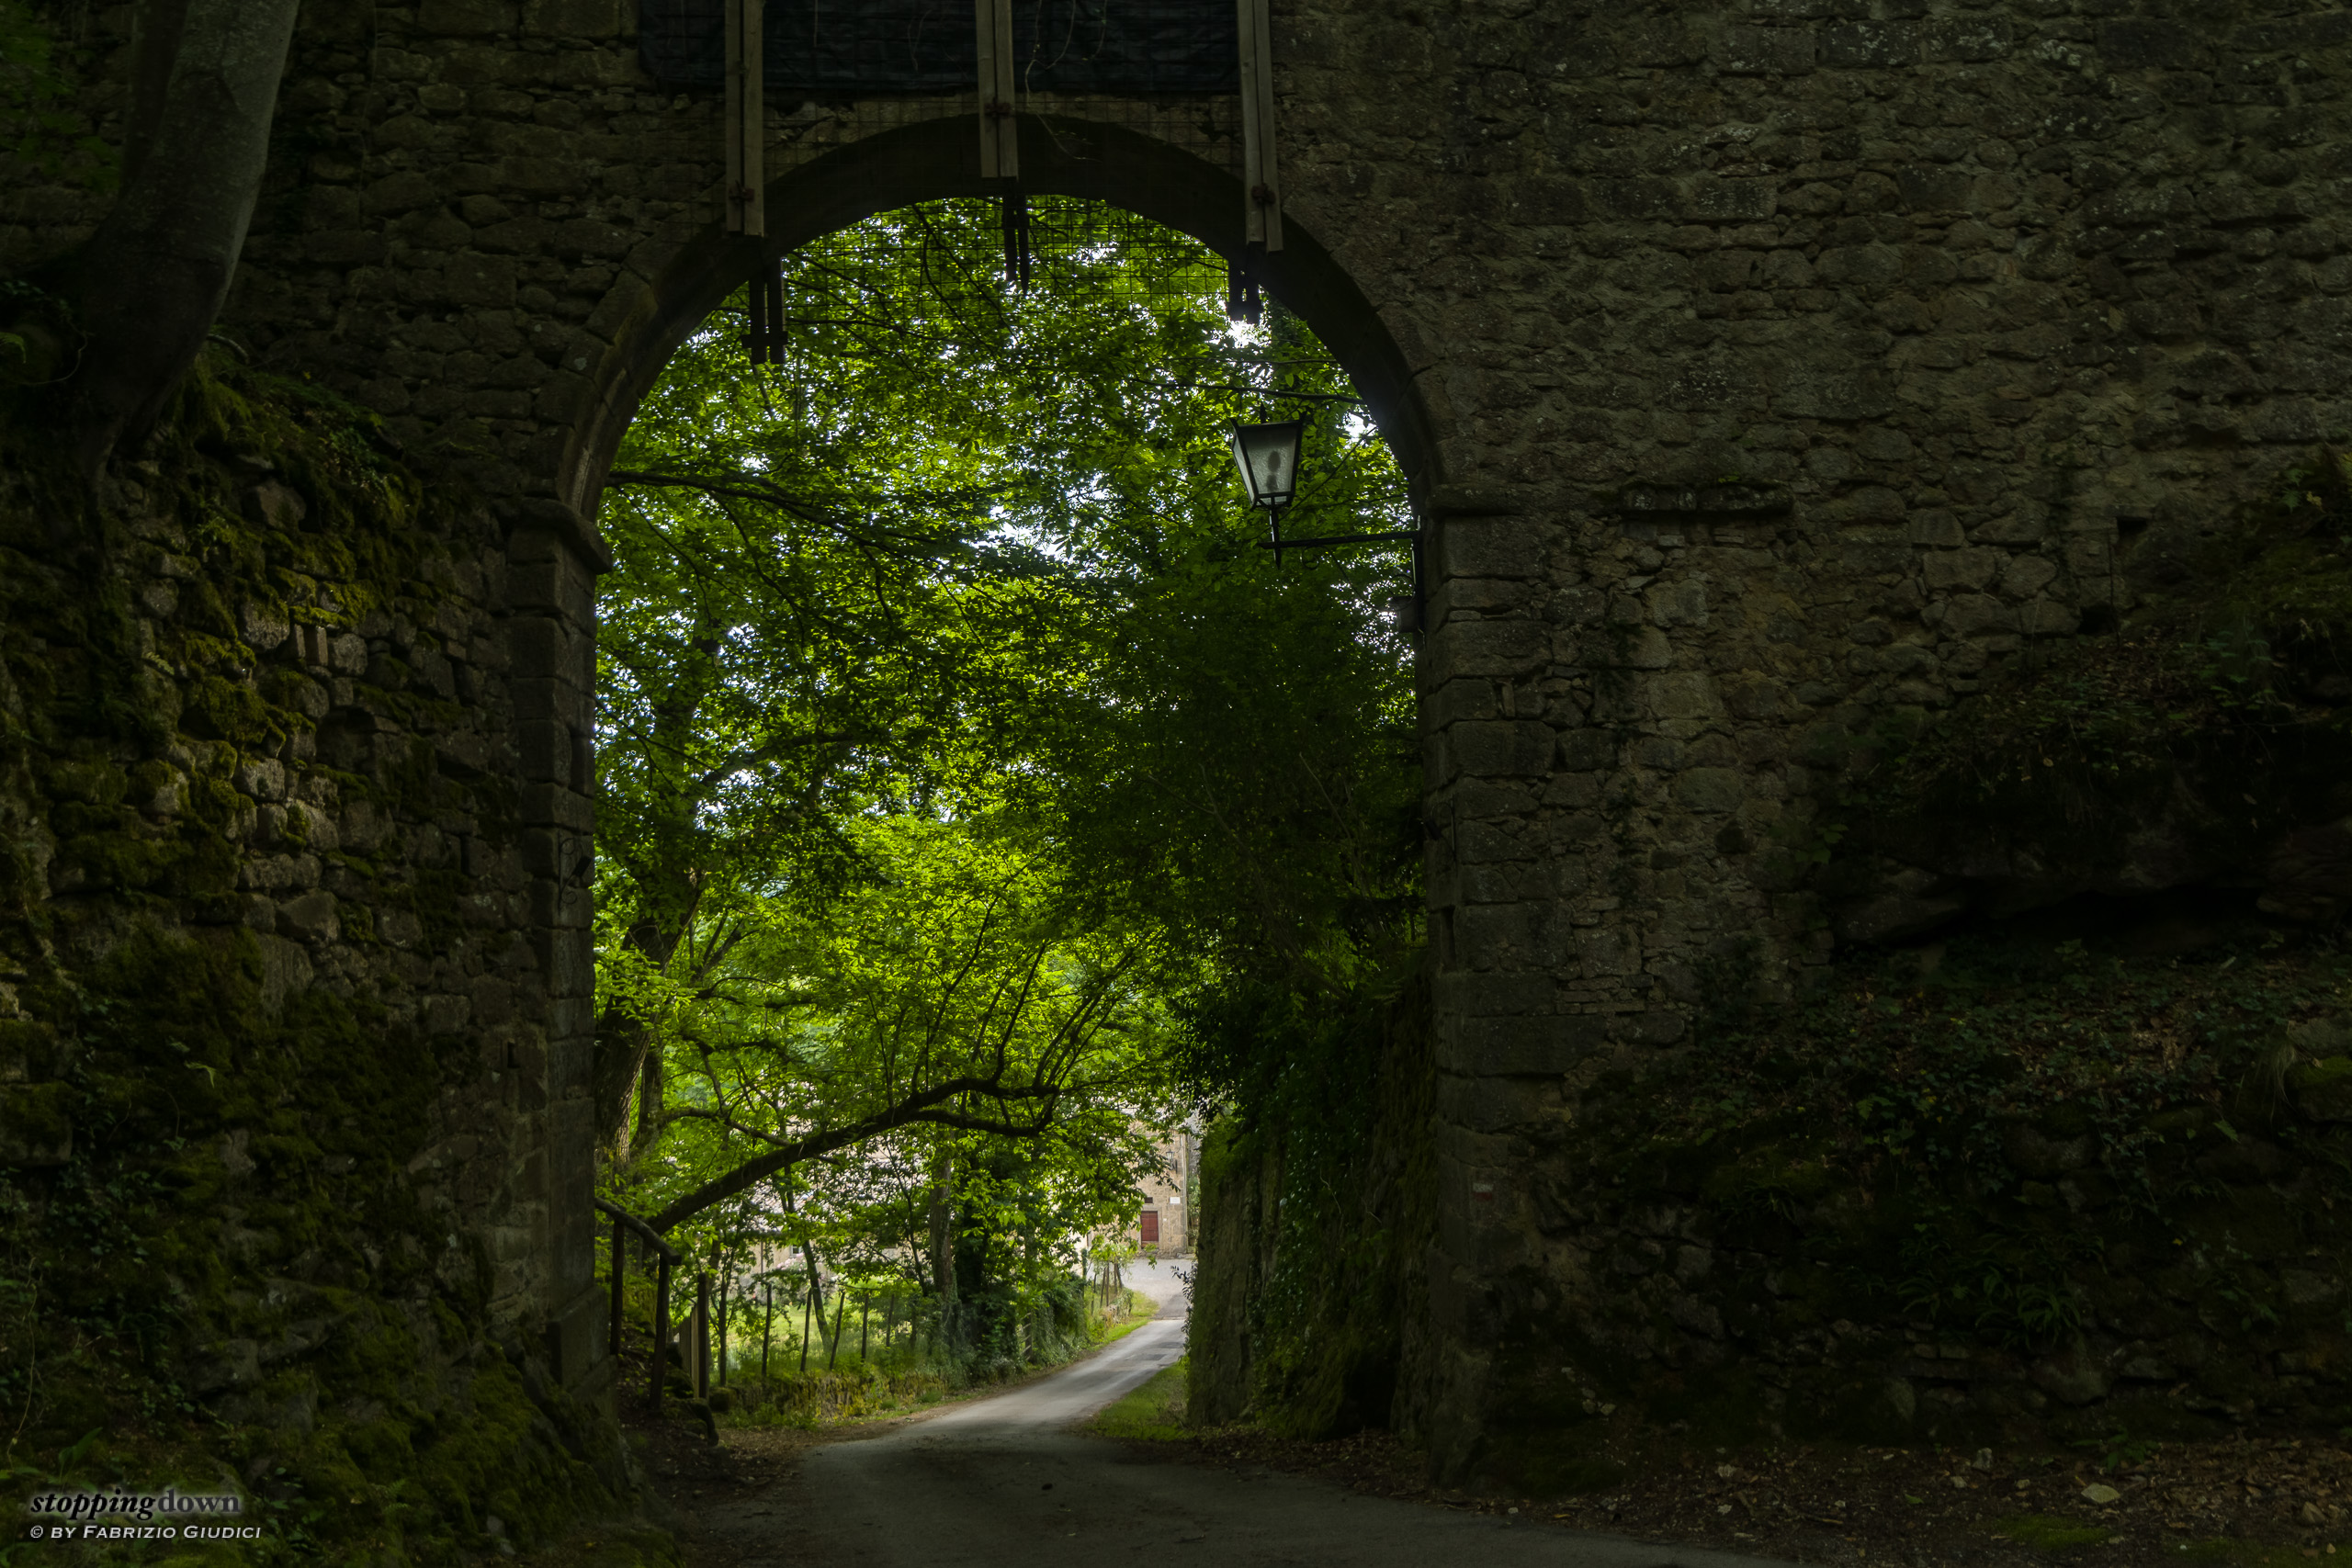
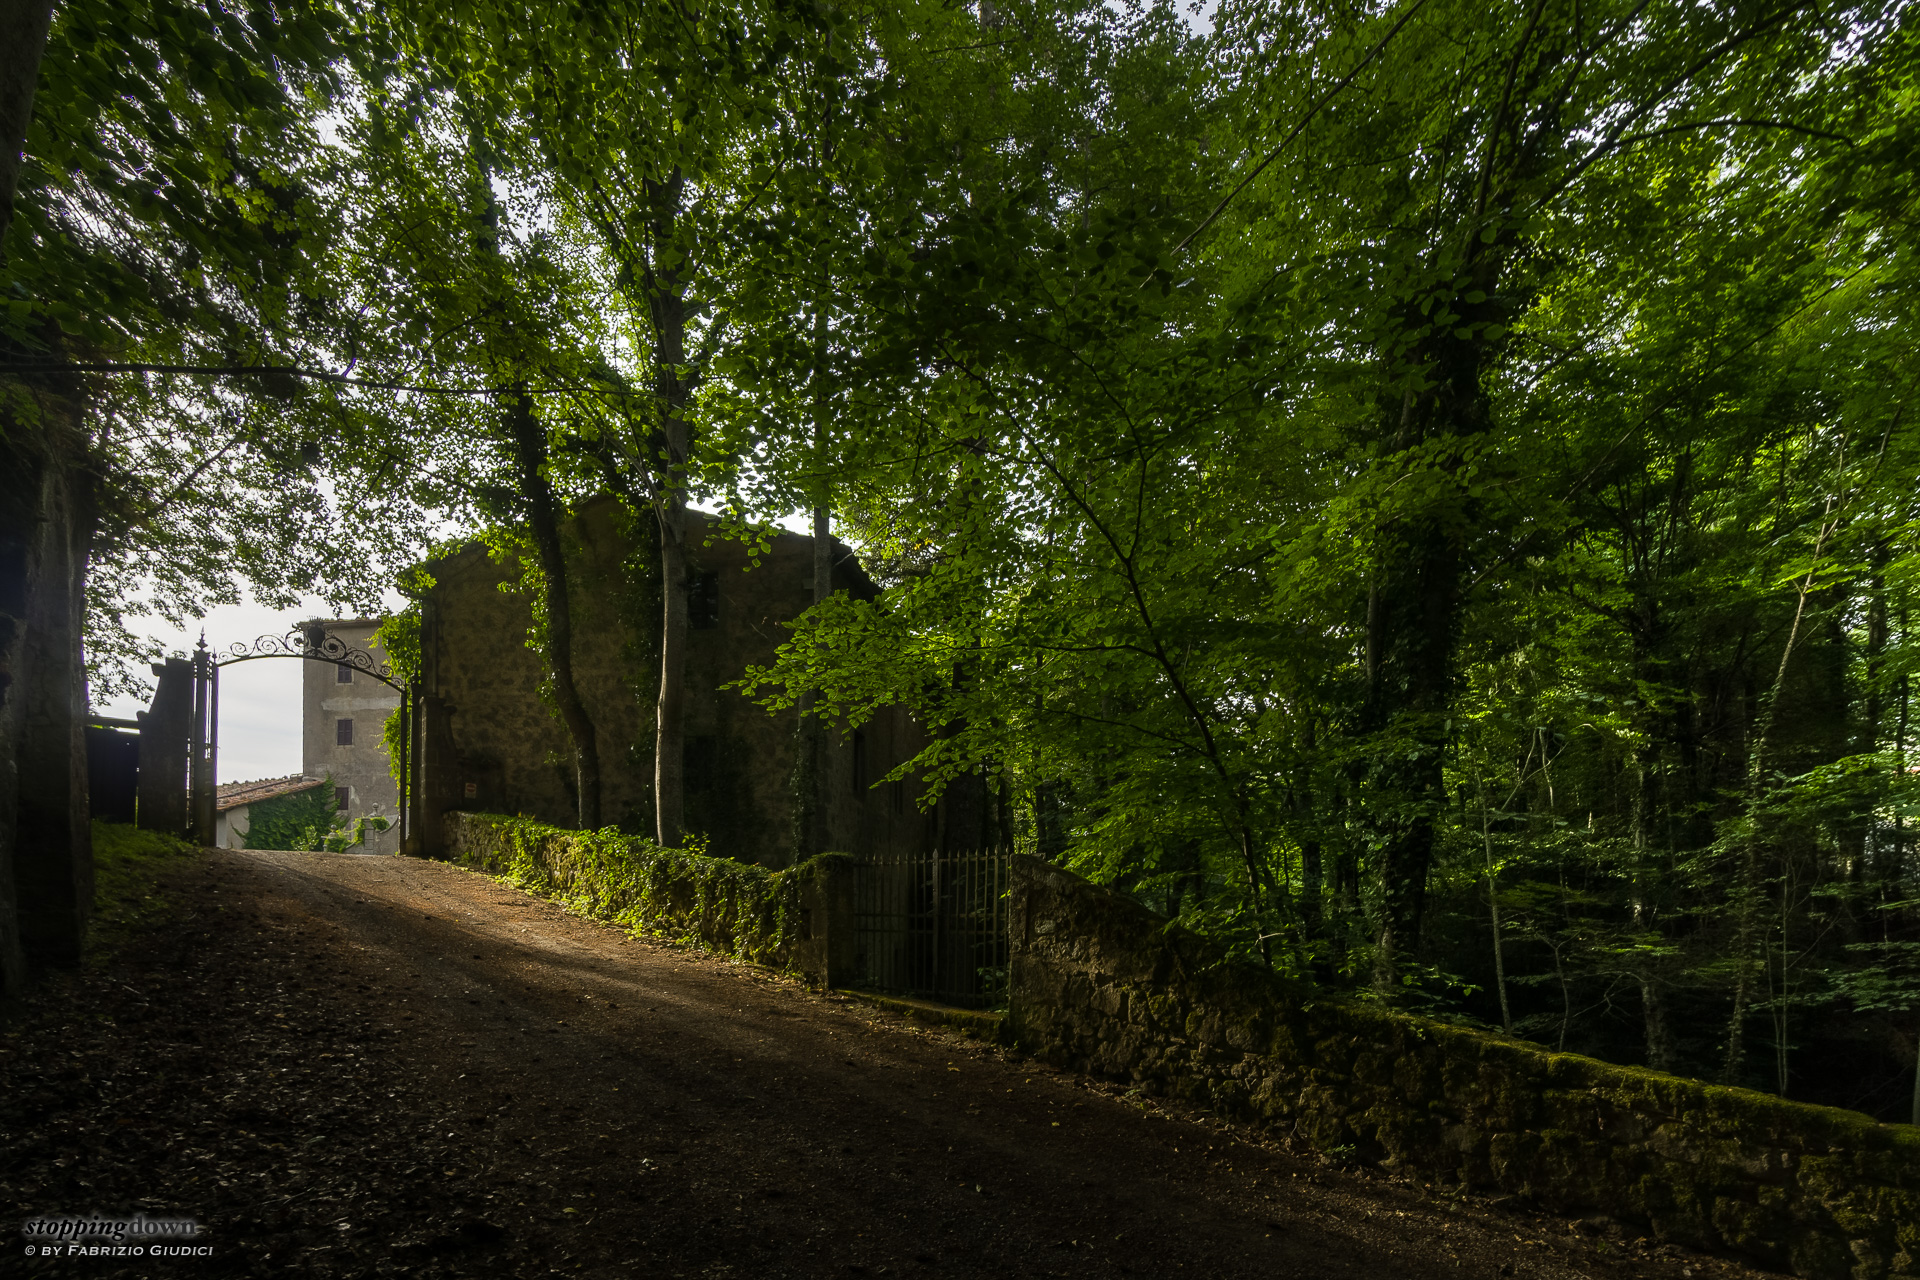
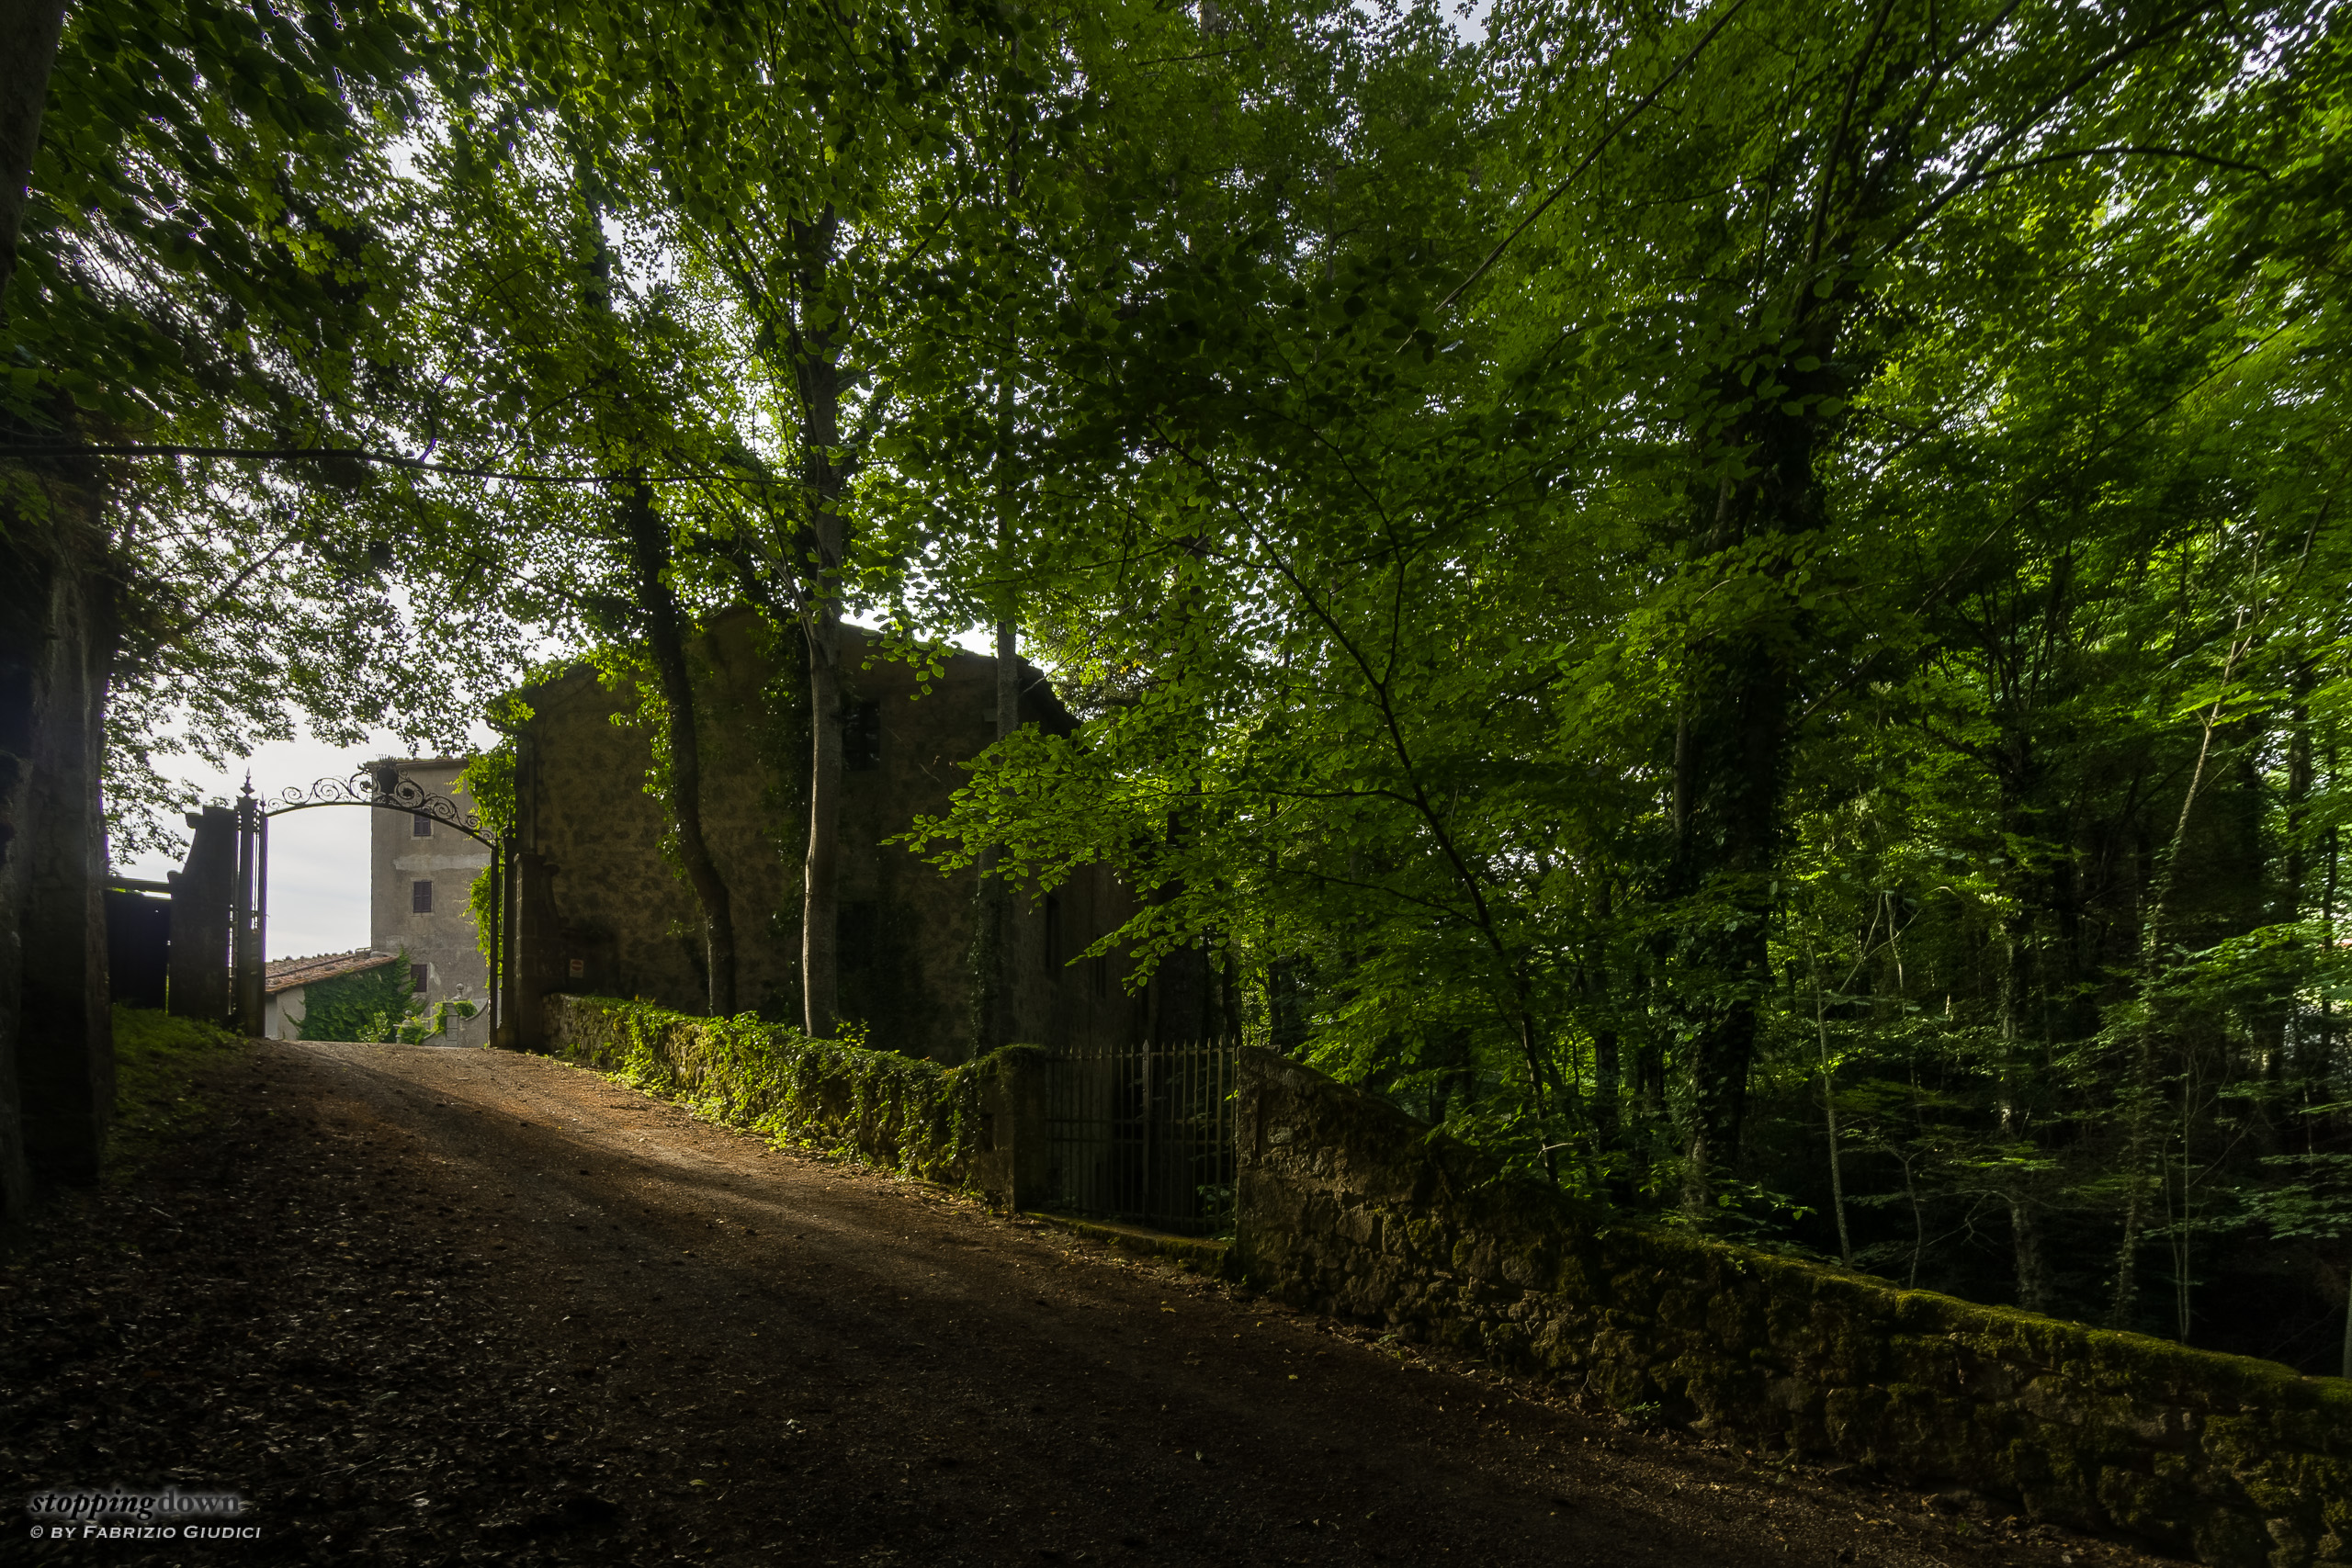
For what concerns the HDR feature, I did a quick test in the classic “bright sky, deep shadow” scenario, merging three shots. Lightroom did again a very good job in aligning the merged photos. I preferred not to apply the “auto-tone” option, because it leads to the characteristic “excessive HDR” look that I hate. I just brightened the shadows of the resulting image. I still have to evaluate the actual benefit of the HDR approach in such scenarios, as the Sony α6000 offers a very good signal/noise performance even in the shadows. But I'm not sure I did the proper exposure to maximise the benefit of HDR, so I have to retry before further commenting.