Updated October 6, 2023
Up to a few days ago my most recent camera body was the Sony α6300, bought four years ago. With the exception of the Tamron 20mm F/2.8 Di III RXD 1:2, it was also the latest piece of equipment added to my bag; but I had been monitoring the market for a couple of years in search of an upgrade, for the following reasons:
- an improved AF, in particular for wildlife and birds in flight;
- a replacement for the α6000, which is good with the exception of the sub-par EVF, whose low resolution sometimes makes me mis-focus landscape shots;
- a focusing touch screen for hand-held macro photography with the Tamron 20mm ƒ/2.8;
- eventually in-sensor stabilisation for macro photography with the other macro lenses I own, all without stabiliser.
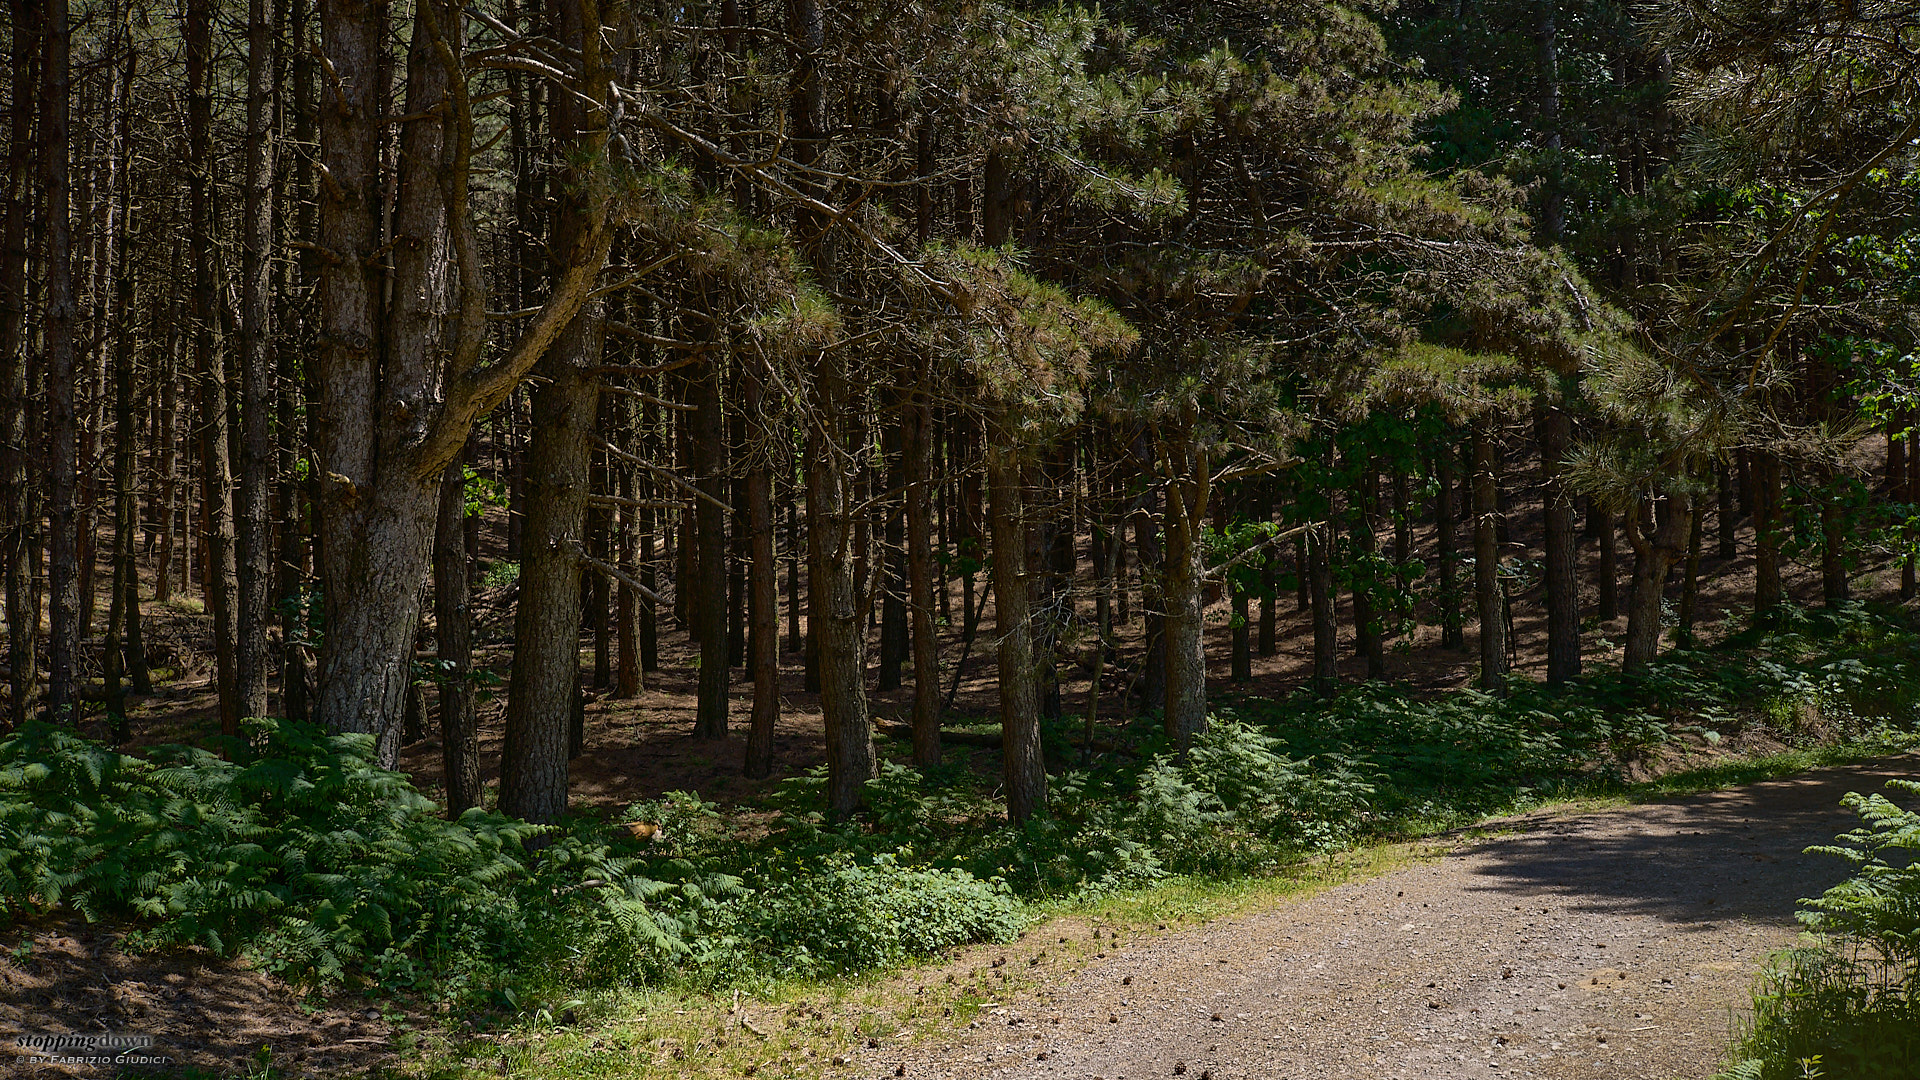

Sony α6600 + Tamron 20mm F/2.8 Di III RXD 1:2 @ 20 mm, 1/100 sec @ ƒ/8, -2.70 EV, ISO 50
Nella pineta di Passo del Biscia.
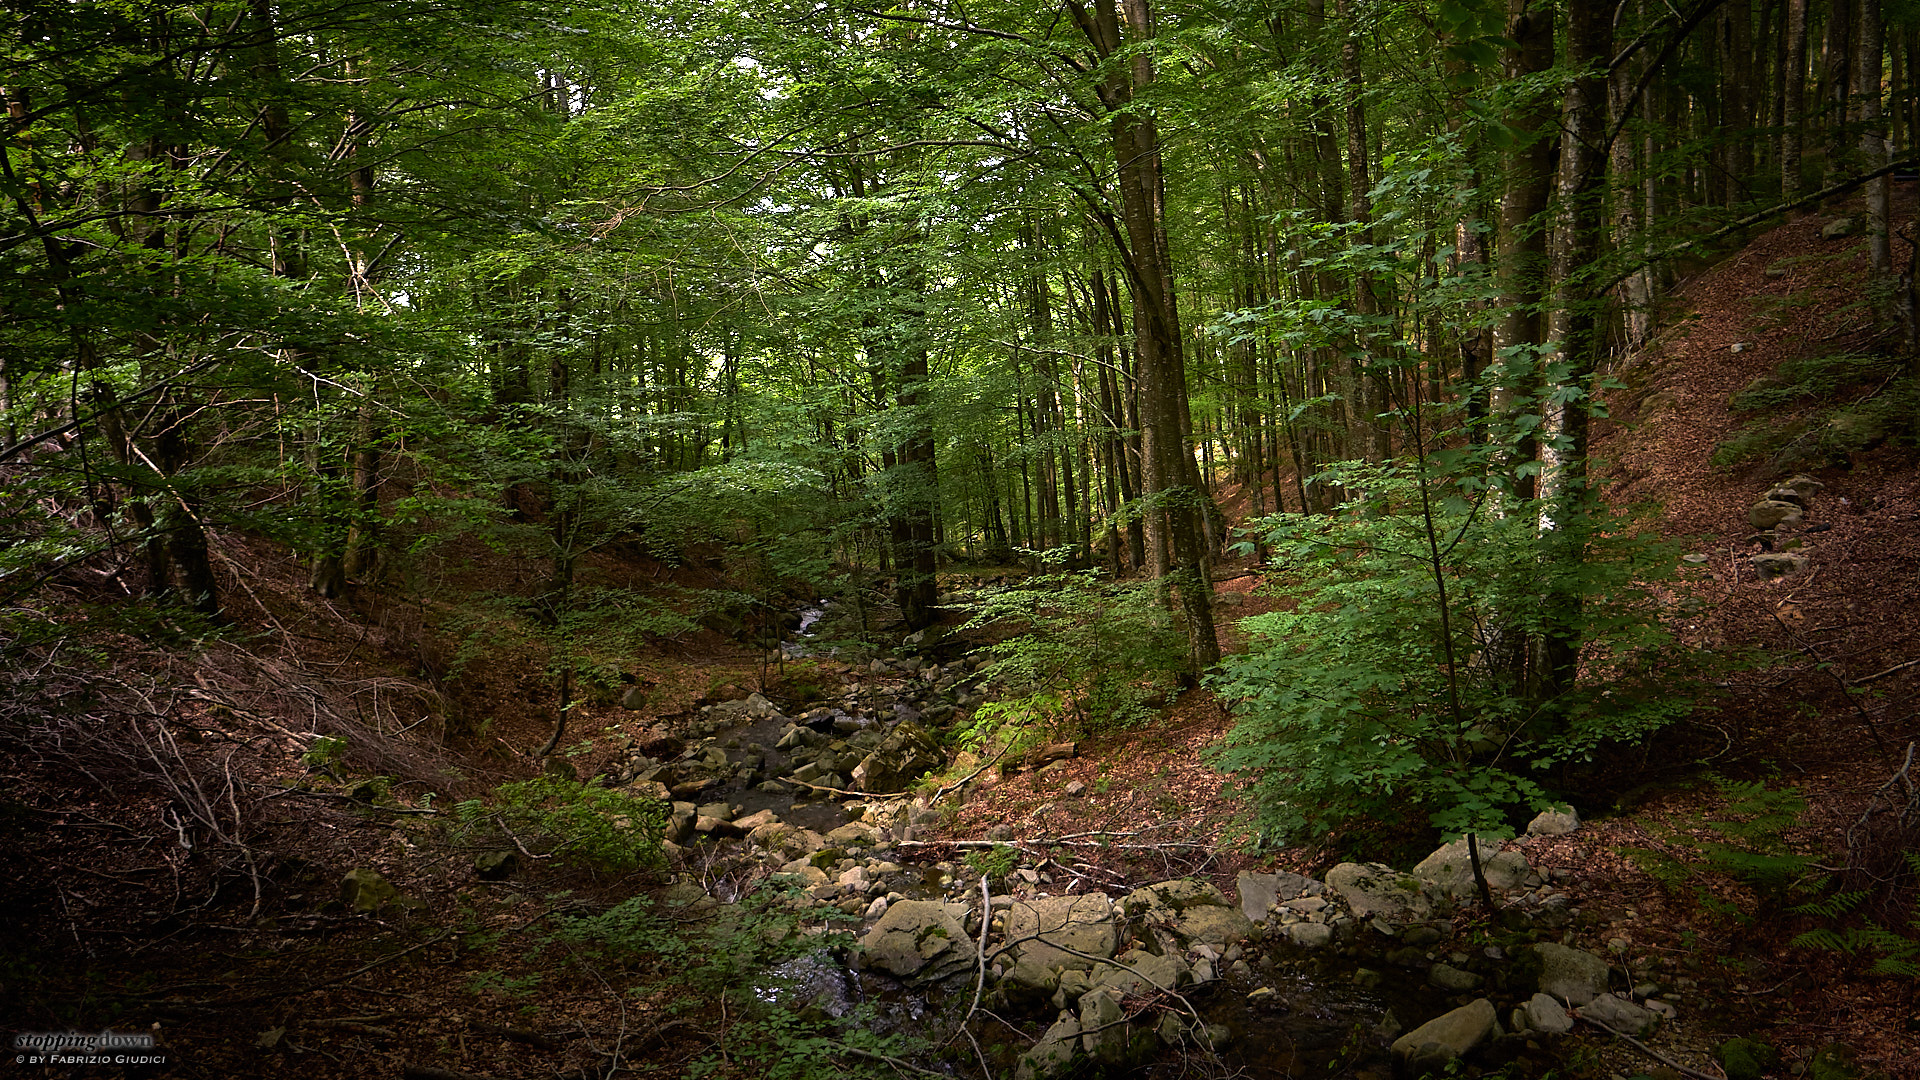
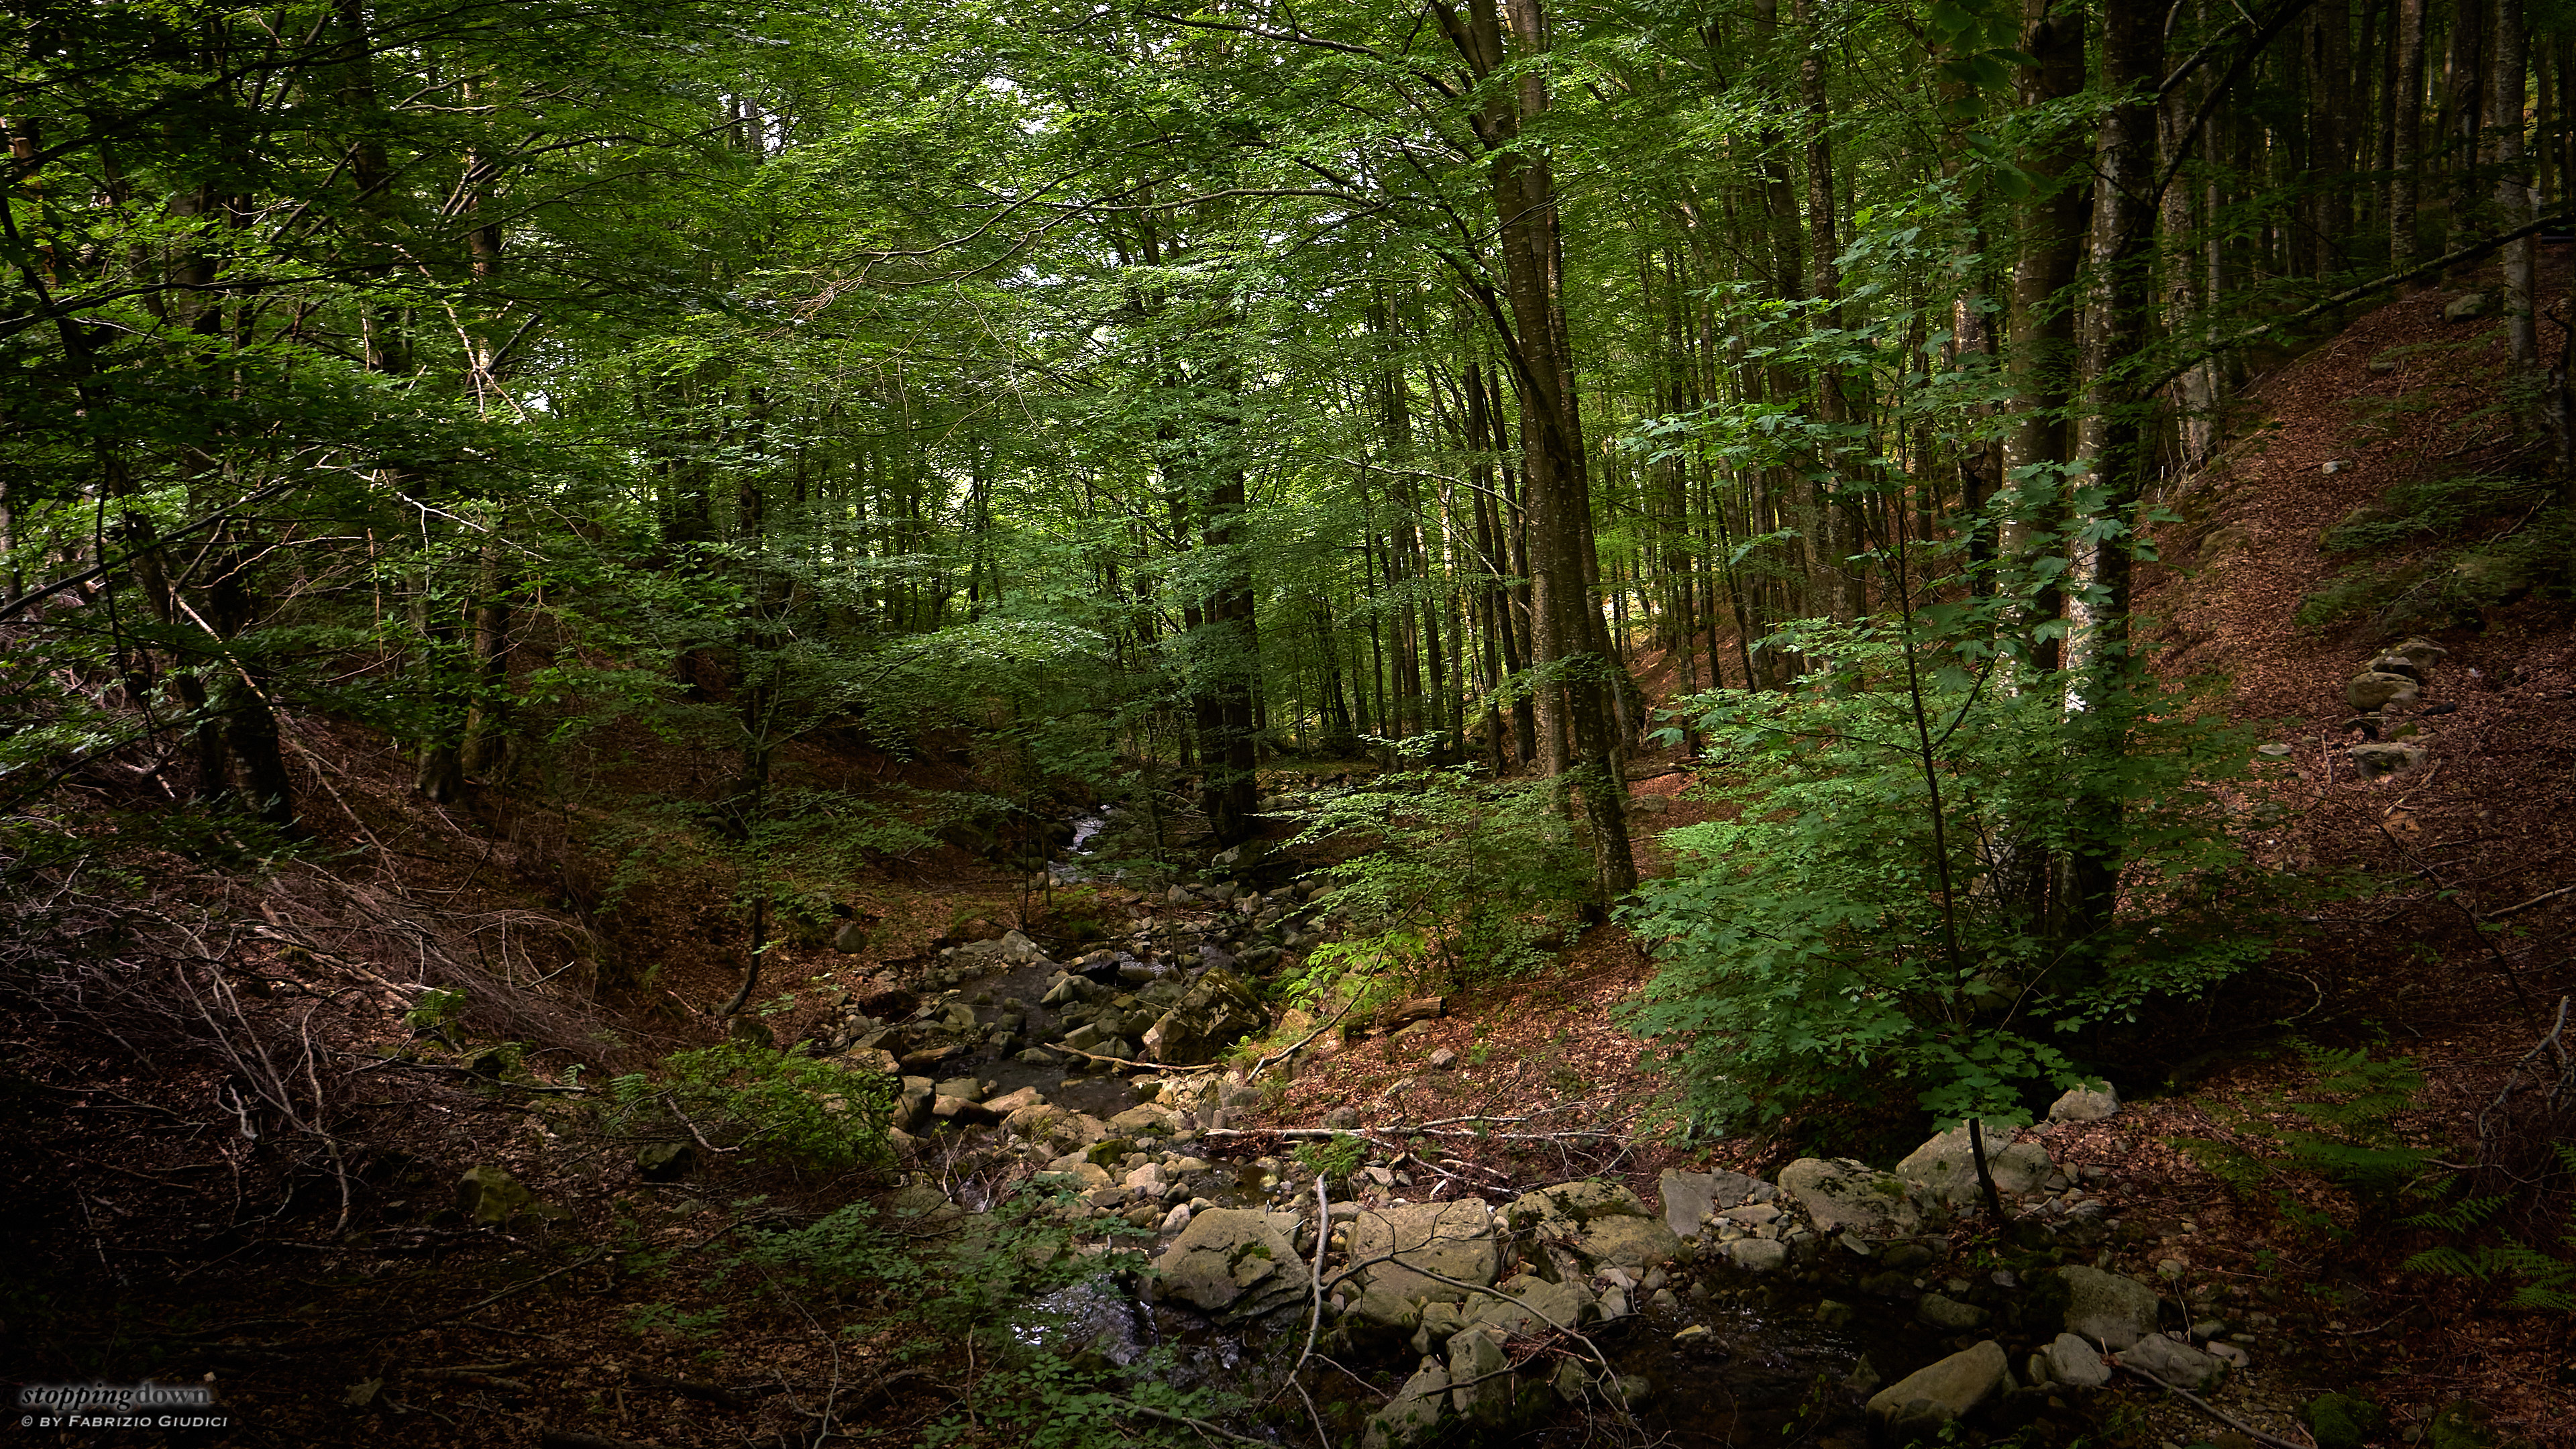
Sony α6600 + Sony E 10-18mm F4 OSS @ 18 mm, 1/160 sec @ ƒ/6.3, -0.70 EV, ISO 1600
La faggeta del Monte Zatta.
These requirements exclude the α6100 (same poor EVF as the α6000) leaving three contenders, here compared with the α6300:
| model | price (no VAT, June 2021) | weight with battery | touch screen | IBIS | battery |
| α6300 | - | 404 g | n | n | NP-FW50 |
| α6400 | 760 € | 403 g | y | n | NP-FW50 |
| α6500 | 800 € | 453 g | y | y | NP-FW50 |
| α6600 | 1120 € | 503 g | y | y | NP-FZ100 |
The α6500 and α6600 satisfy all my requirements, with minimal differences:
- boosted ISO 102400 on the α6600 versus ISO 51200 on the α6500;
- no built-in flash on the α6600;
- less video modes on the α6600 (dropped some variants with limited bitrate, but the α6600 has got all the hi-quality stuff);
- headphone port on the α6600 to monitor audio recording;
- timelapse recording on the α6600.
To those neglectable differences should be added the new battery of the α6600, which is more capable but also larger, heavier and a major annoyance with my ecosystem, given that I have a single compact dual-battery charger and three interchangeable spare batteries that fit all my bodies; quite practical to stay lightweight. Also because of the battery, the α6500 was probably the best choice and also substantially less expensive than the α6600; unfortunately I discovered that it is impossible to find it on the market, so I restricted the choice to the other two models. The α6400 is probably very close to the α6600 for AF capabilities, but in the end IBIS made me opt for the latter. So, here we go with the new camera body: the α6600. After a year I’m more than happy also because I understood that the AF tracking capabilities of the α6600 are much superior to those of the α6500.
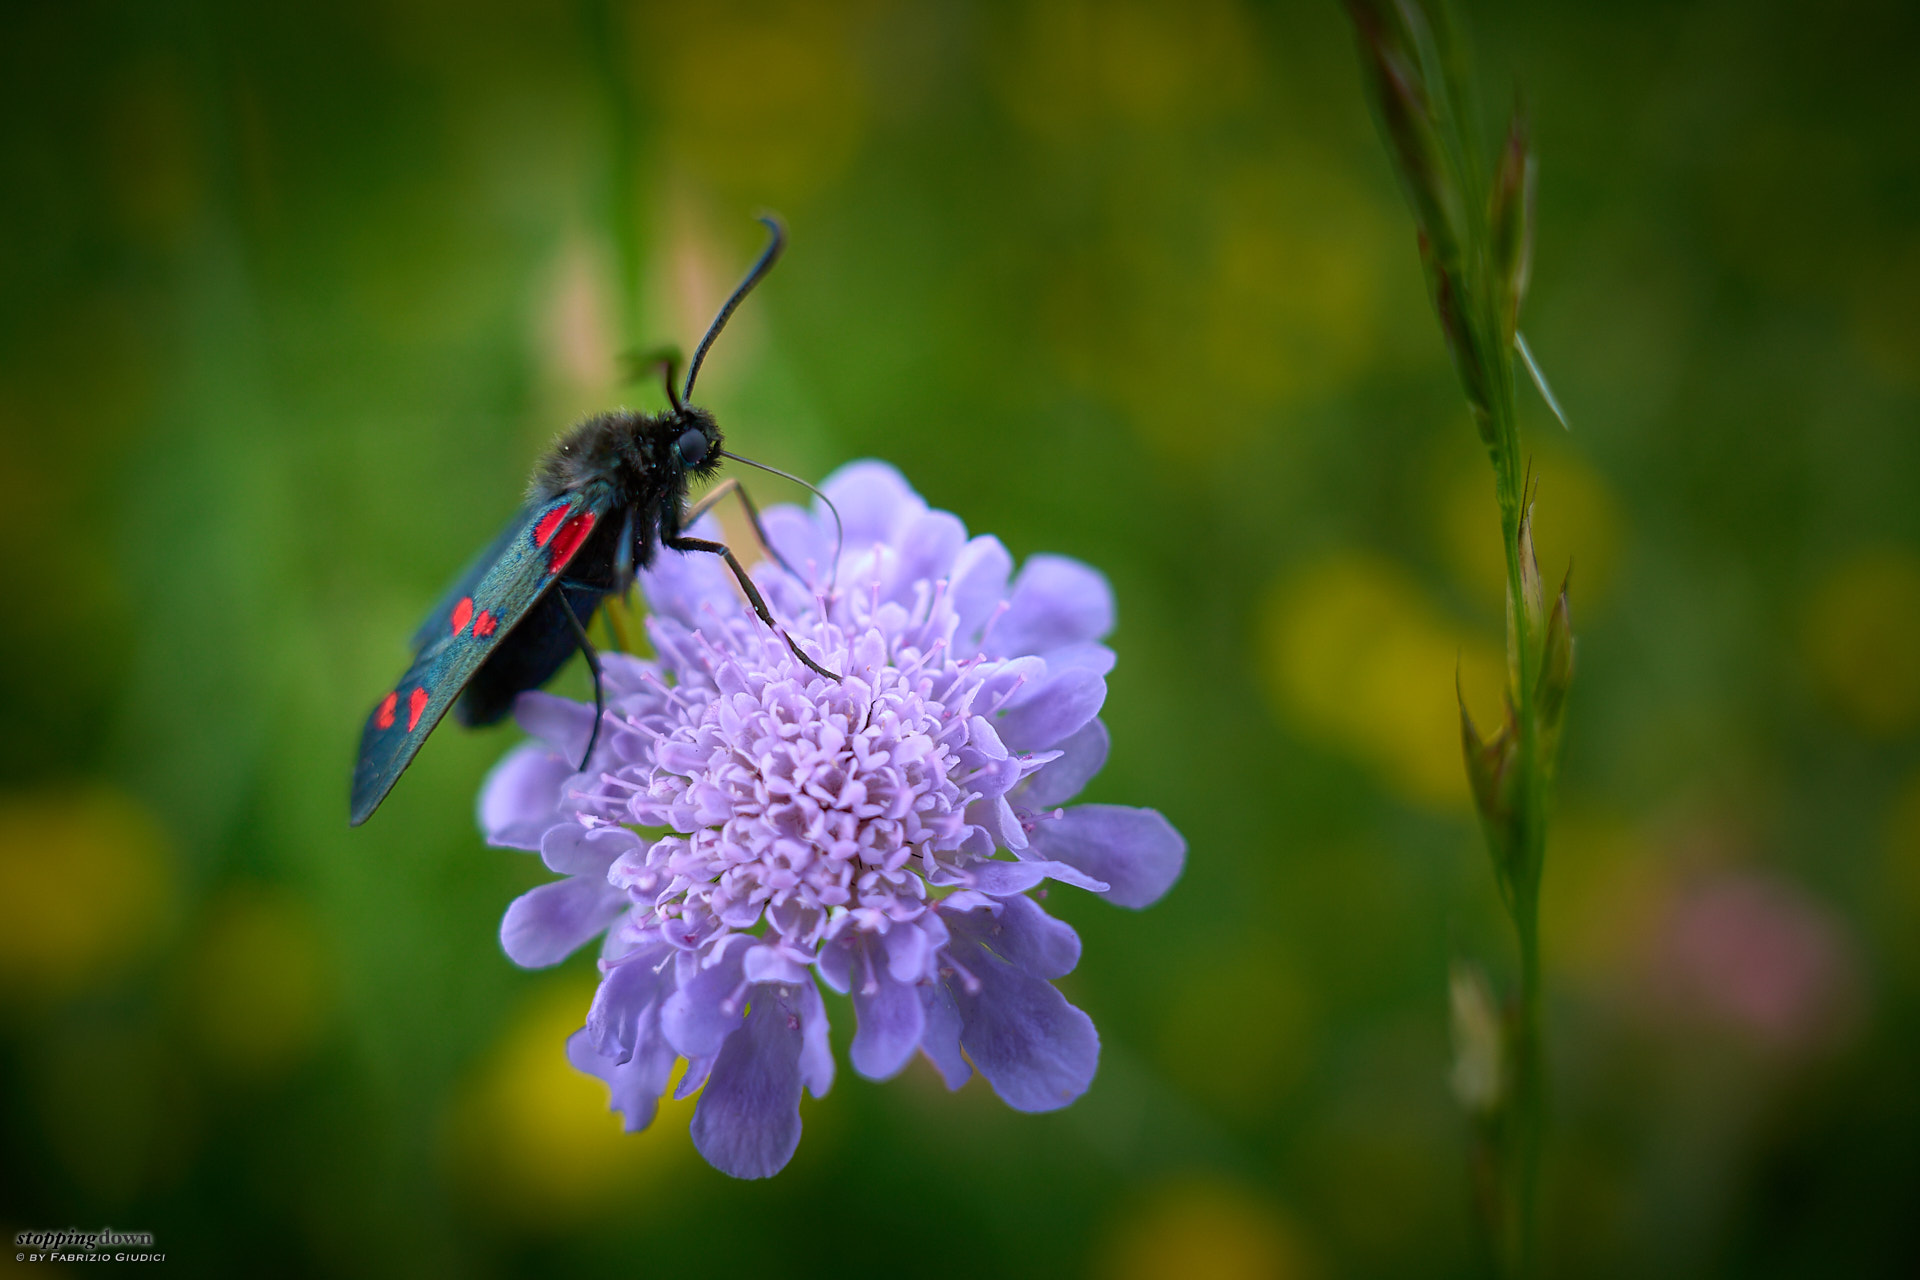

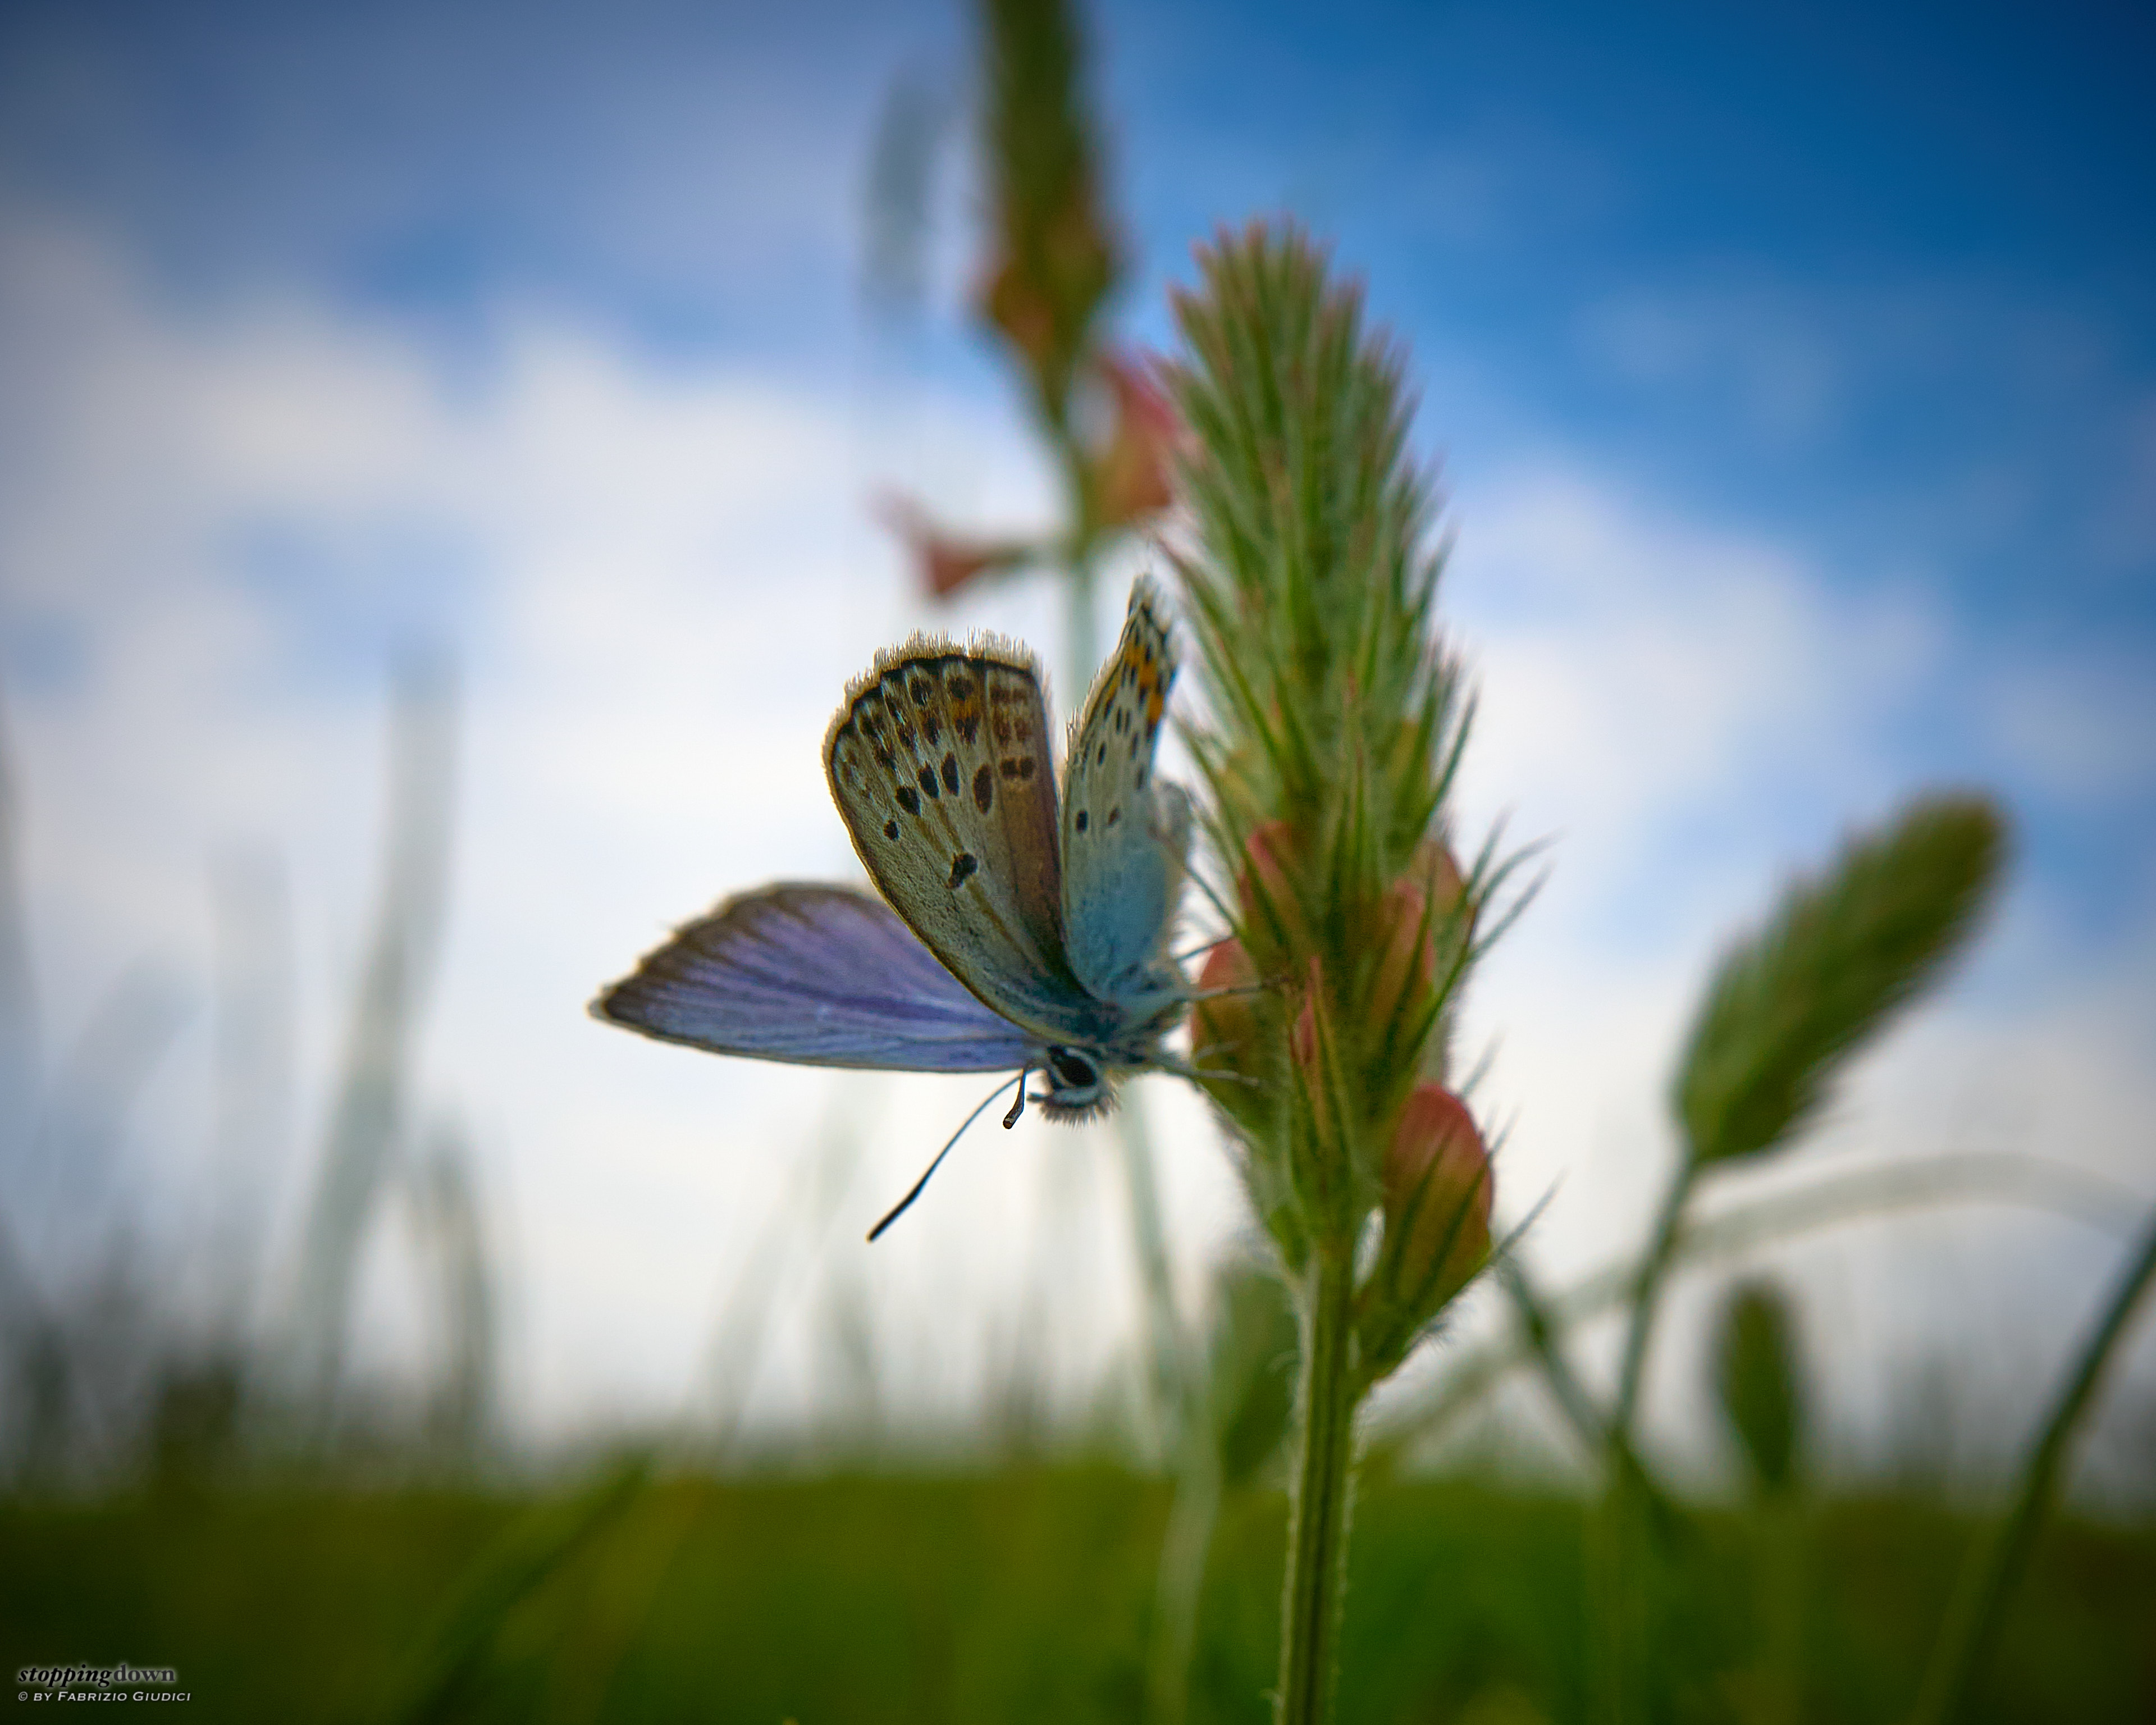
Sony α6600 + Tamron 20mm F/2.8 Di III RXD 1:2 @ 20 mm, 1/320 sec @ ƒ/2.8, +1.00 EV, ISO 320
Zigena della filipendula su Vedovina (Zygaena filipendulae, Scab
Of course the first impression with the new body is positive, also because my first Sony Alpha dates back to more than six years ago and I’m acquainted with the system. For what concerns the new features, focusing through the touch screen seems to be up to my expectations, the new powerful AF tracking seems to really work (but I didn’t find wildlife to test it yet), while I’m a bit puzzled about IBIS (it deserves more testing).
New shooting approach and customisations
I’m writing this section for myself, as it contains a few reminders; but perhaps it can be useful for others. My latest camera body brought a small change to my shooting approach, with respect to camera controls. It is related to an obstinate “bug” that I hoped was fixed with the α6600, but at this point I’m giving up because Sony clearly considers it a feature. Since the old times of the Nikon D7000 (ten years ago) I’ve been using two shooting modes (mapped to presets): one for stills and one for subjects in motion. The former assumes that autofocus is disengaged from the trigger, so I can focus and recompose — for landscapes it means also that I can focus once and recompose/shoot multiple times without wasting time in re-focusing. Unfortunately the coupling between the trigger and auto-focus is not part of presets in Sony camera bodies, so to switch from stills to motion subjects I need to go through the menus in addition to recalling the preset. At this point three bodies, three different menu systems: too much. It was high time I searched for a new approach. Honestly I also strive more and more for manual focusing when I do landscapes with plenty of time, which makes the old approach obsolete — so the α6600 has just been the straw that broke the camel’s back. So I decided to link again AF engagement to the trigger, even for static subjects, and dedicate a custom button to AF/MF switch. But this new approach stayed only for slightly longer than a year...

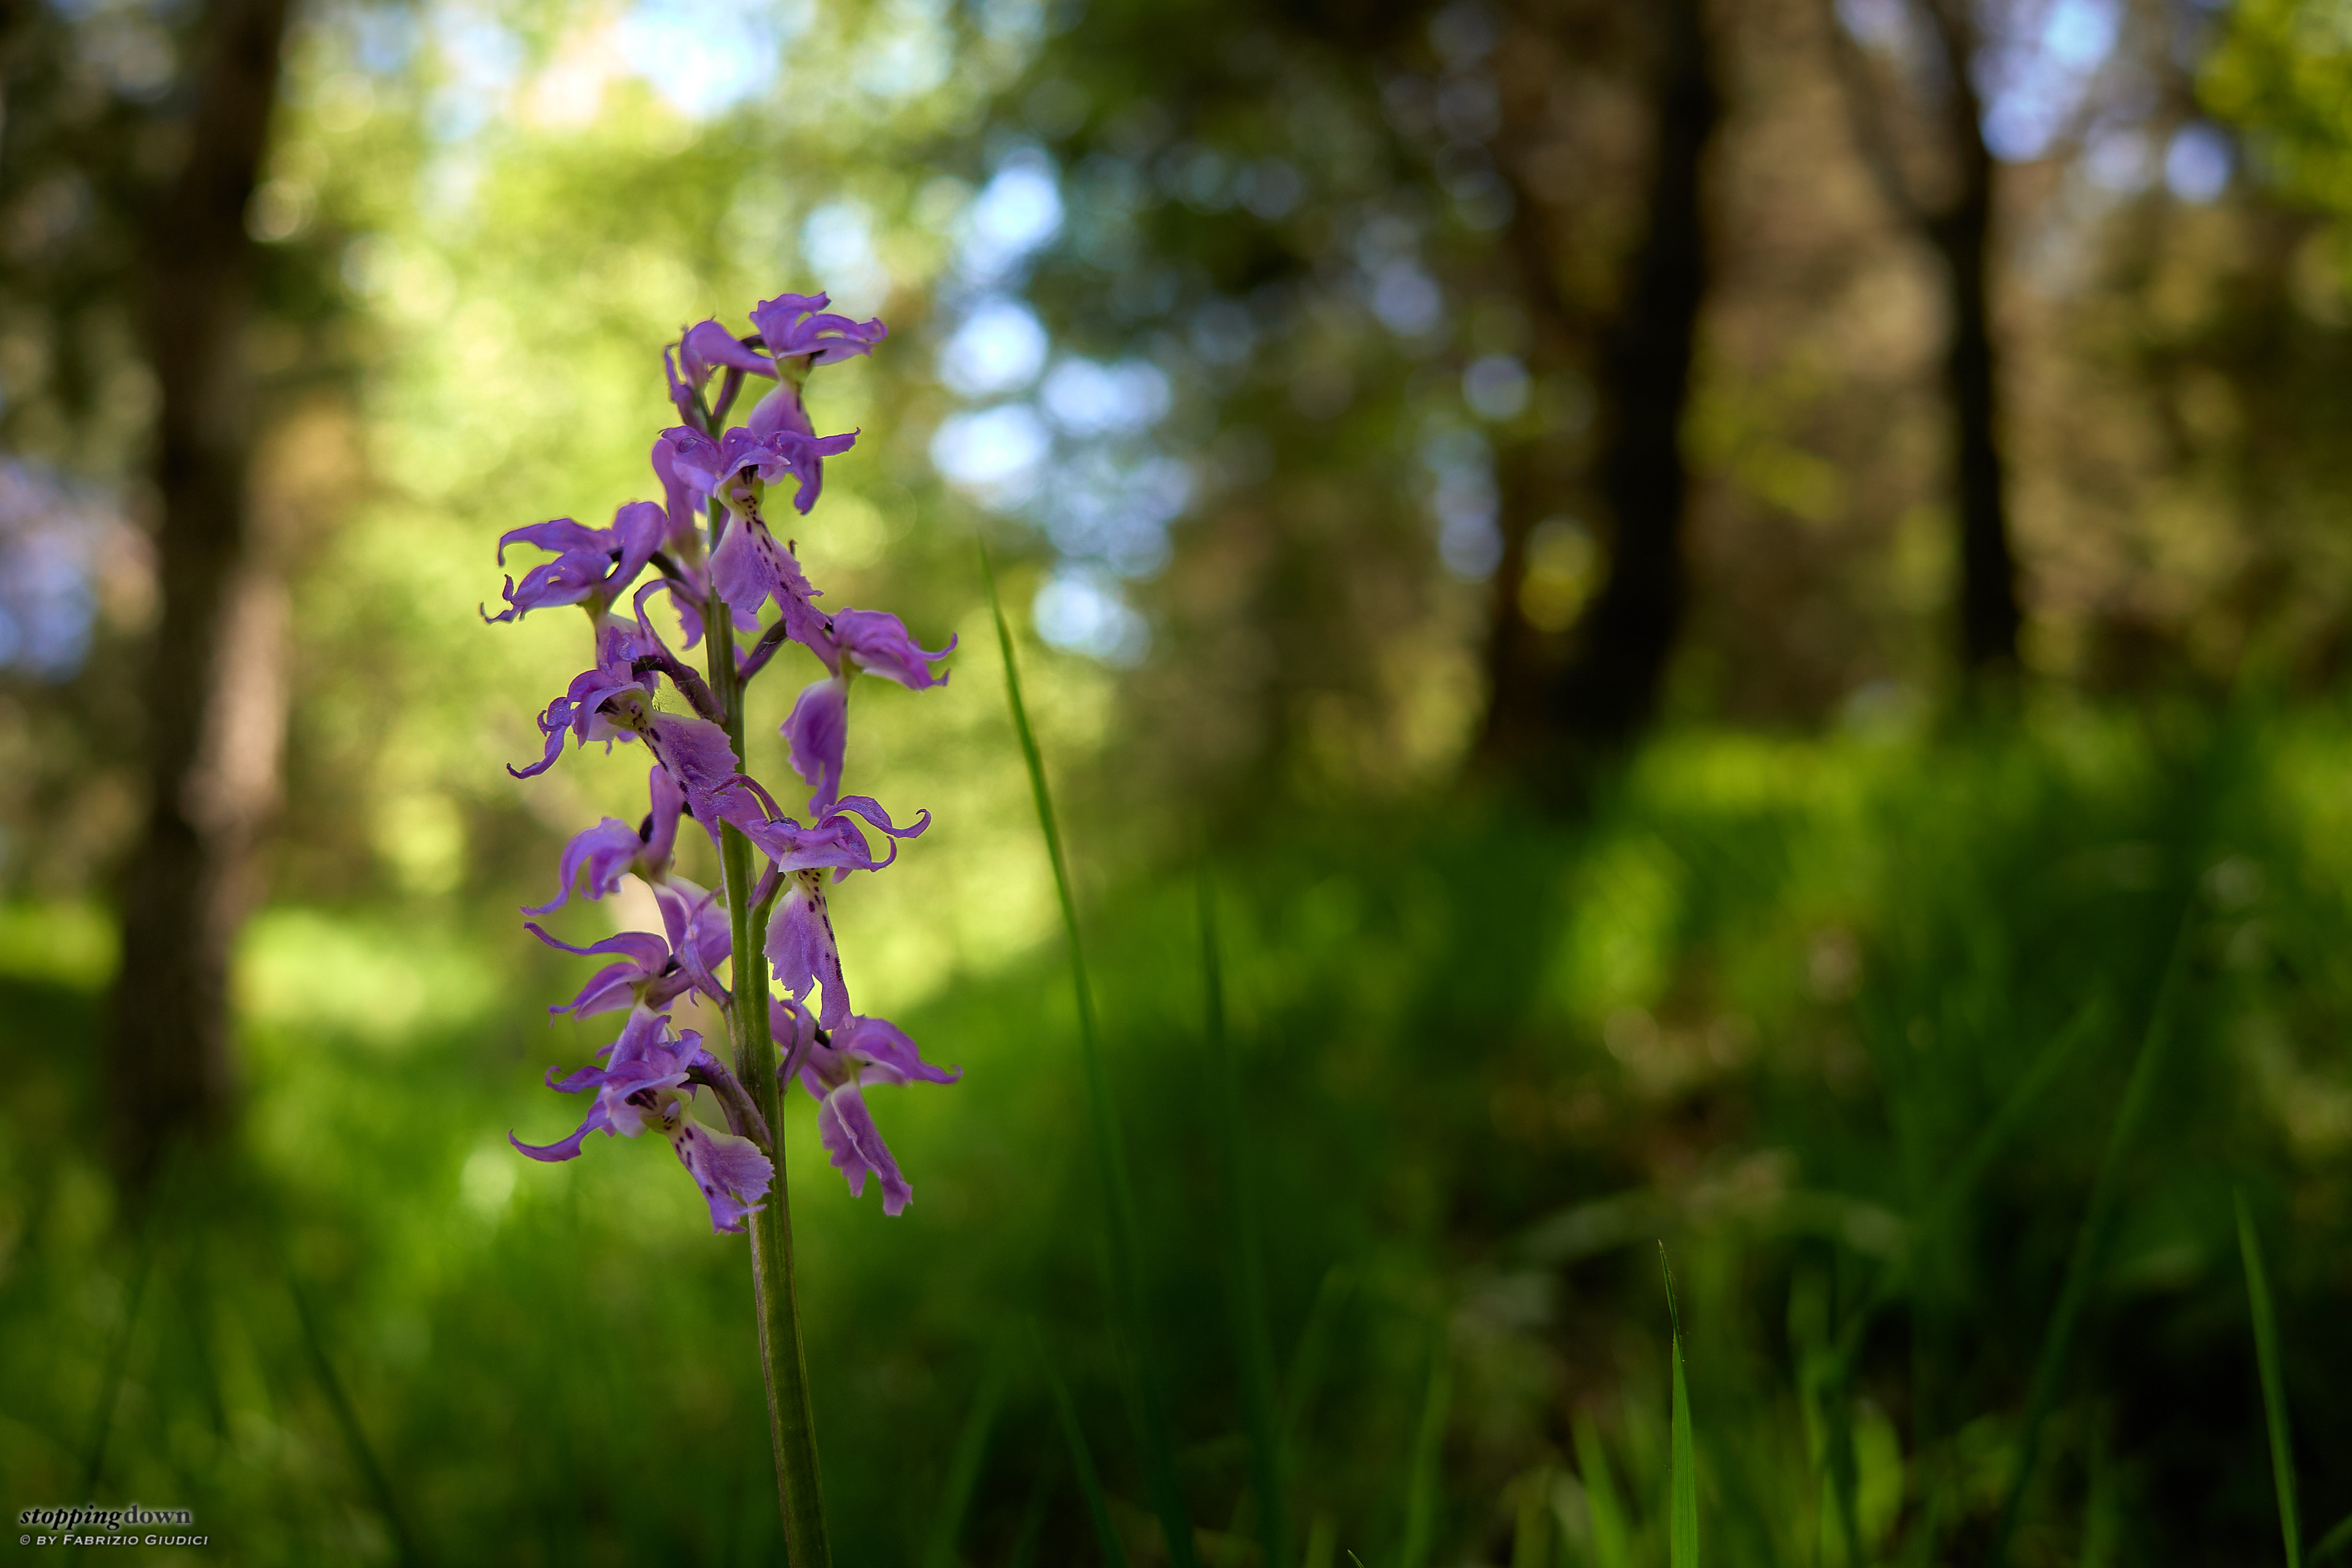
Sony α6600 + Tamron 20mm F/2.8 Di III RXD 1:2 @ 20 mm, 1/250 sec @ ƒ/2.8, +0.30 EV, ISO 200
Orchide elegante (Orchis mascula).
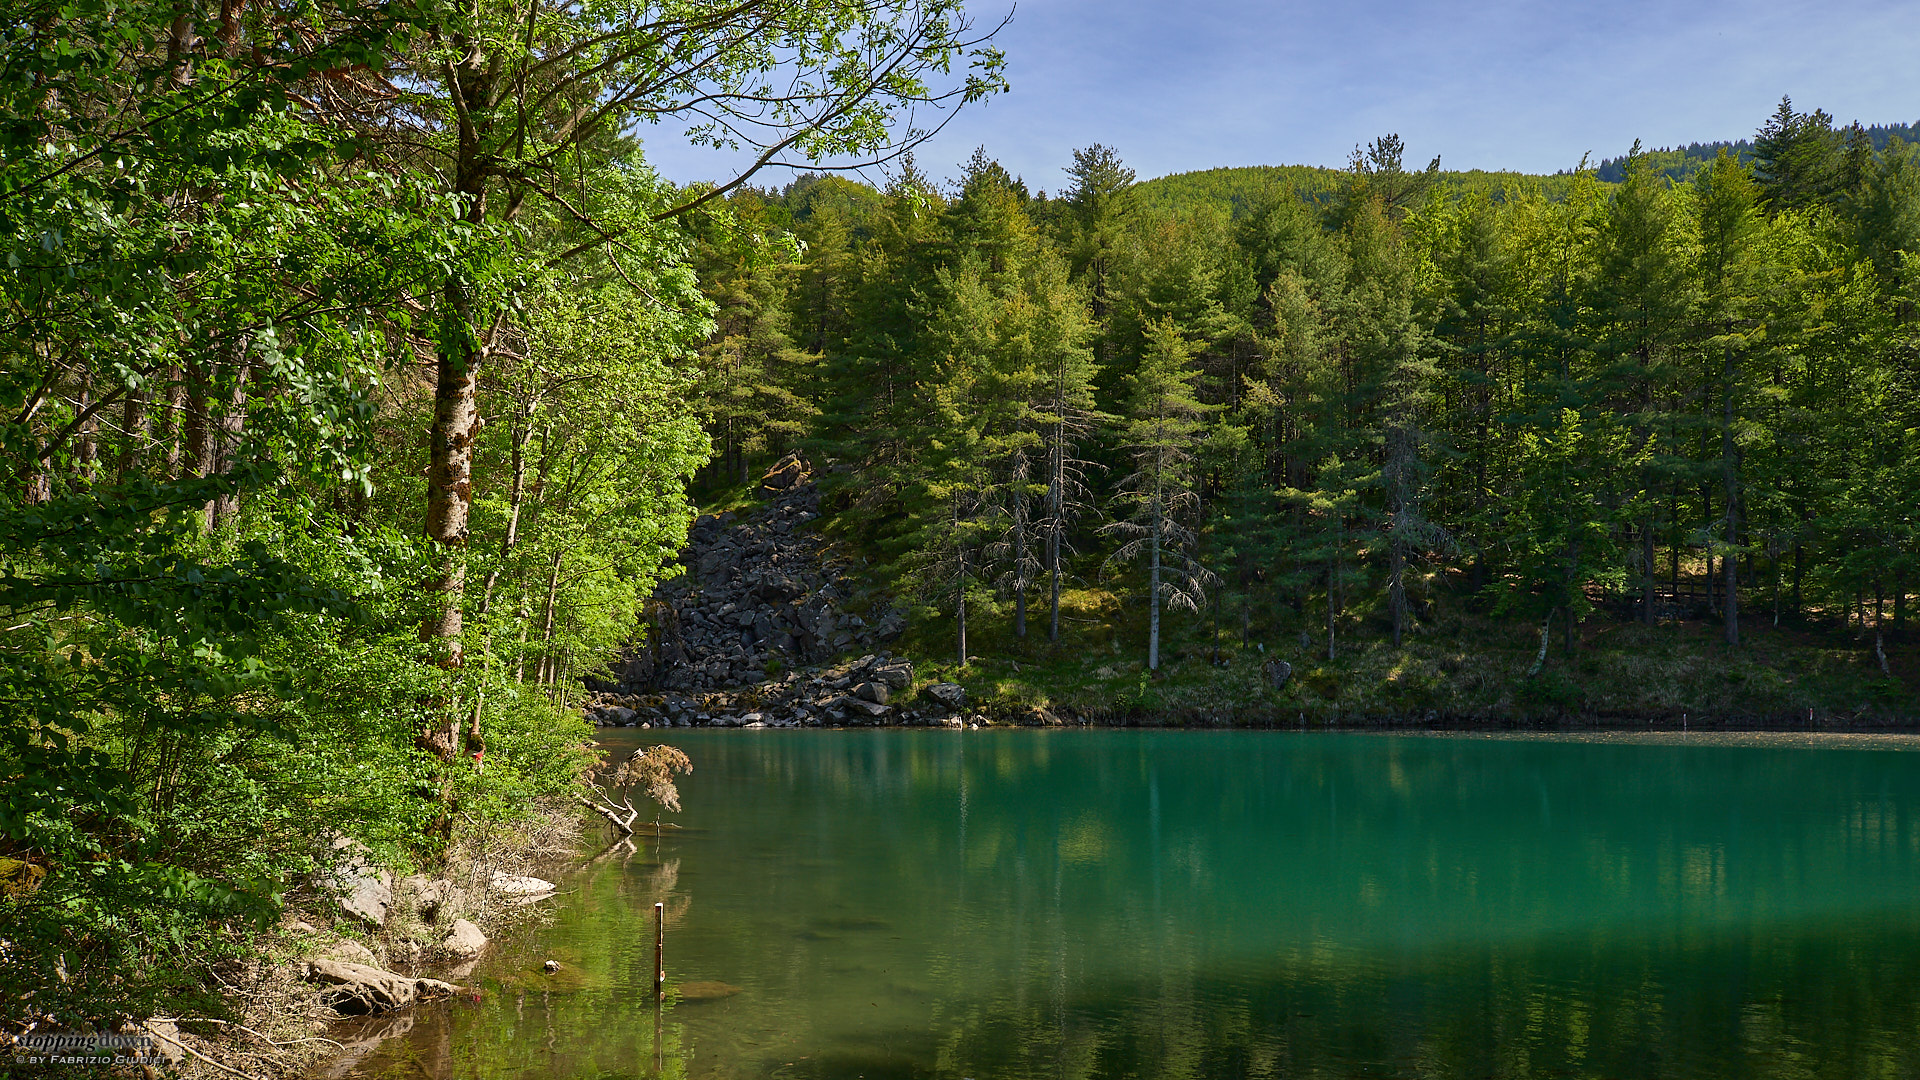
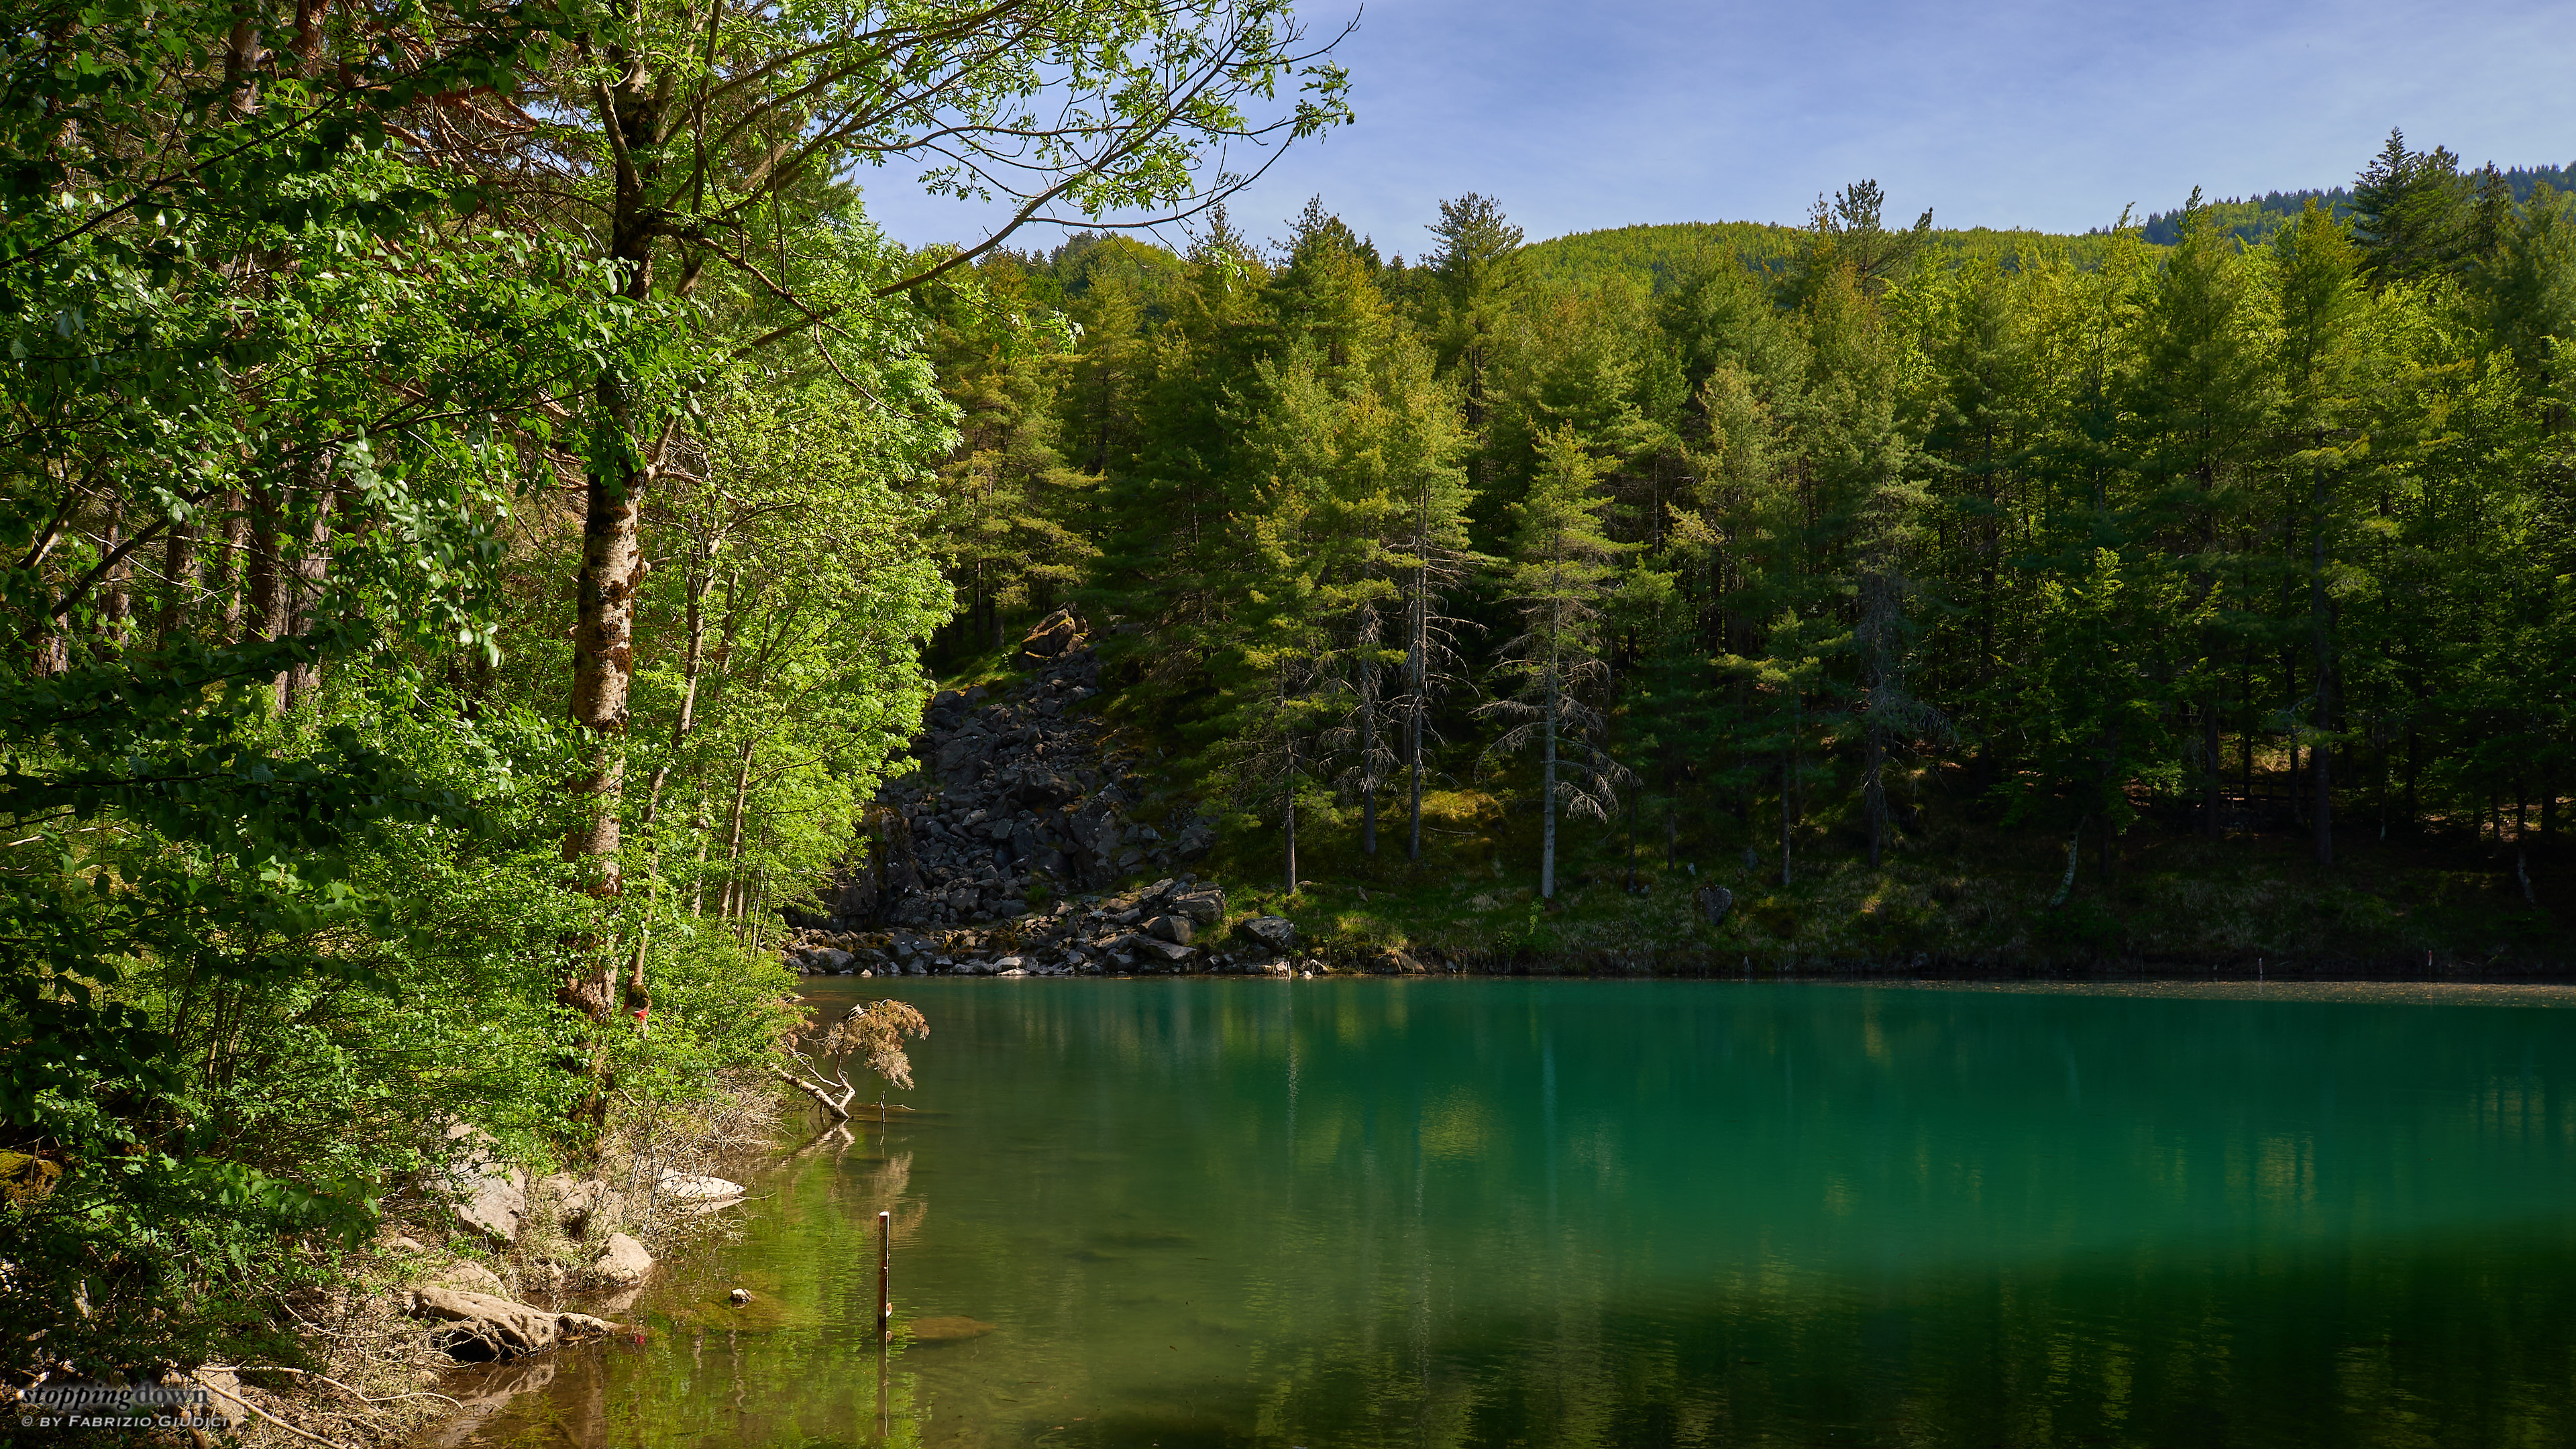
Sony α6600 + Tamron 20mm F/2.8 Di III RXD 1:2 @ 20 mm, 1/60 sec @ ƒ/11, +0.30 EV, ISO 125
Lago delle Lame.
After having used the α6600 just as “an α6300+ with a more reliable AF tracking mode”, I spent more time studying the new features and found that some of them (a few are retrospectively available also in the α6300) make me more effective:
- I again unlinked AF from the trigger. The reason that drove me to this is a new interesting feature of the α6600: the “custom hold”. Basically it is a bag of settings that can be applied while holding a specific custom button, thus acting as a temporary override rather than a fixed memory recall. Even more interesting, they can also engage AF while the button is pressed, so in the end you can have multiple AF buttons with different configurations. So by pressing the AEL button I engage AF with focus tracking, by pressing the C3 button with wide focus area (which is required to have animal eye-AF). This makes sense also because the two buttons are close. I also unlinked AF from the trigger on the α6000, since otherwise I would be really confused when using the three cameras together.
- DMF is now used for static subjects in place of AF-S, as it allows manual focusing even with lenses without AF/MF switches on the body.
- Auto ISO mode is used also for static subjects, together with ISO Auto minimal shutter speed. This feature (also available on the α6300) tries to engage the lowest ISO in a programmed range as far as the shutter speed is not slower than a specific value. You can link this value to the usual focal length reciprocal rule (with slower or faster overrides), which is useful when shutter time has no creative value; or to a fixed value in case you want to freeze or blur motion. This makes sense since ISO, unlike aperture and shutter speed, is not a creative tool, but just a technical consequence of aperture and shutter speed; and you want to keep it as low as possible for maximizing the image quality.
- A mode and ISO Auto minimal shutter speed are used also for moving subjects instead of M mode. In M mode I used the back wheel to change shutter speed, so exposure override required the sequence “↓ button + wheel operation + ok”. Now the wheel directly changes exposure override (consistently with MR 1) and shutter speed can be controlled with the sequence “→ button + wheel operation + ok”. This is a better approach since it’s more frequent to change exposure (because of the subject motion) rather than the shutter speed (which requires changes only when the subject stops and restarts). Furthermore the ↓ button, no more required for exposure override, can be assigned to another function.
When using Auto ISO it’s important to be aware of an implication related to the technique of “Exposing To The Right” (ETTR). The ETTR advantage comes from getting more light to the sensor to reduce noise, that is using a wider aperture and/or a slower shutter time. Let’s say for instance that we’re working in A mode: this means that overexposing first slows shutter time down, but once it reaches the programmed Minimum Shutter Time it is no more changed; instead ISO is increased. This also increases the noise and nullifies the ETTR advantage. Summing up, using ETTR with Auto ISO means that one does not always need to reach the point in which the histogram touches the right side or zebra lines start to blink; one should stop overexposing when ISO starts to climb over the minimum value (ISO 100 in my case), if this event happens first.
As usual I have two memory recalls, MR1 for static subjects and MR2 for fast moving subjects such as birds in flight. The α6600 introduced “custom hold” settings, that are a subset of overrides that be temporarily activated by pressing a button, eventually also engaging AF. In this way it is possible to have alternate focusing buttons that also override the current settings.
I’ve programmed Custom Hold 1 to override the focusing area to “Wide focus area”: it is required by animal eye AF that, unlike human eye AF, doesn’t work with tracking, but only within the active AF area. Custom Hold 2, instead, activates AF-C and tracking: it can be used for macro subjects that continuously stay put and start moving (such as critters), without necessarily setting a very fast shutter time as MR2 does (AF-C is also dramatically faster with some macro lenses such as the Sigma 105mm F2.8 DG DN Macro Art).
| MR 1 static subjects |
MR 2 fast moving subjects |
Custom hold 1 (α6600) alt. moving subjects |
Custom hold 2 (α6600) macro subjects |
|
| Mode | A | |||
| Aperture | ƒ/8 | |||
| ISO1 | Auto: 100 — 4000 (α6600) | |||
| Auto: 100 — 3200 (α6300) | ||||
| Auto: 100 — 1600 (α6000) | ||||
| ISO Auto min. SS (α6600, α6300) |
Standard (α6600)2 Fast (α6300) |
1/2000 s | ||
| Drive mode | Brk C 0.3 EV 3 | HI | Cont. shooting | |
| Focus mode | DMF | AF-C | AF-C | |
| Focusing area | Flexible spot: S | Tracking: Expand flexible spot (α6600) | Wide focus area | Tracking: Expand flexible spot |
| Lock-on AF: Expand flexible spot (α6300) | ||||
| Flexible spot: L (α6000) | ||||
| Subject detection (α6600) | Human3 | - | ||
| Face/Eye priority in AF (α6600) | On | - | ||
| 1Maximum values suggested by sensor noise figures. 2Braver settings could be used, especially with IBIS, but with age I’m getting more and more shaky. 3It would be nice to have “animal” in MR 2, but it disables “Tracking: expand flexible spot” mode. Unfortunately subject detection can’t be overridden by custom holds. |
||||
Given these premises I reprogrammed the custom buttons (also trying to make them as close as possible to those of my two older models):
| α6600 | α6300 | α6000 | |
| AF/MF | peaking display | focus mode | - |
| AEL | autofocus1 | ||
| ⦿ | focus standard | ||
| ← | focus area | ||
| → | ISO Auto min. SS | ISO | |
| ↓ | AF/MF toggle | ||
| C1 | focus magnifier | ||
| C2 | recall custom hold 2 (Tracking: Expand flexible spot) |
- | |
| C3 | zebra on/off2 | (C2) peaking level | |
| C4 | recall custom hold 1 (Wide focus area) |
- | |
| lens custom button | |||
| 1It would be nice to assign it to a custom hold which includes AF, as this approach would allow to override a few settings, but in this way it would reset the focusing magnifier. 2Used to quickly declutter the view when composing. |
|||
Other settings that might be frequently changed have been assigned to the Fn operation menus:
| 1 | 2 | 3 | 4 | 5 | 6 |
| Drive mode | Focus mode | Steadyshot | Steadyshot adj. (α6600) |
Silent shooting (α6600, α6300) |
Metering mode |
| Zebra level | ISO | DRO | Creative style | White balance | Subject detection human/animal (α6600) |
| peaking level (α6300, α6000) |
For what concerns DRO, Creative style and White balance, these settings are irrelevant for RAW shooting, but they have some interesting side effect in the viewfinder. For instance, for α6600 Mark Galer explains that setting DRO to LV5 makes shadows more visible in the EVF (it might help composition) and Creative style contrast to -3 improves histogram rendering, balancing the default tendency to exaggerate highlights. Galer also suggests to set Zebra Level to 105/109%+, again to contrast the tendency to trigger early (zebra is a tool designed for videos, where RAW is not available and burning highlights can be an unrecoverable problem).
For the α6300 and α6000 I’ve found that Creative style with saturation set to +1 makes the image in the EVF more similar to the real world. White balance is set to 6500K for all camera bodies.
Since these settings are not good for every situation, it’s handy to have them in the Fn menu, so they can be quickly adapted. It’s also useful to have a recap of these settings that comes and goes by just pressing the Fn button — the specific screen that recaps almost every setting in the camera is too cluttered to my taste.
At last, my best pick for viewfinder settings are color temperature adjustment -2 and brightness +2.