The flash unit is generally used in wildlife photography for the following reasons:
- to reduce the contrast when there's a harsh light, usually backlight due to the sun;
- to add a sparkle in the eyes (otherwise animals with dark or black eyes tend to look like museum specimen).
In this field note I'm going to talk about taking advantage of it when the light is dull because of bad weather.
All photos in this page have been taken with the following equipment: Nikon D70, AF-S 300 f/4, TC14E II, flash unit SB-80 + Better Beamer. All the pictures have been post-processed to correct the white point, increase a bit the colour saturation and sometimes adjust the curves to increase contrast. Each image in any pair has been post-processed in the same way to keep the comparison meaningful.
Bad weather usually means dull light
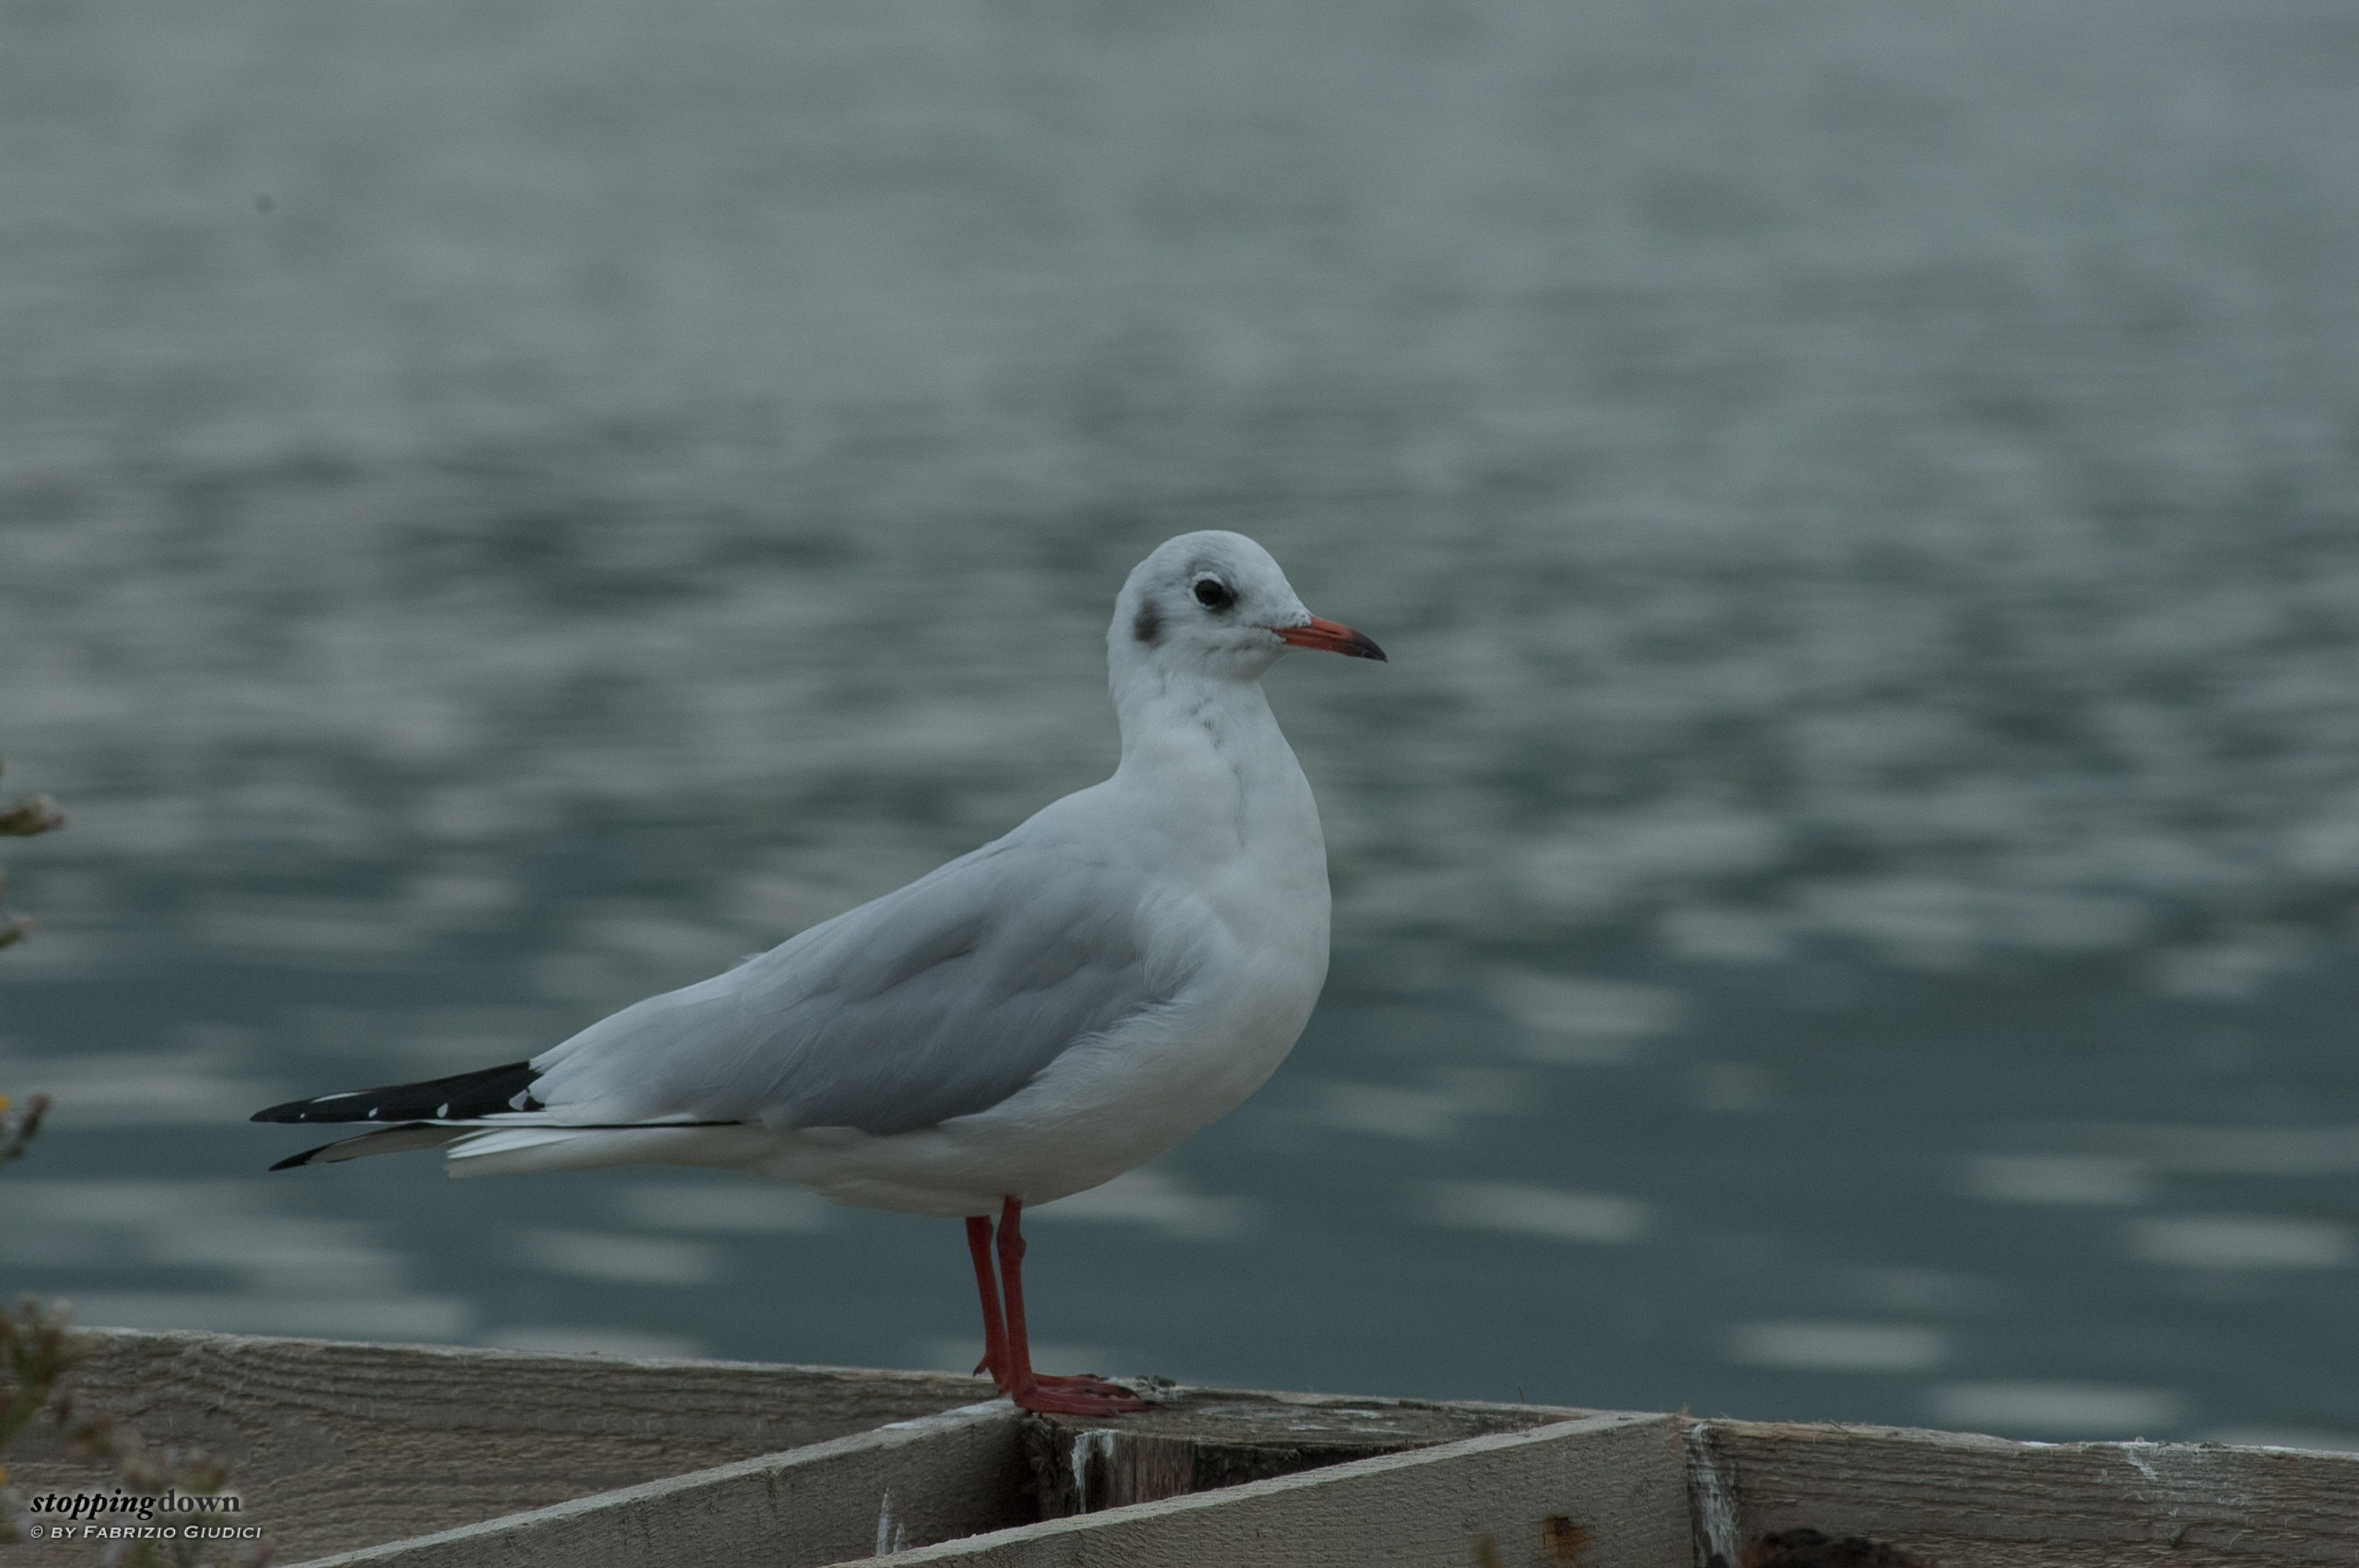
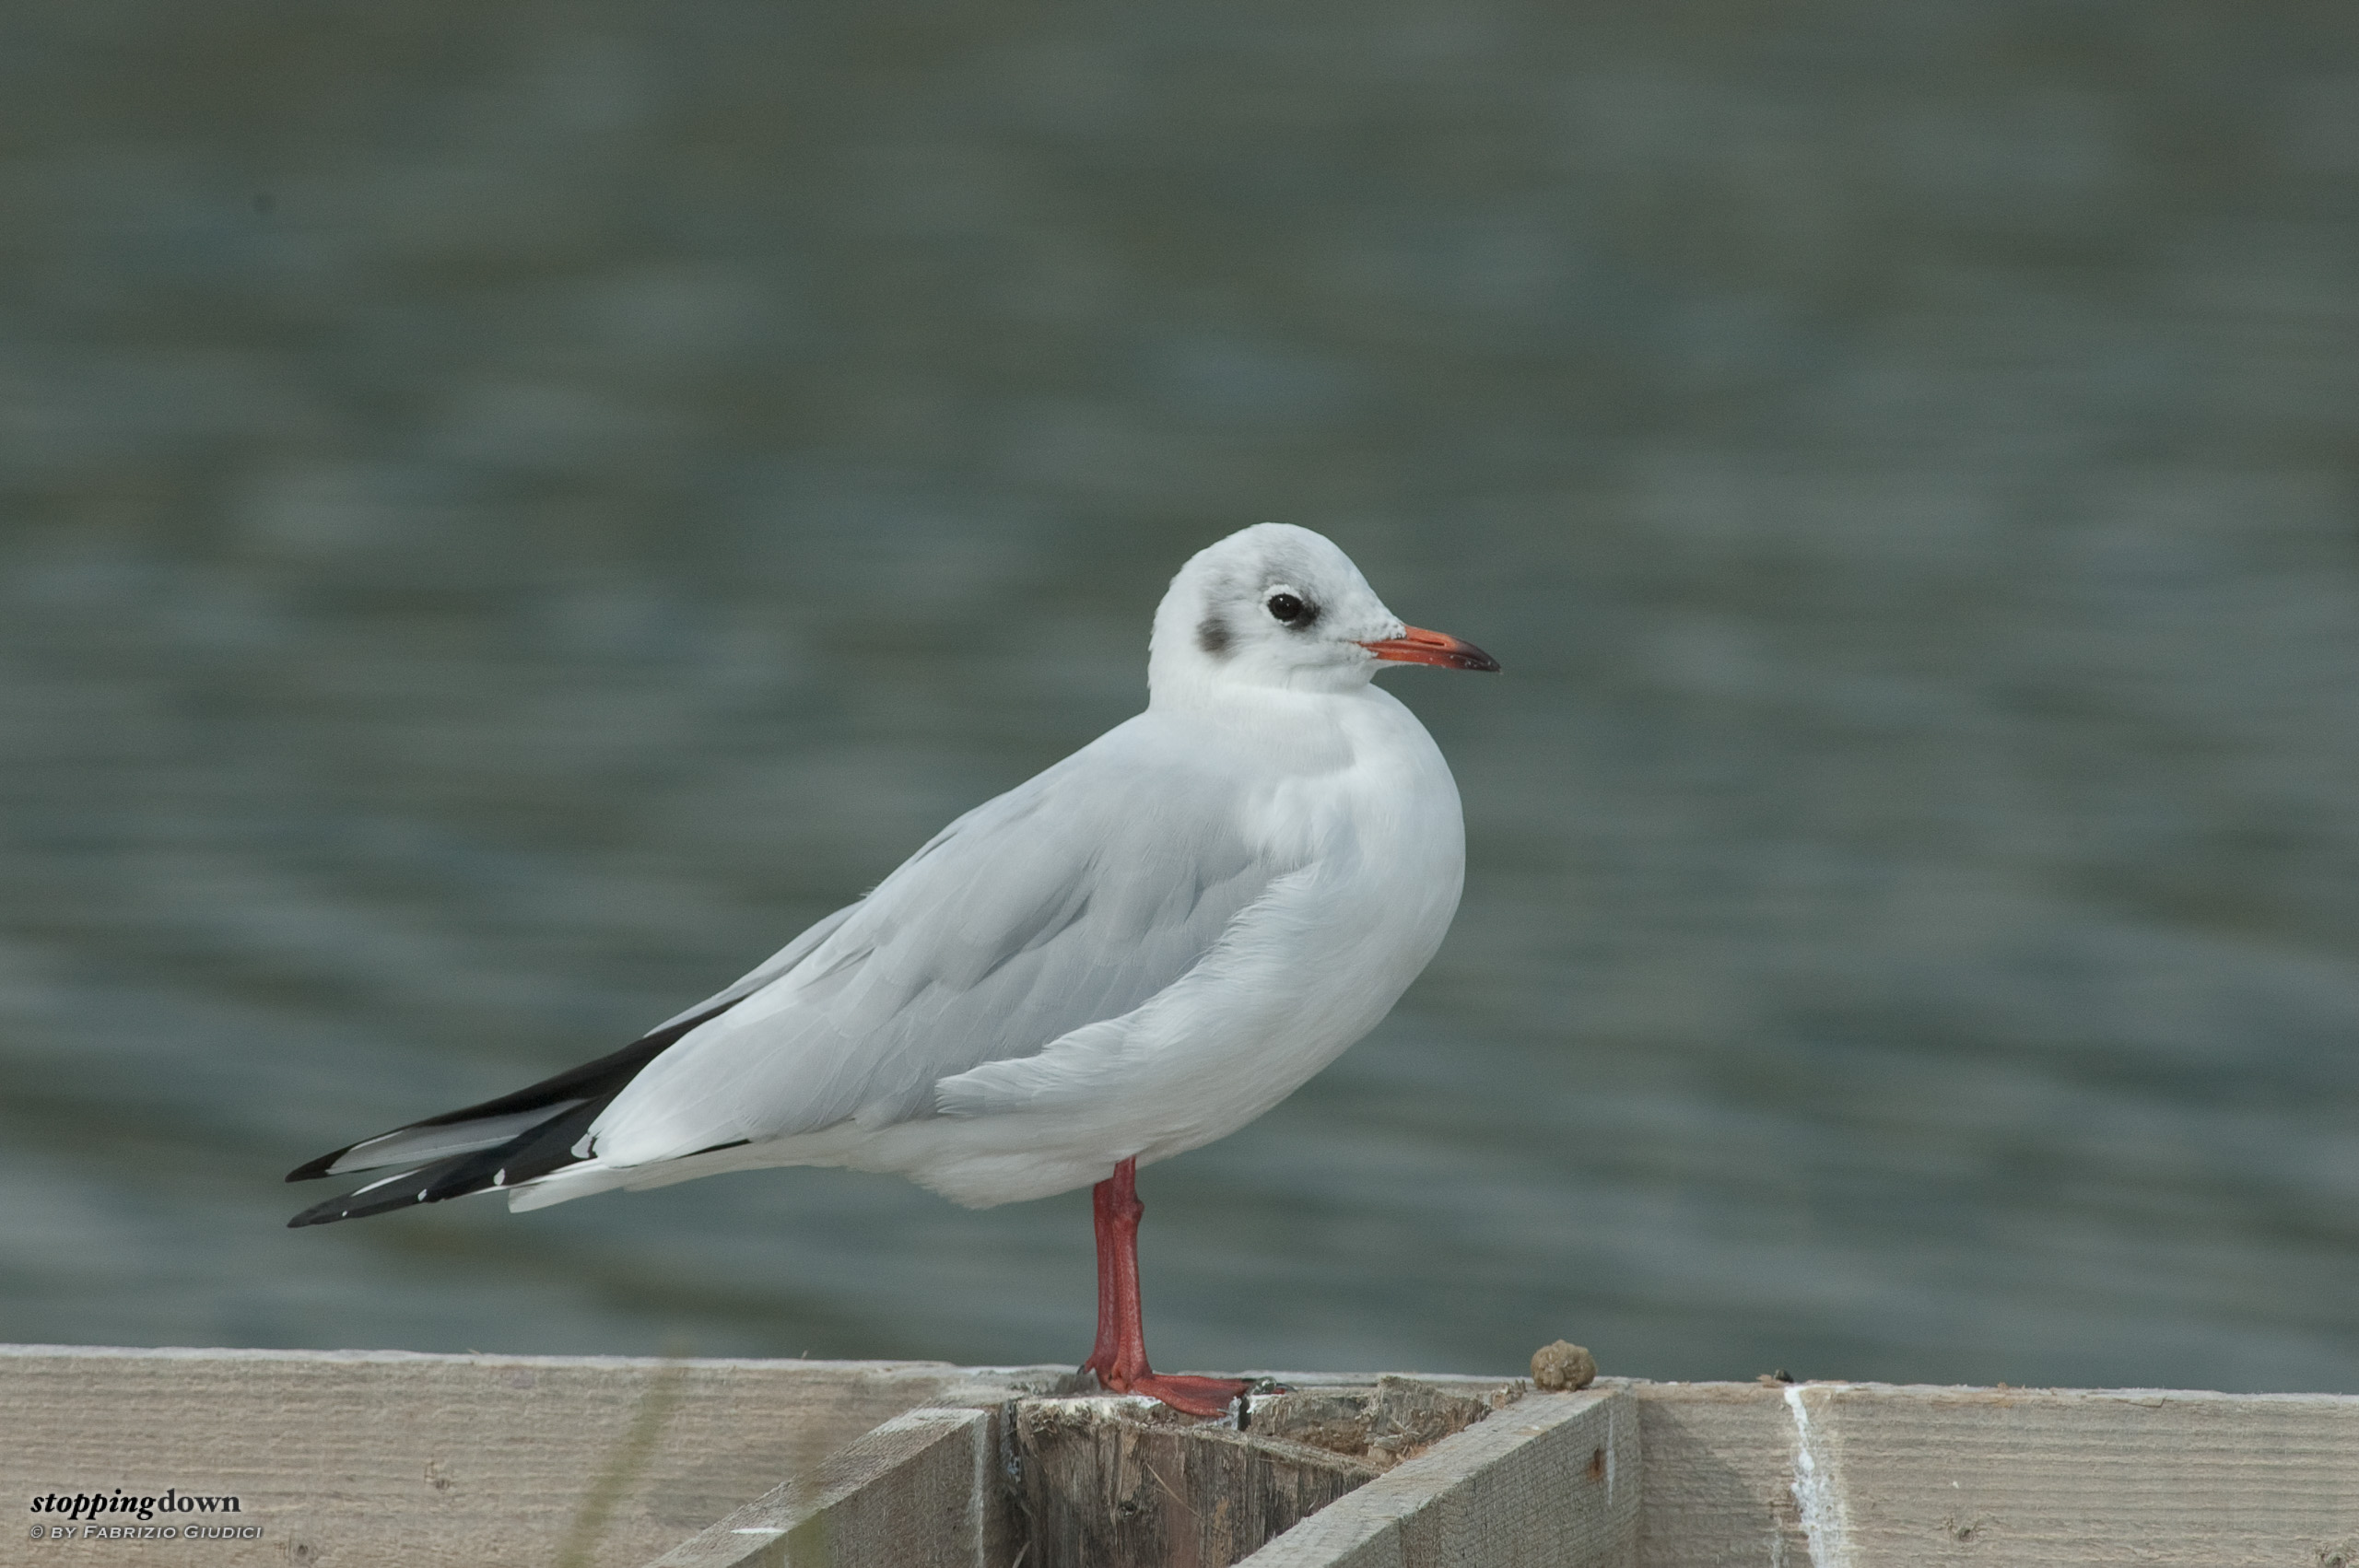
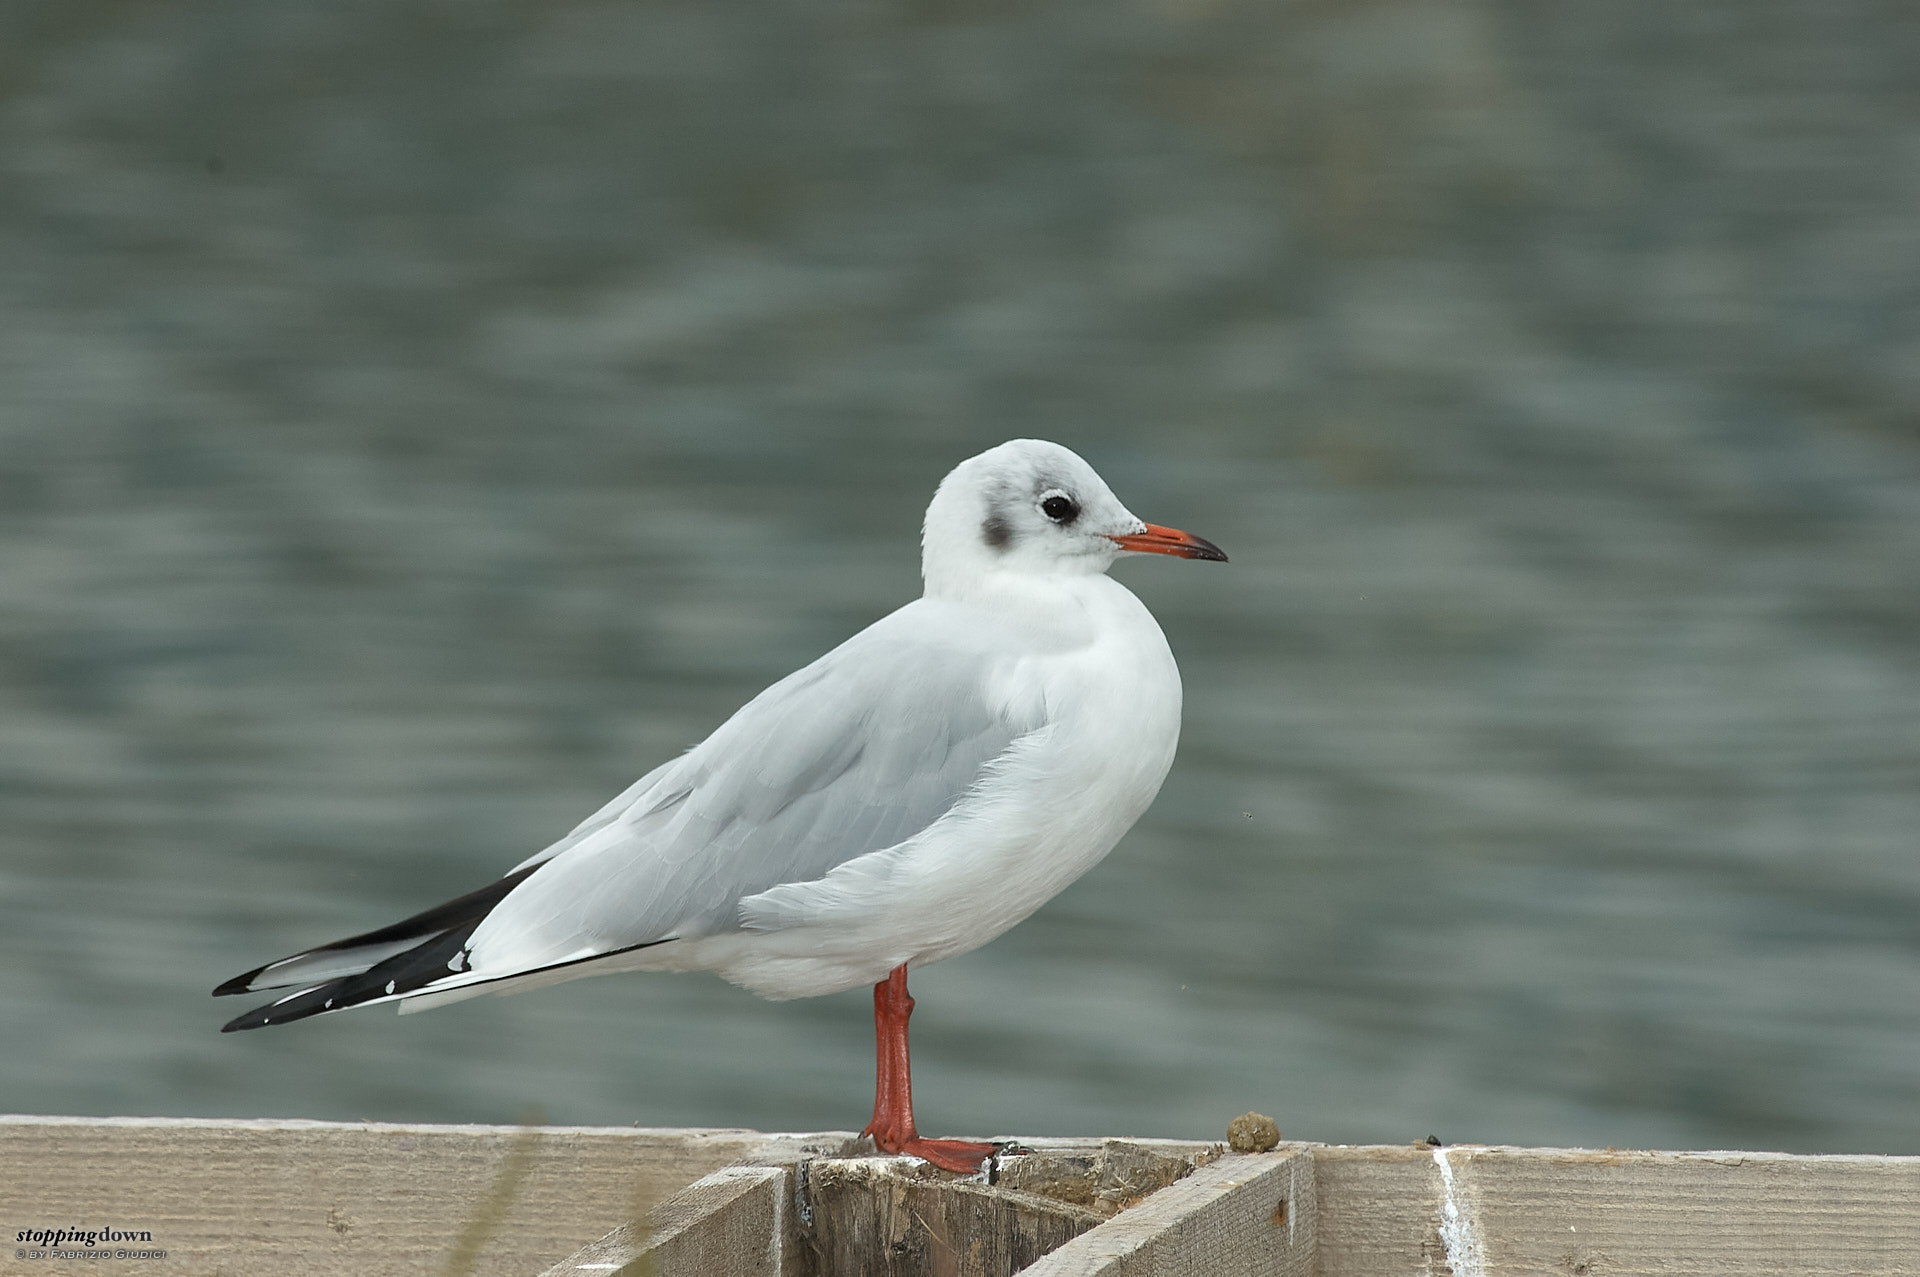
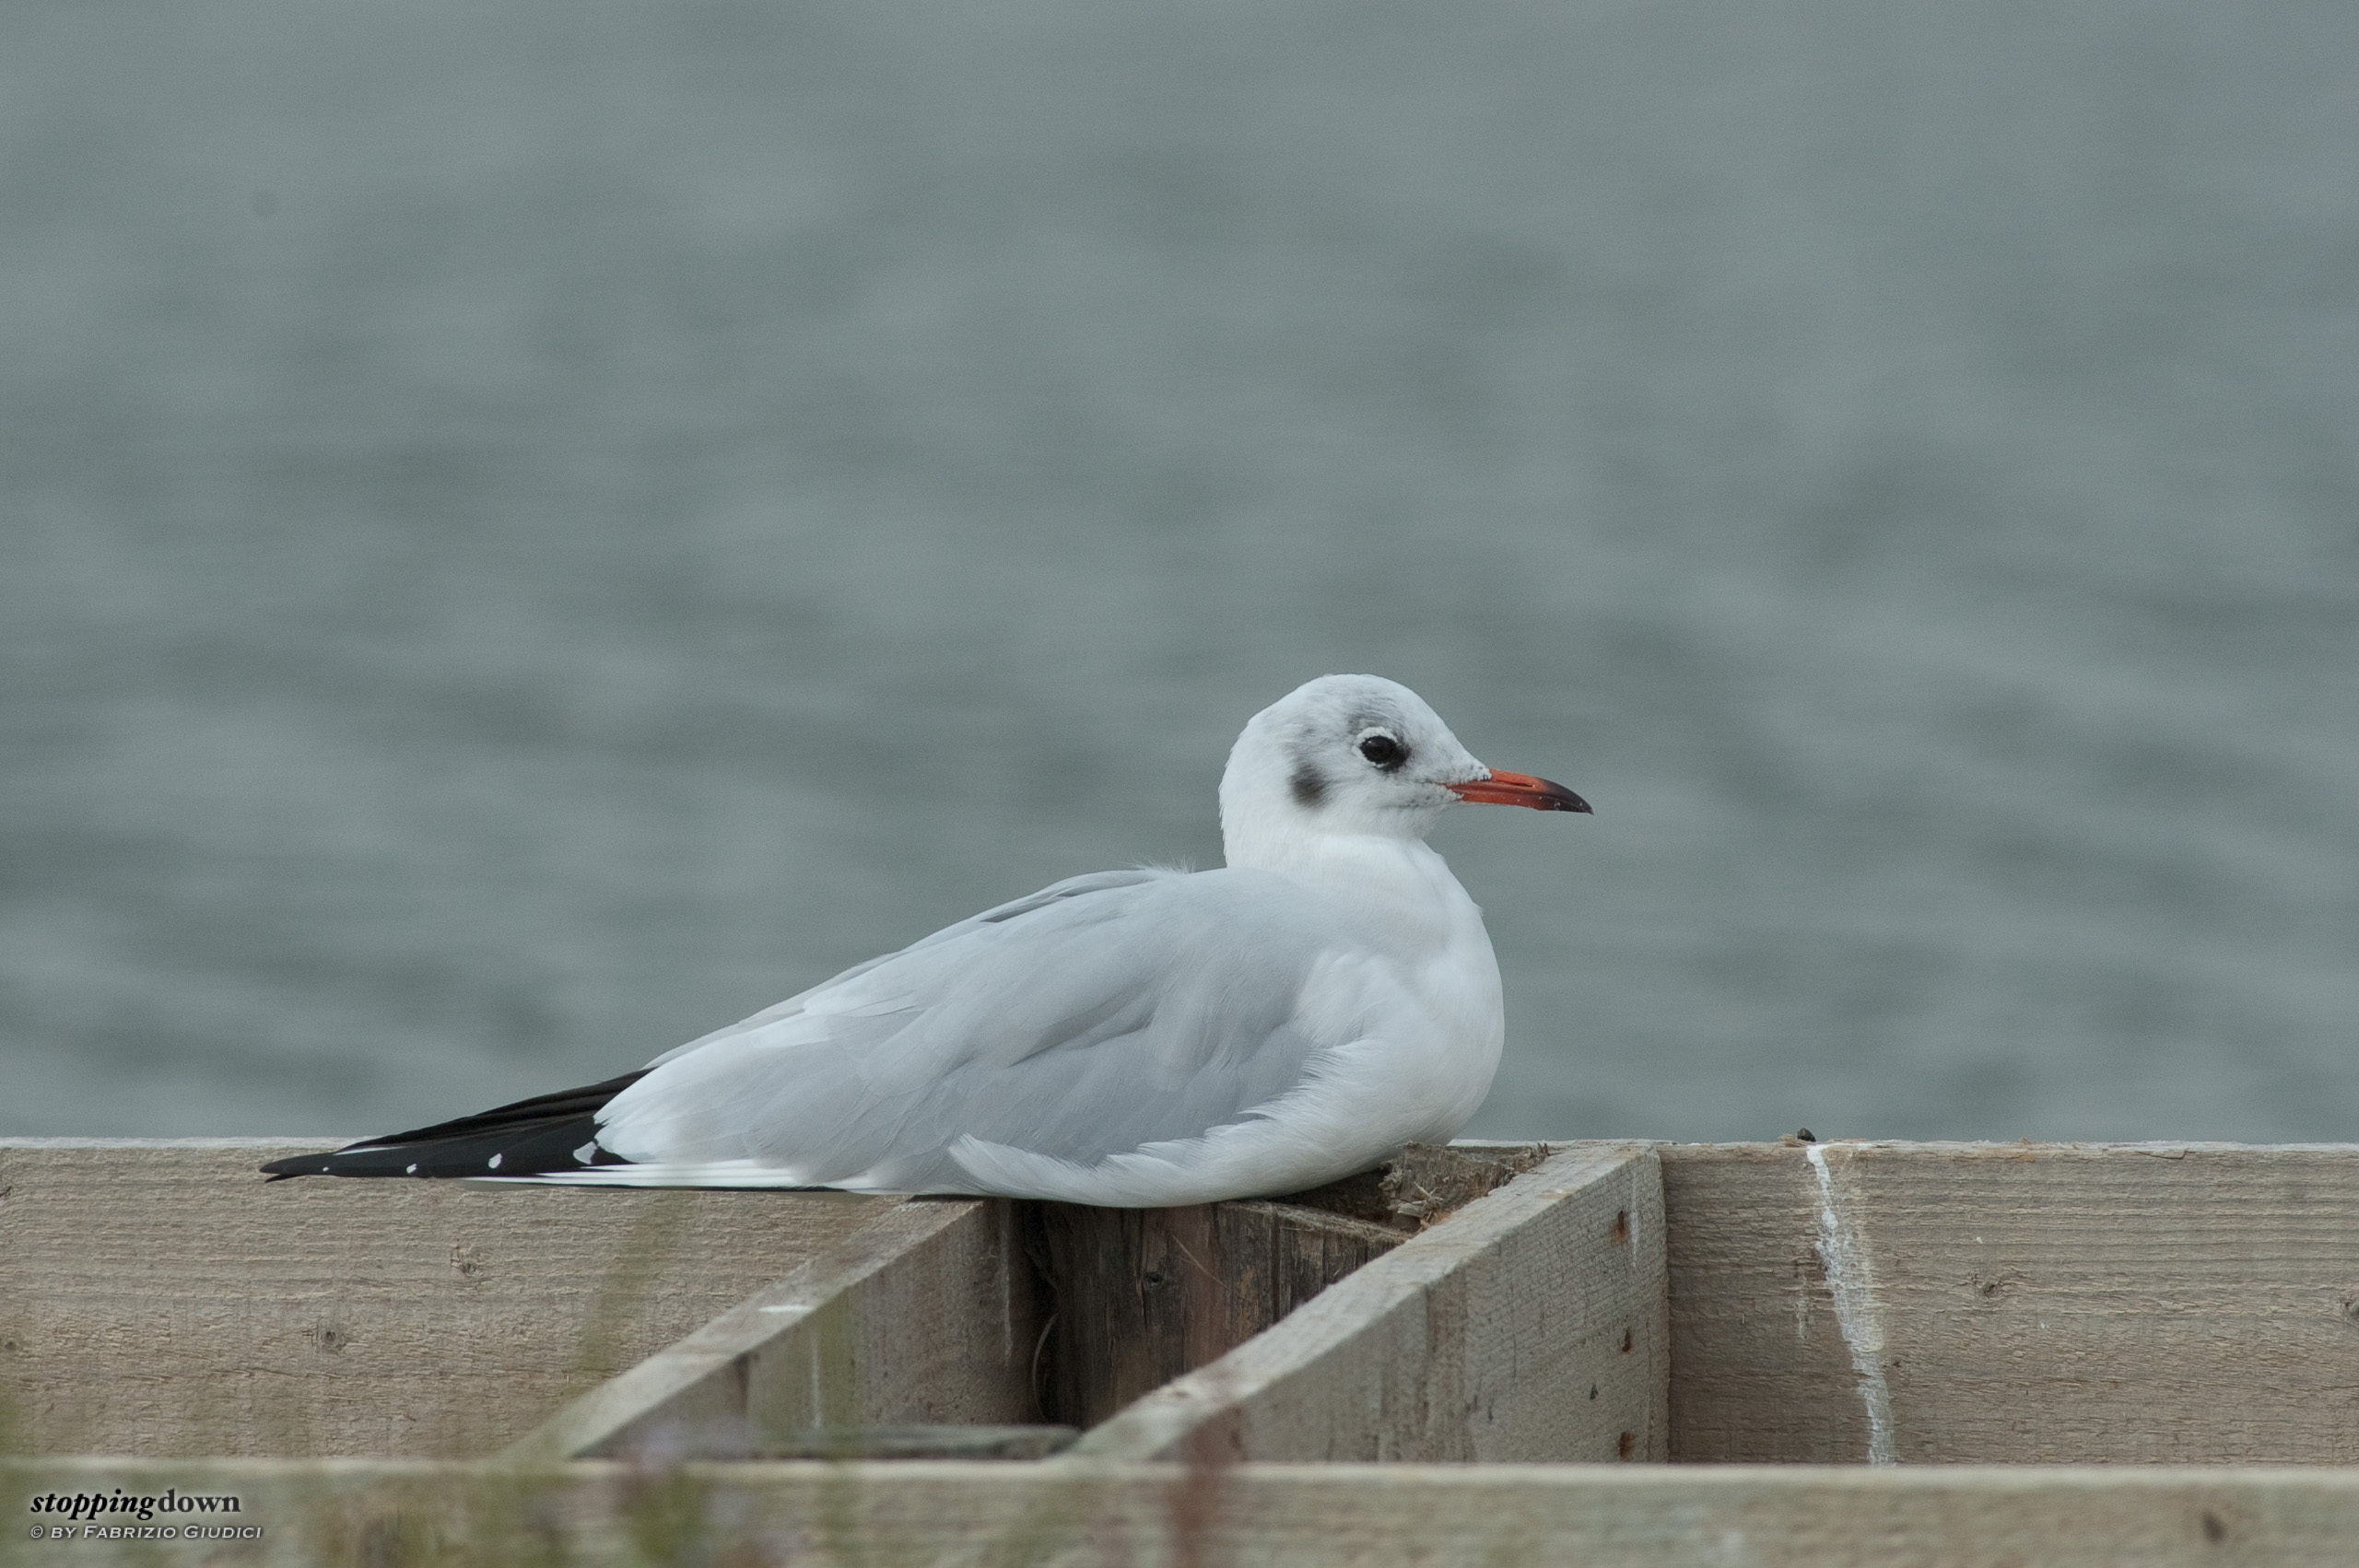
And this is what happened today: the sky is completely overcast and as you can see in the left photo below, the bird appear dark (and, worse, darker than the background) and there's a nasty shadow on his wing. The belly is very dark.
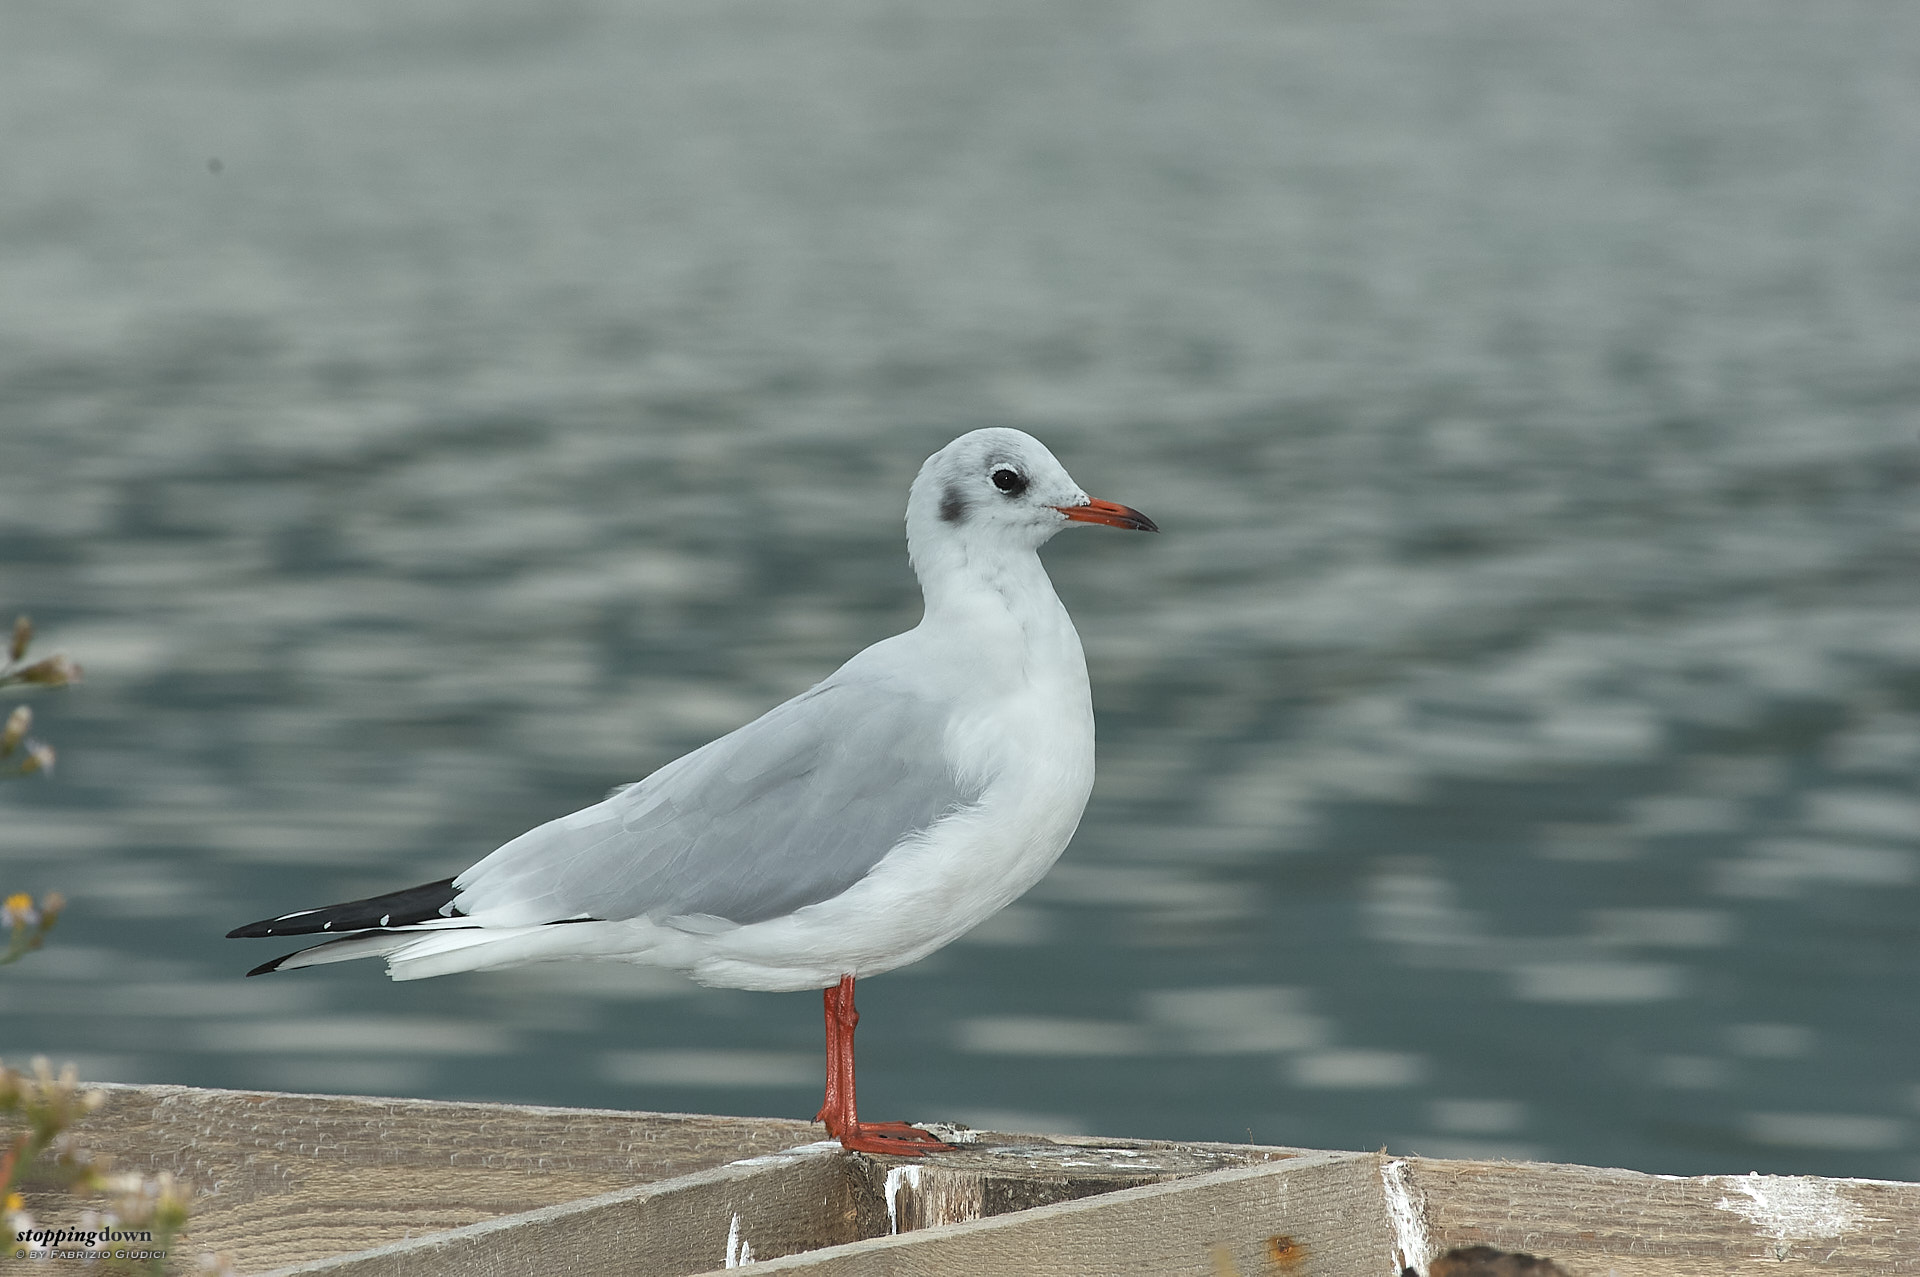
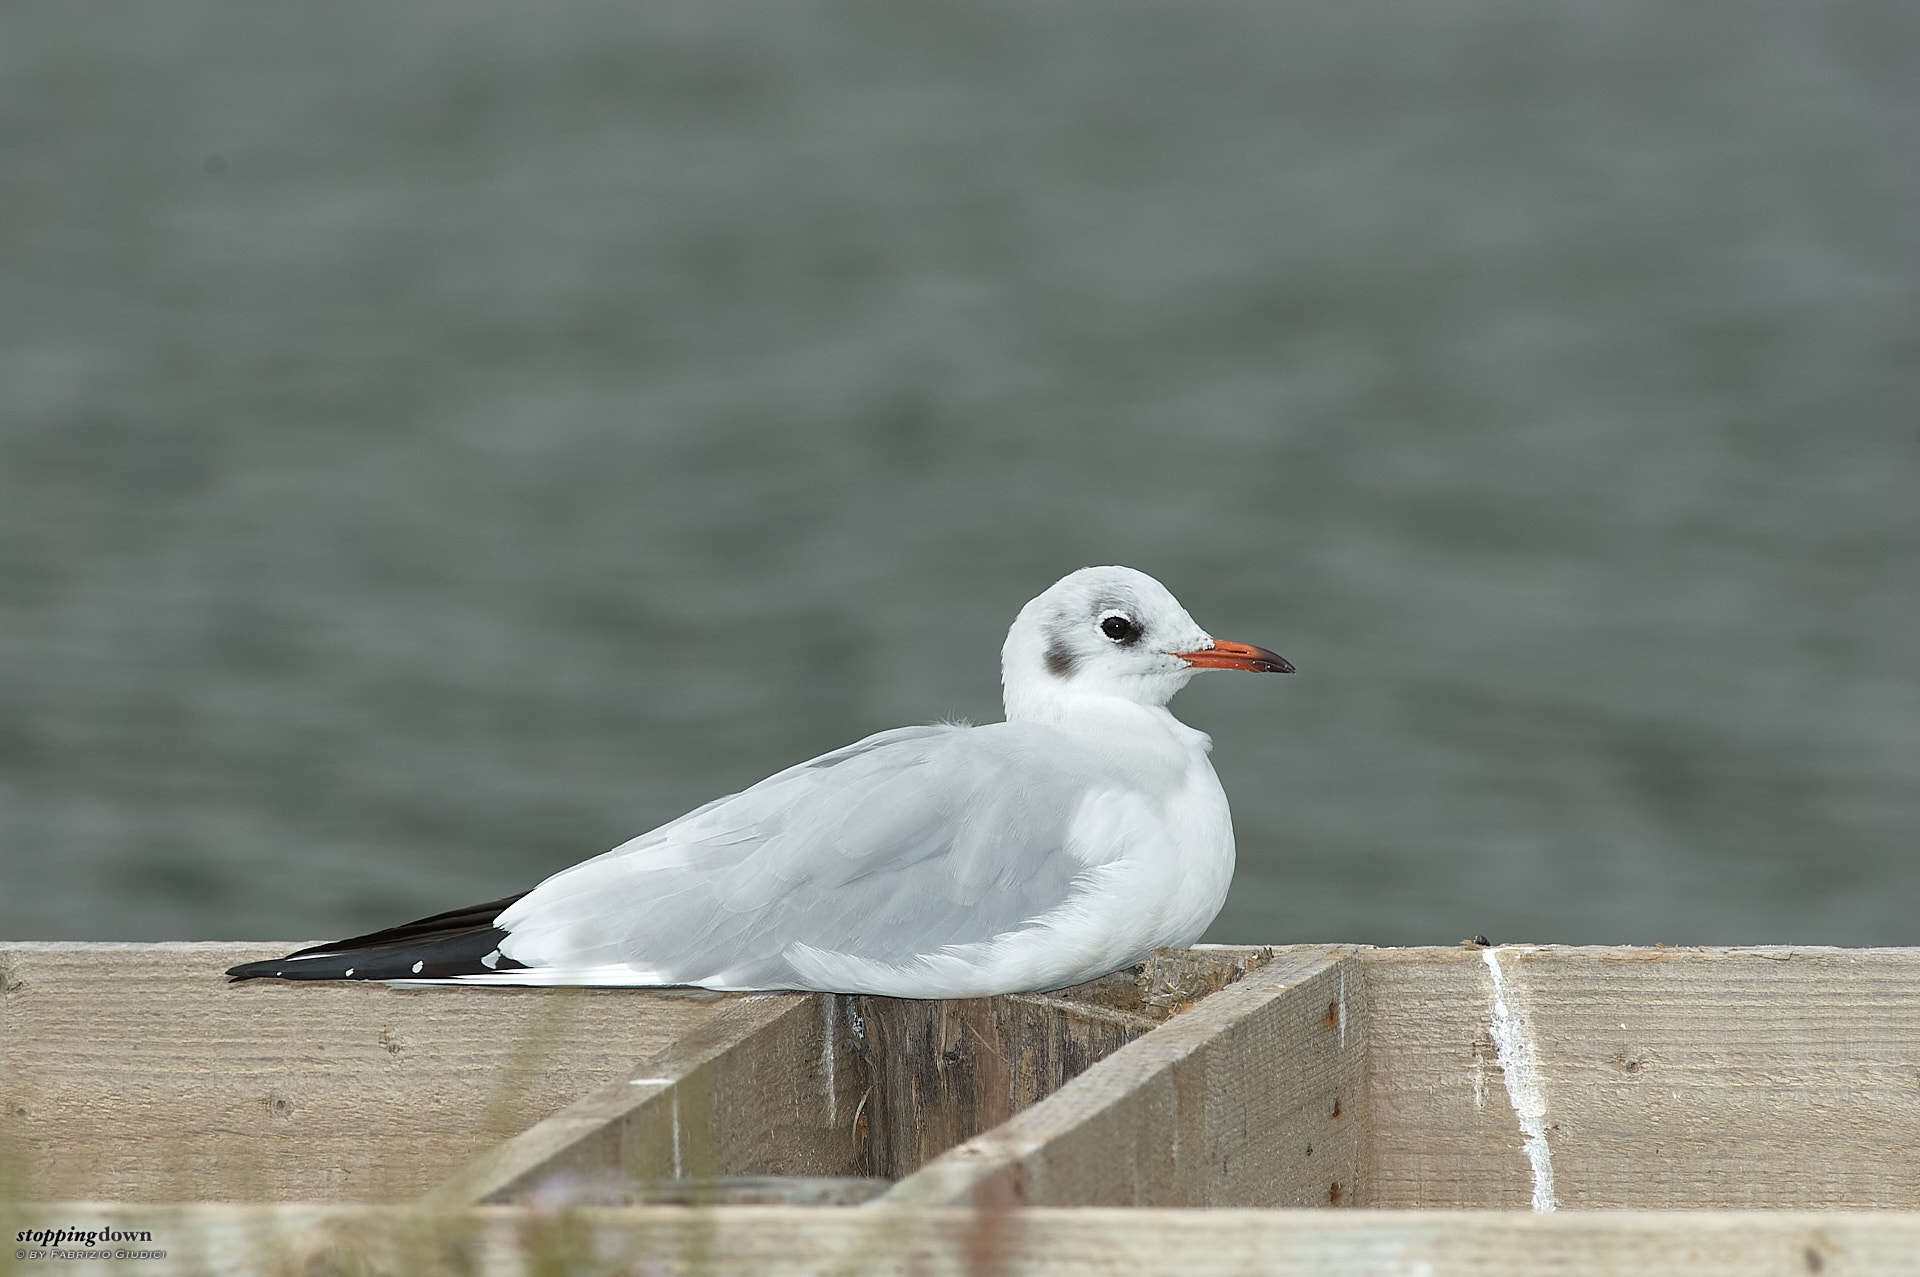
The photo in the right was shot a few seconds later activating the flash unit — aperture and shutter settings being the same. As you can see, now the bird "pops" out of the background (whose tonality has not changed) and the shadows have been greatly reduced. Also note the legs and the beak: in black-headed gulls these parts of the body have a brilliant red colour which was barely noticeable in the photo taken without flash. They recovered all the original brilliancy when the flash was used.

But pay attention in overdoing when reducing shadows. While strong shadows usually look ugly, removing them completely flattens the subject. That is, it makes the subject to lose its three-dimensional look. So, the better option is to leave a slight amount of shadows, by properly modulating the flash unit power.
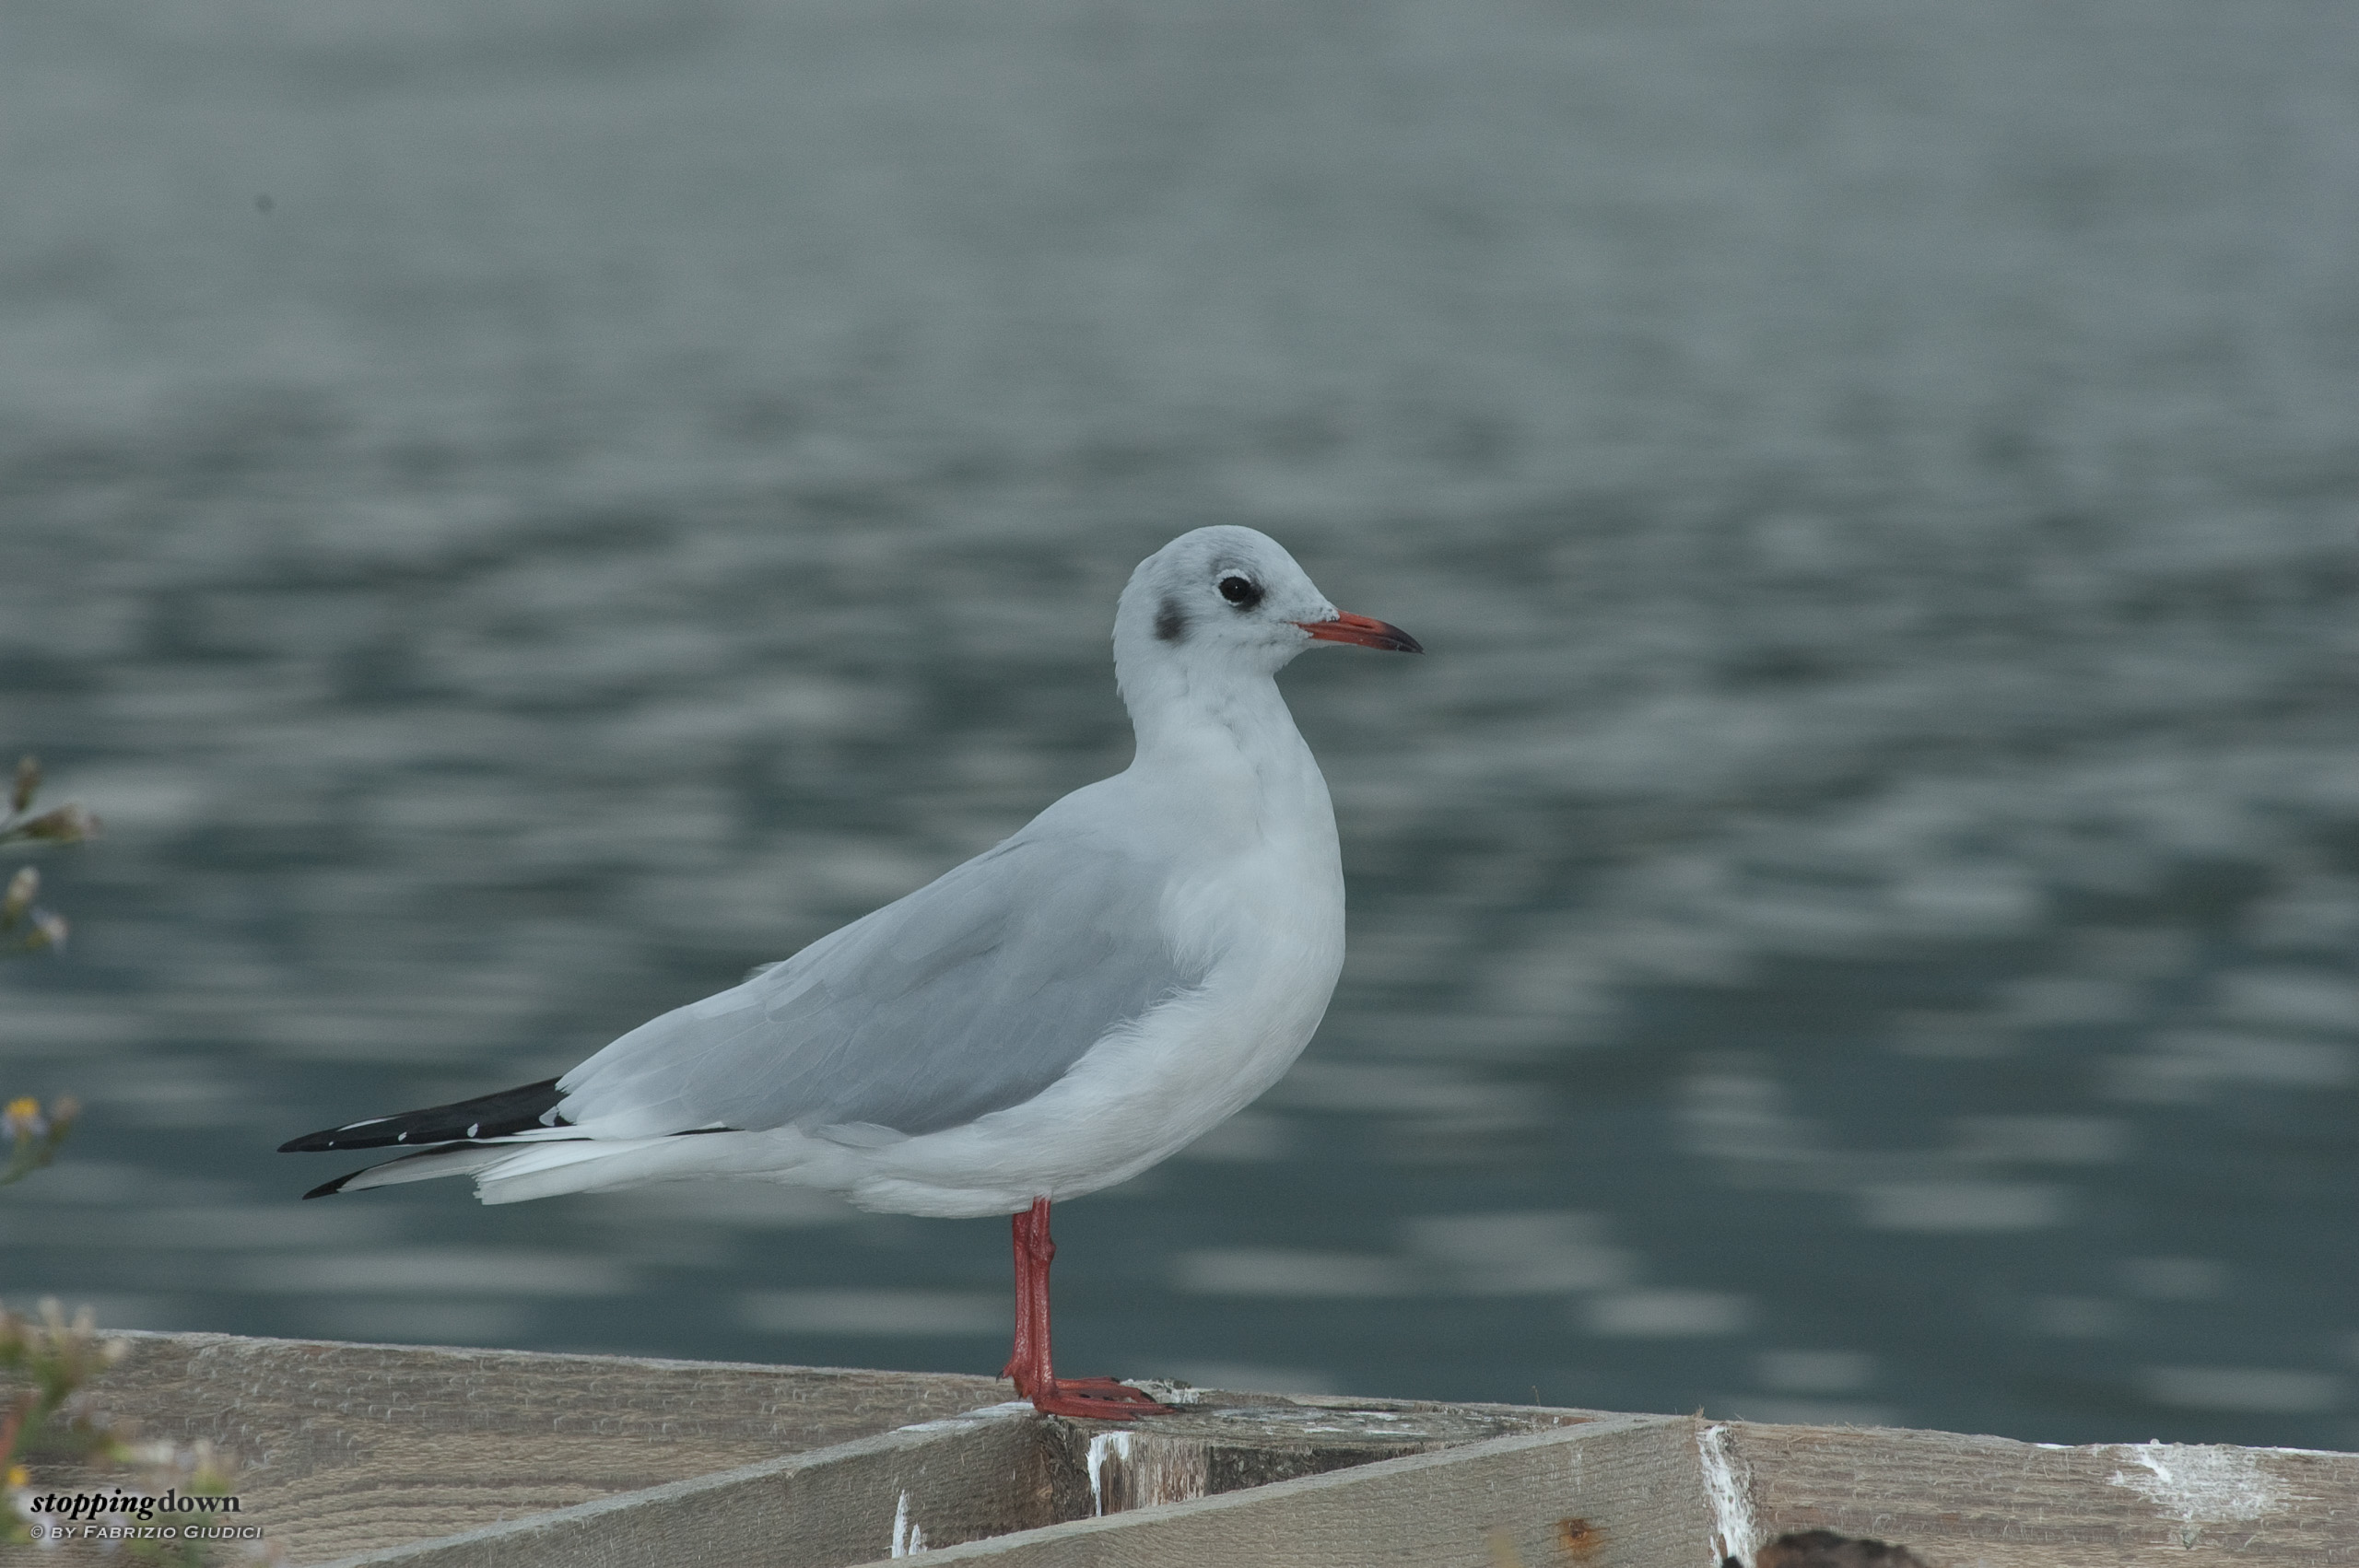
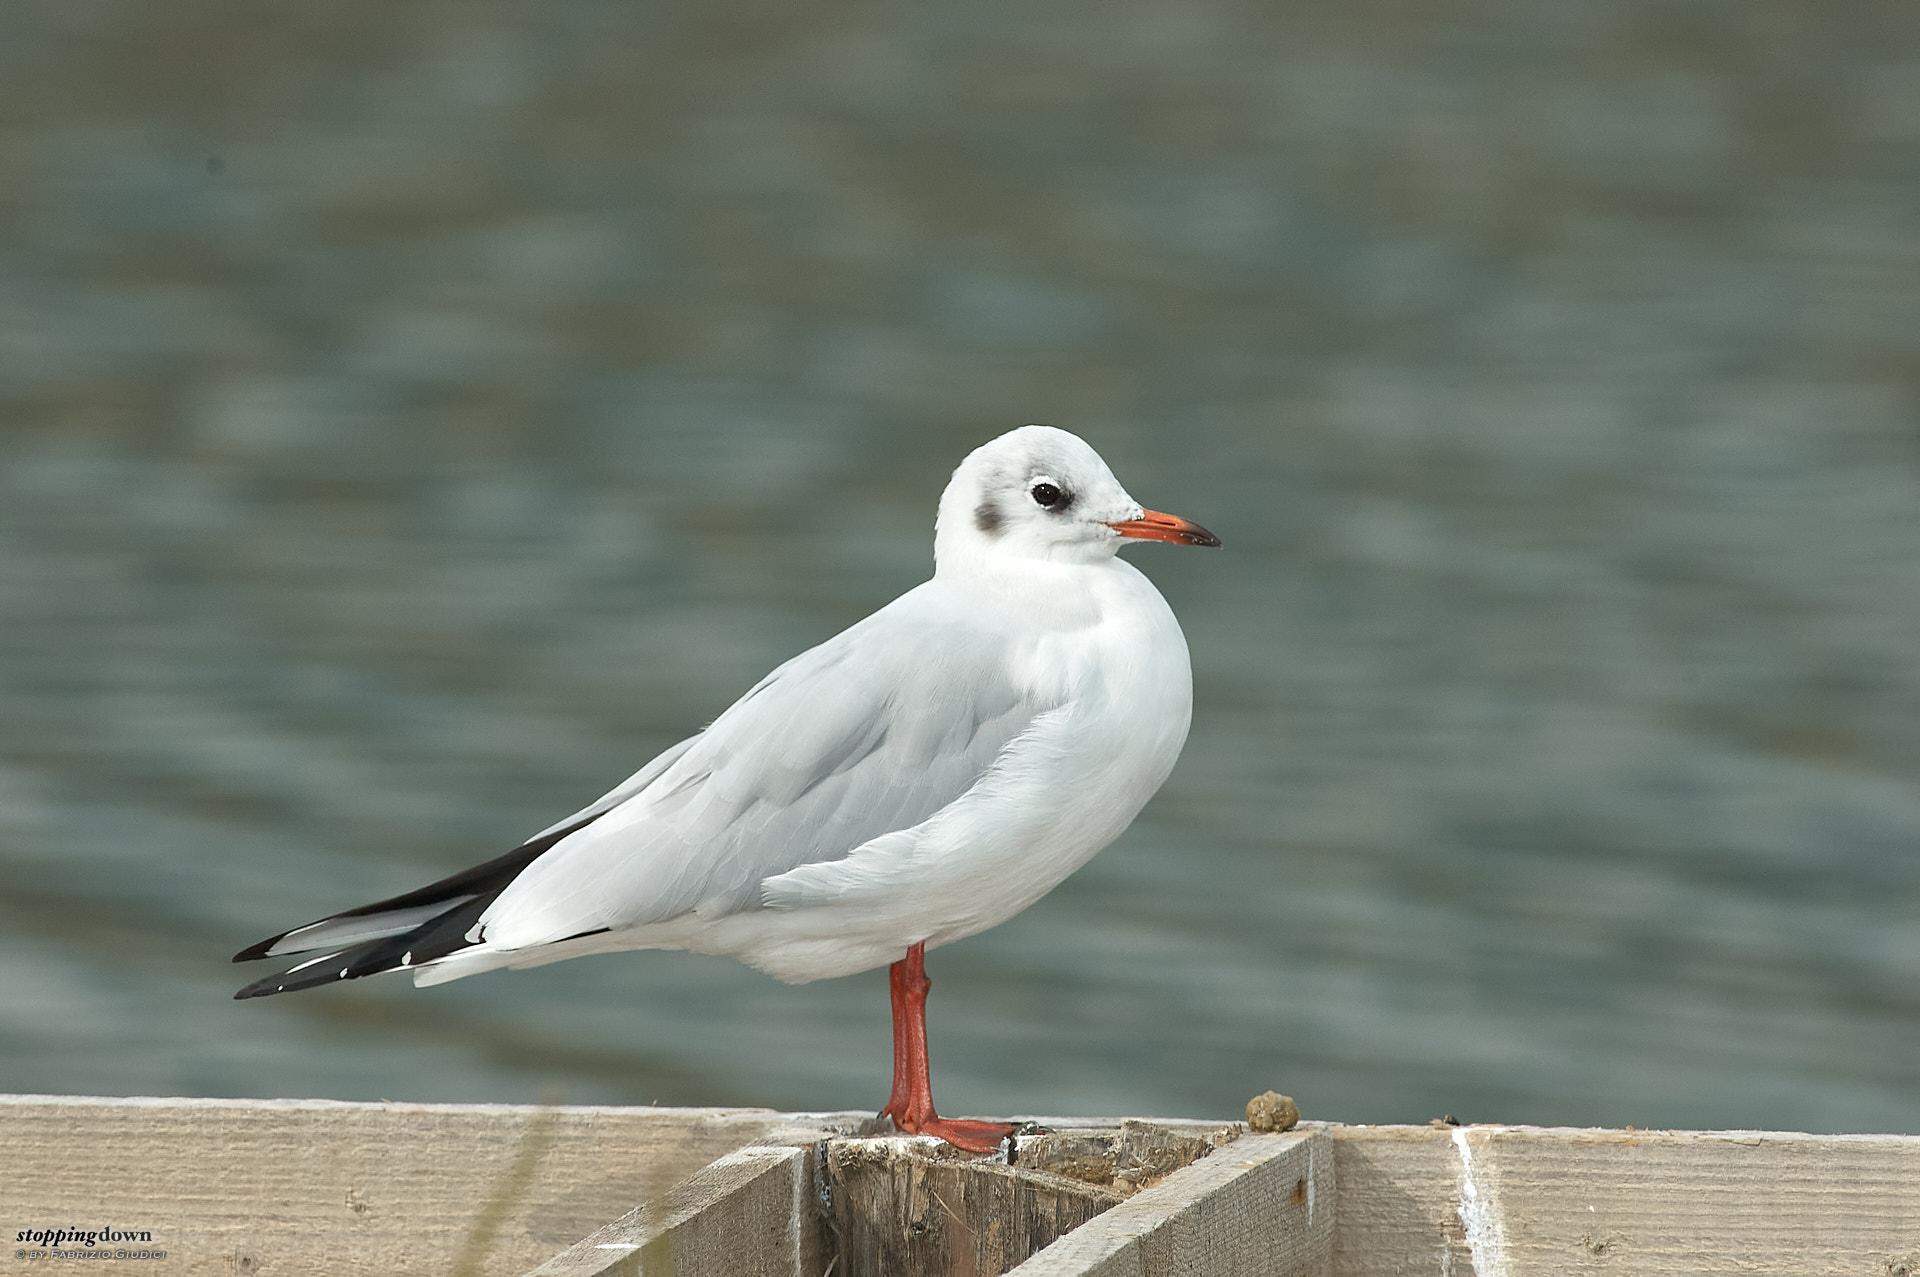
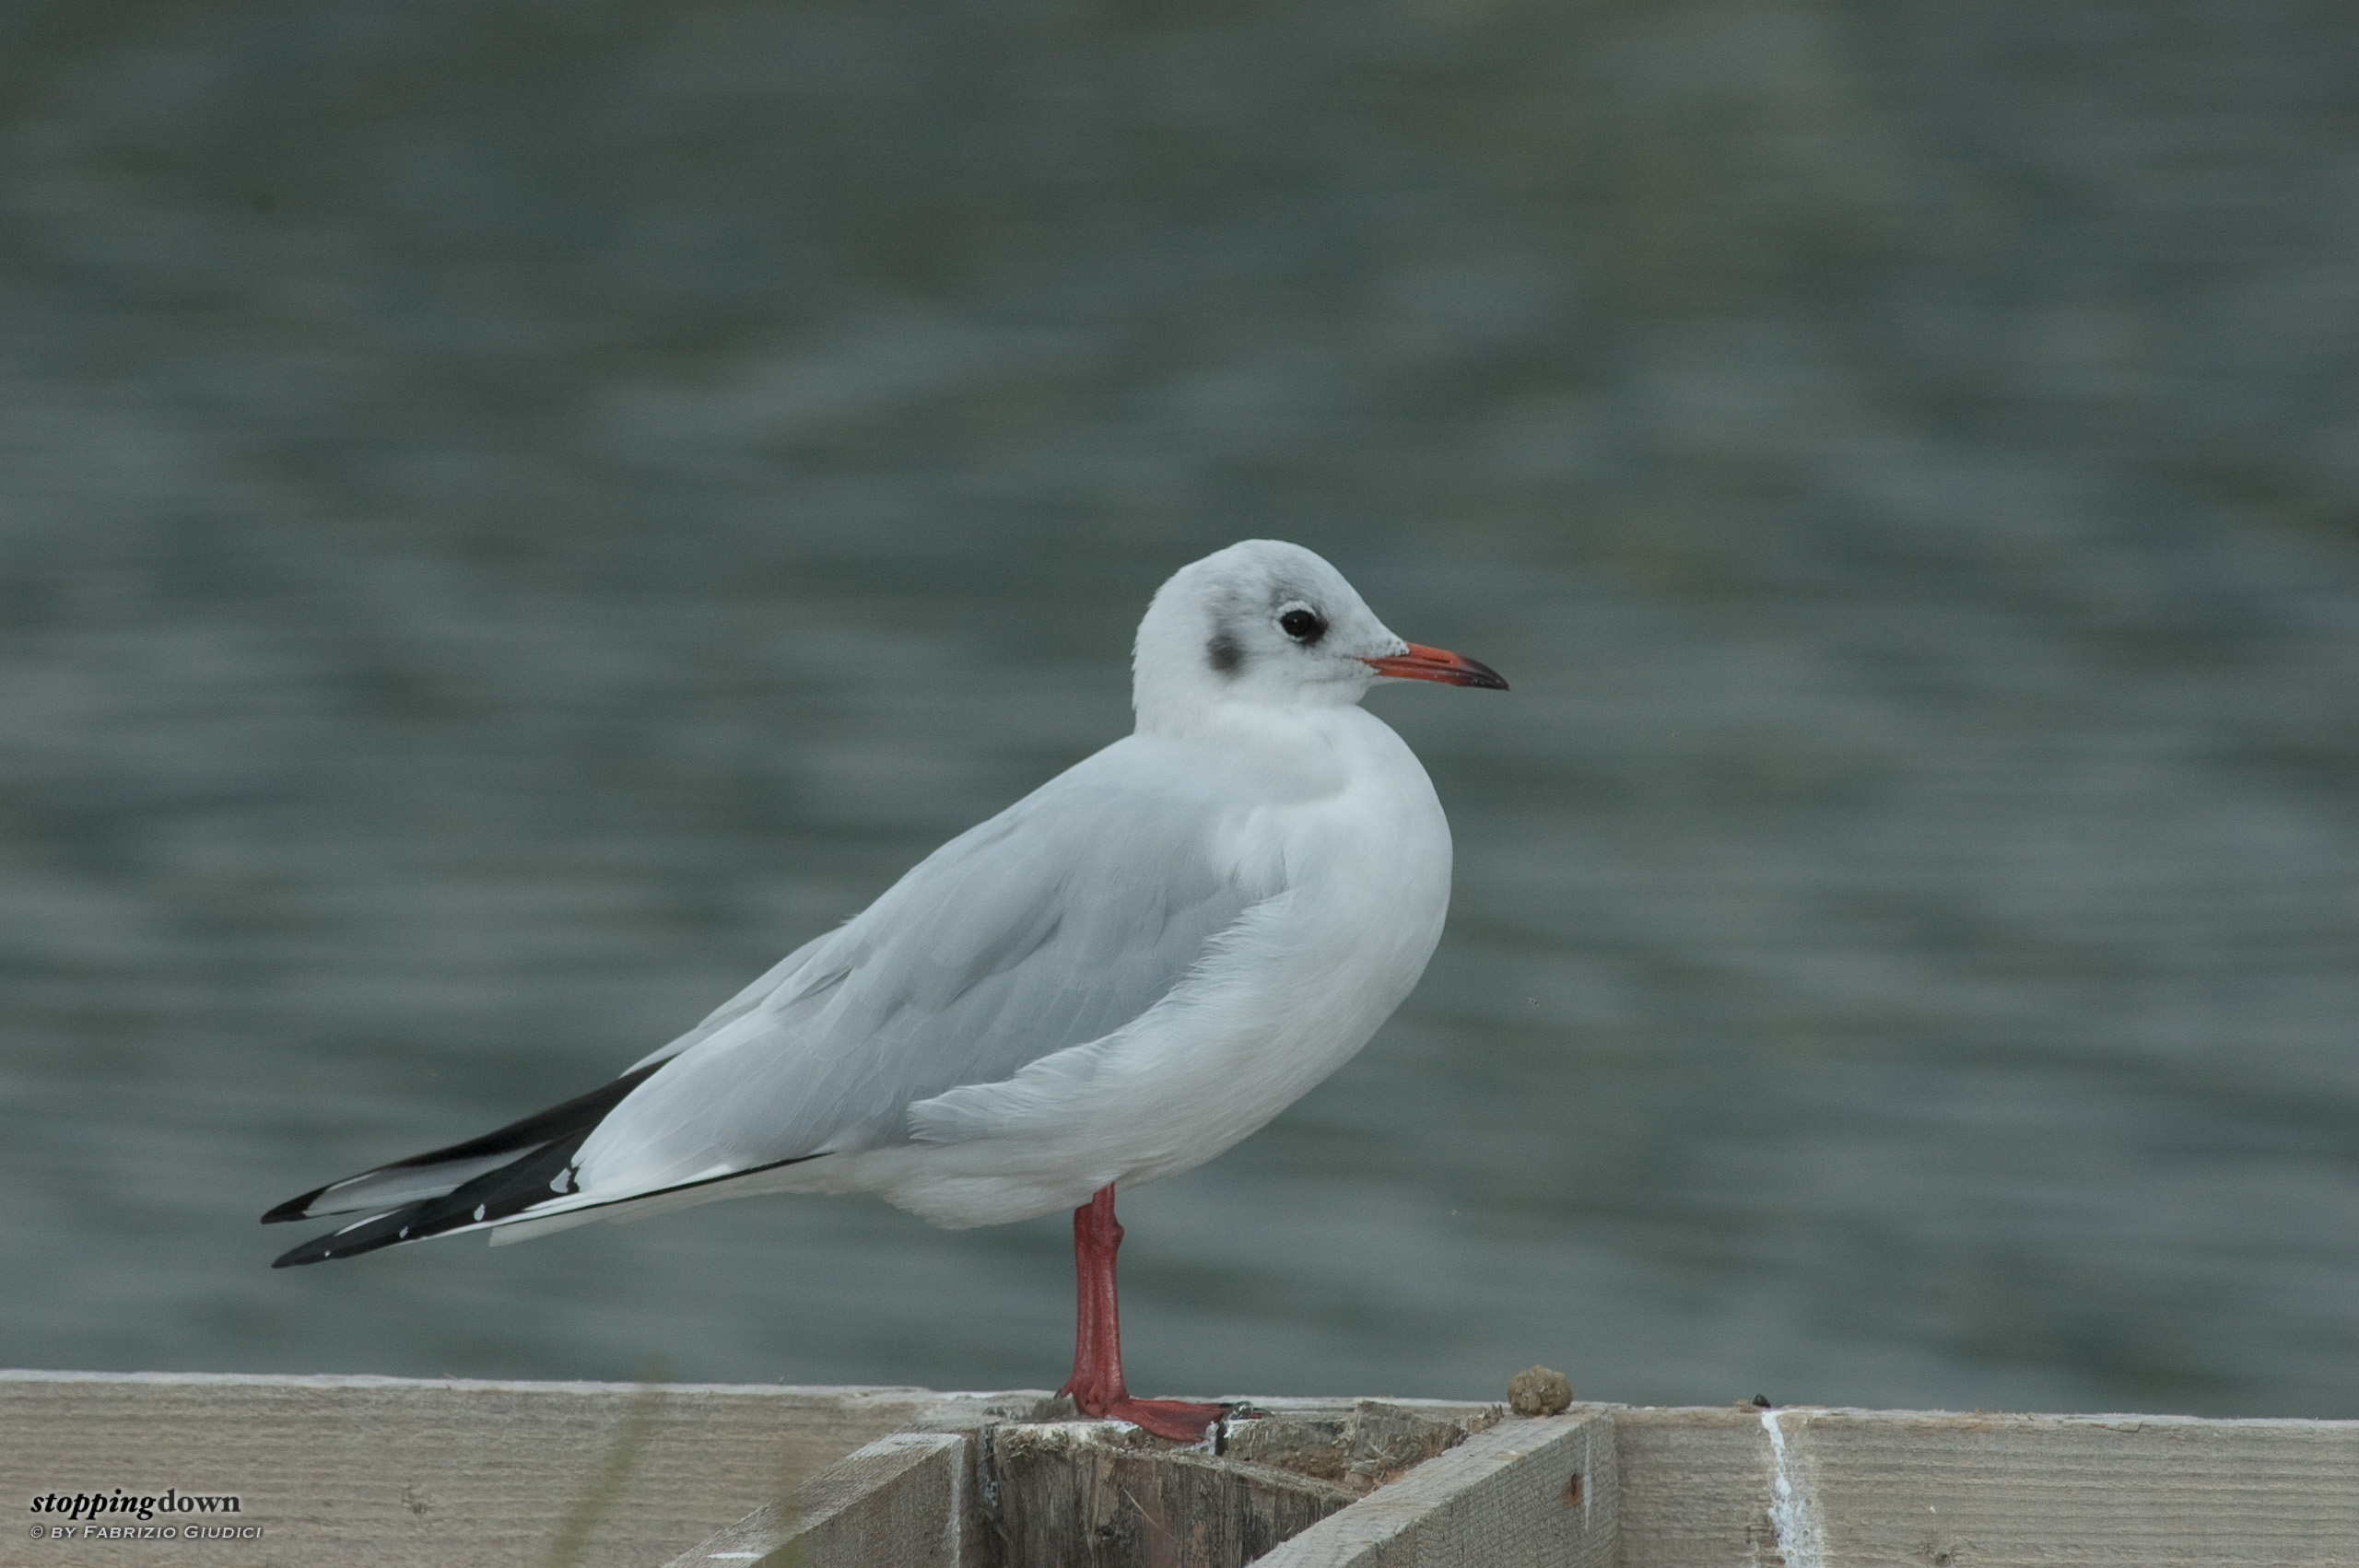
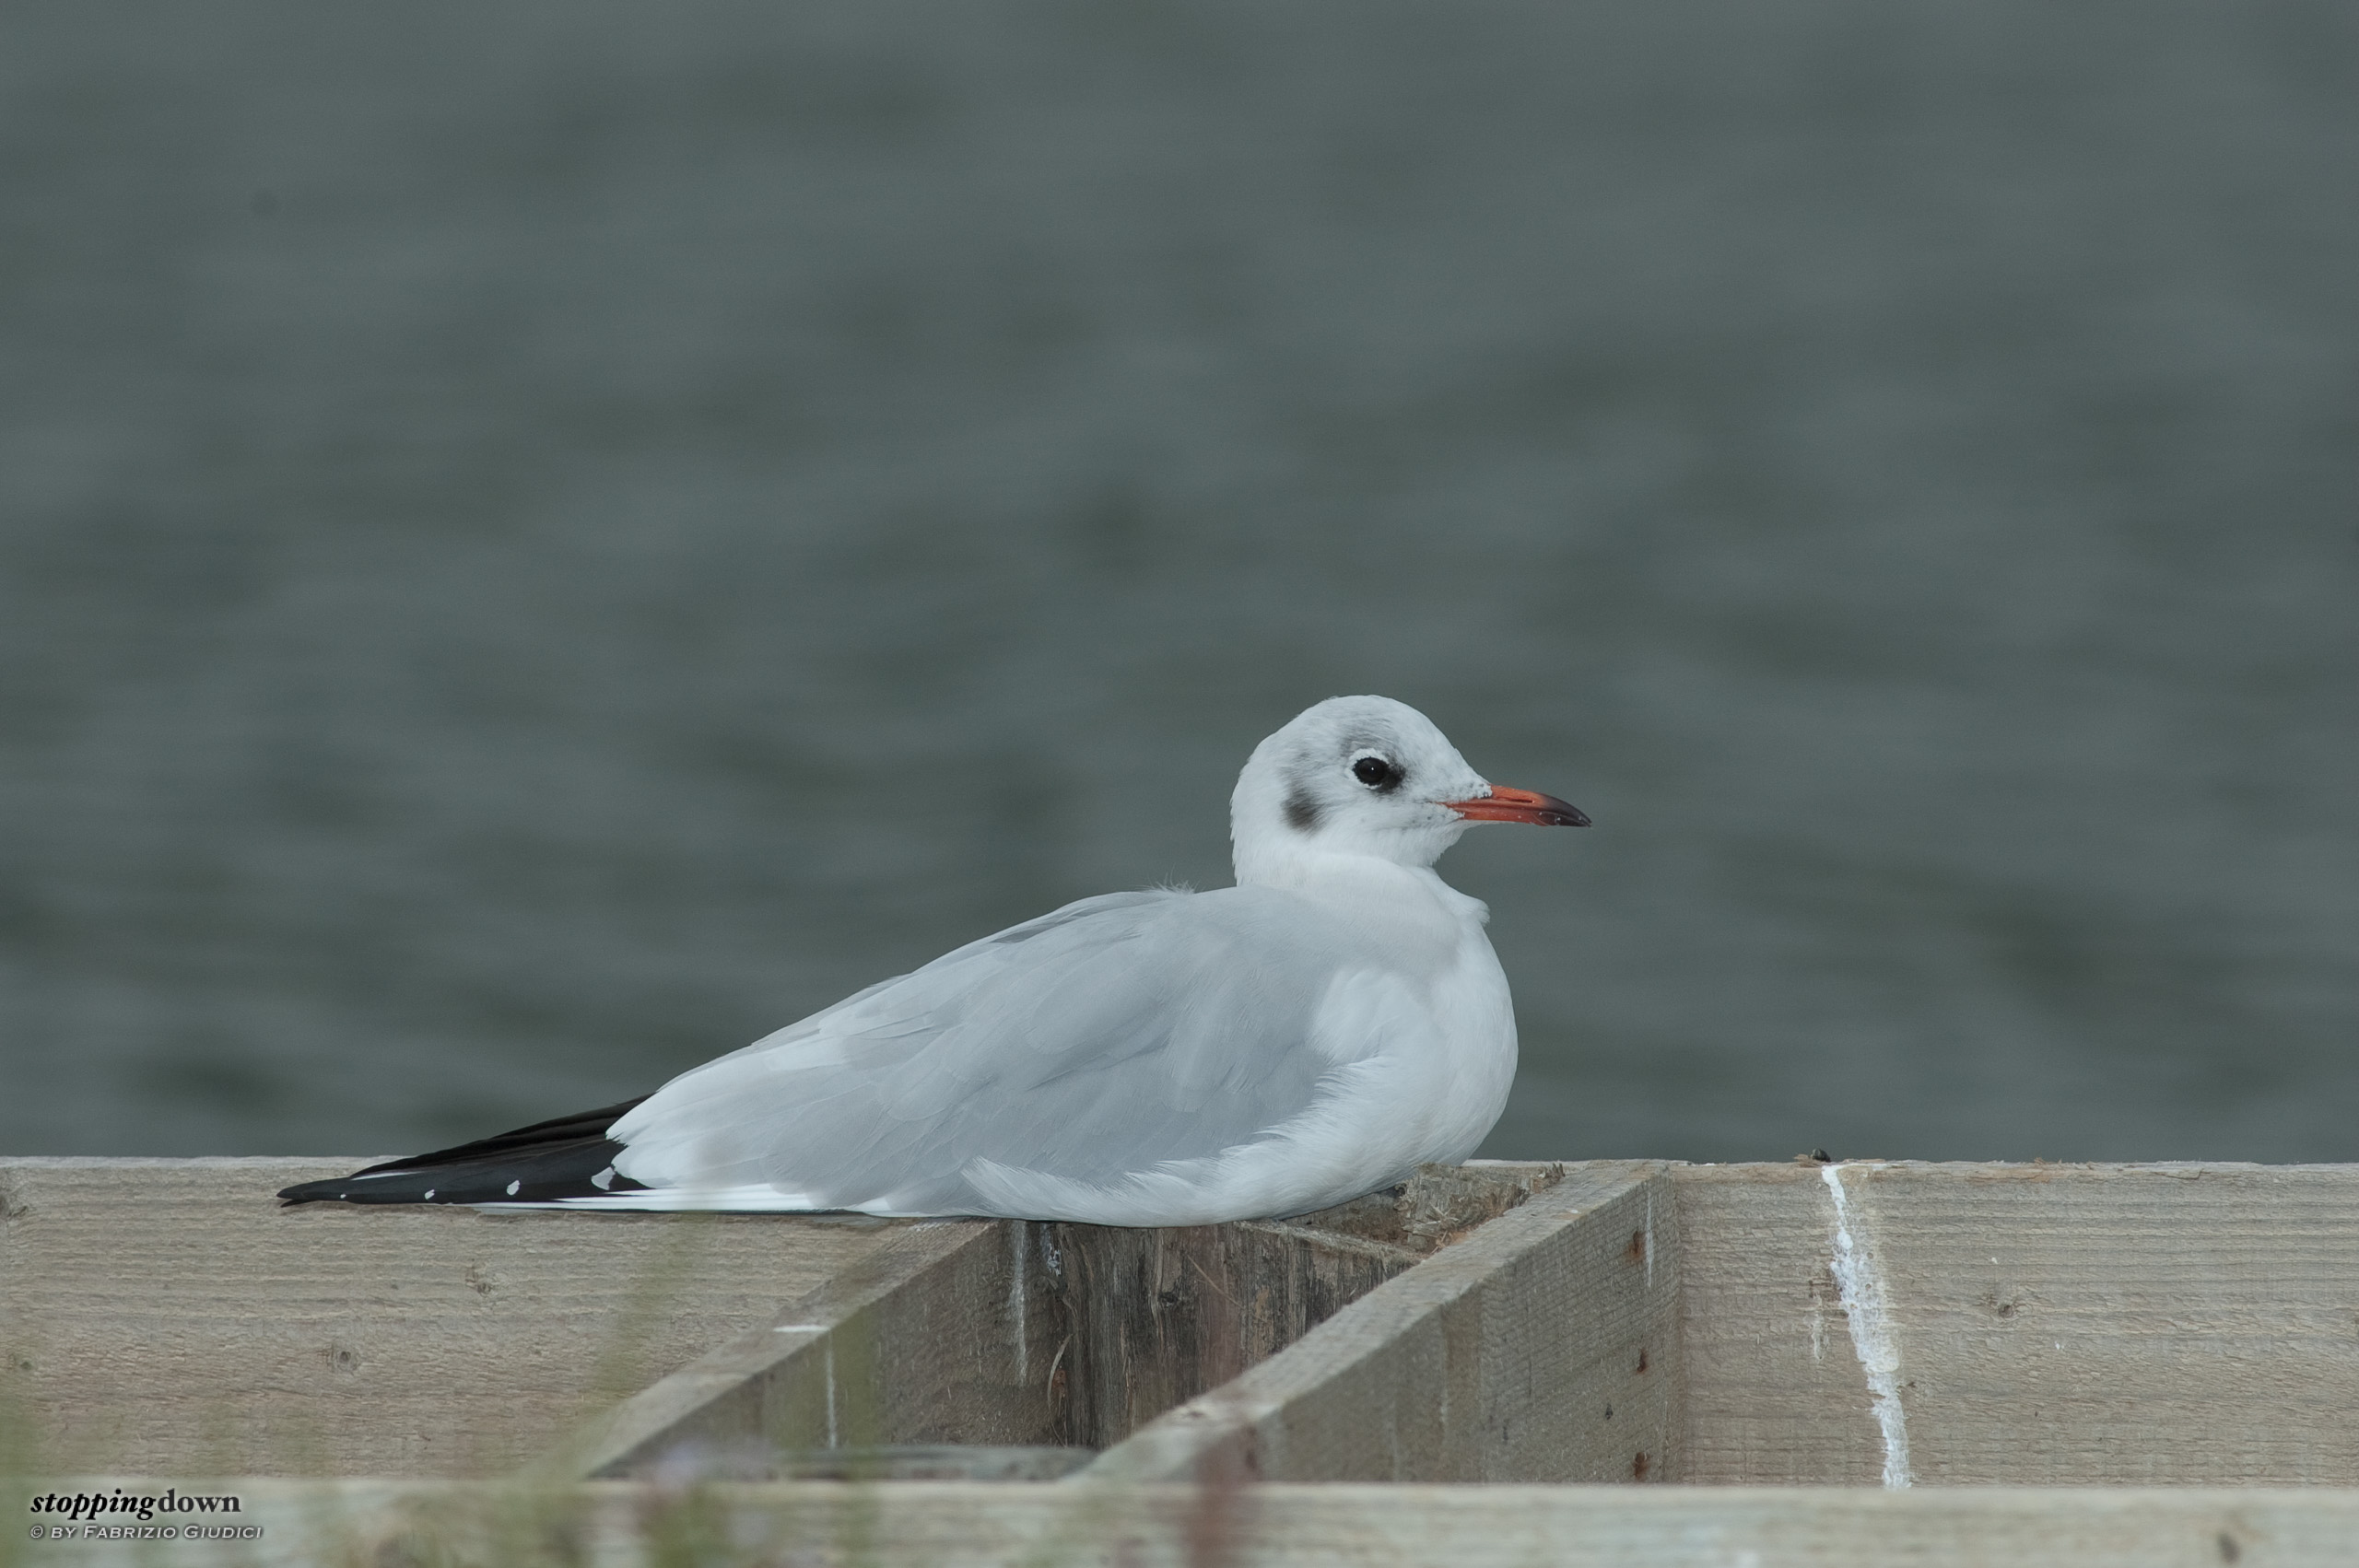
Both images below have been taken with the same aperture and shutter settings and in both cases the flash fired. But the image in the left was shot when a bit of sunlight filtered through the clouds, so the flash power was reduced. The image in the right was taken with a completely overcast sky and with higher flash power. It's easy to note that the presence of two light sources in the former case give the subject more three-dimensionality. Anyway, they are both good shots since the flash unit in neither case removed shadows completely.
How much is the "proper modulation" of the flash power? There are no magic rules here, so it's best to go with a trial-and-error approach: make many shots with different settings, and if you have a digital camera, take advantage of image preview (warning: histograms are not useful here since they give you information about highlights, while shadows are a matter of mid-tones).
It's usually advisable to use the flash unit in manual mode, since it gives you the most of flexibility. For instance, in manual mode the Nikon SB-80DX unit let you range from full power to 1/128 of full power in 1/3 EV steps with the pressure of a single button. You can change this setting very quickly.
Other things you can control
But flash power is not the only variable you can control. What happens if you change shutter time, aperture and ISO sensitivity?
- Shutter time has no impact on the image since the duration of the flash impulse is usually in the magnitude of 1/10,000 sec. — a faster time than the fastest shutter of a typical camera body. So, no matter of the shutter time you use, your camera will always collect the whole light energy emitted by your flash unit.
- On the other hand, aperture and ISO sensitivity do affect the resulting image. The smaller the aperture, and the lower the ISO, the less flash energy you are capturing.
Keep in mind that in most cases, if your background is not very close to your subject, only the subject will be able to reflect the flash unit light. In facts, simple geometry laws show that when the distance from the flash unit to the subject doubles, the light energy that reaches the subject reduces by four times. In other words, far subjects get considerably less energy than close subjects. Objects beyond a certain critical distance will get a negligible amount of light. This is a very important fact, since it allows you to control how bright or how dark the background will be rendered.
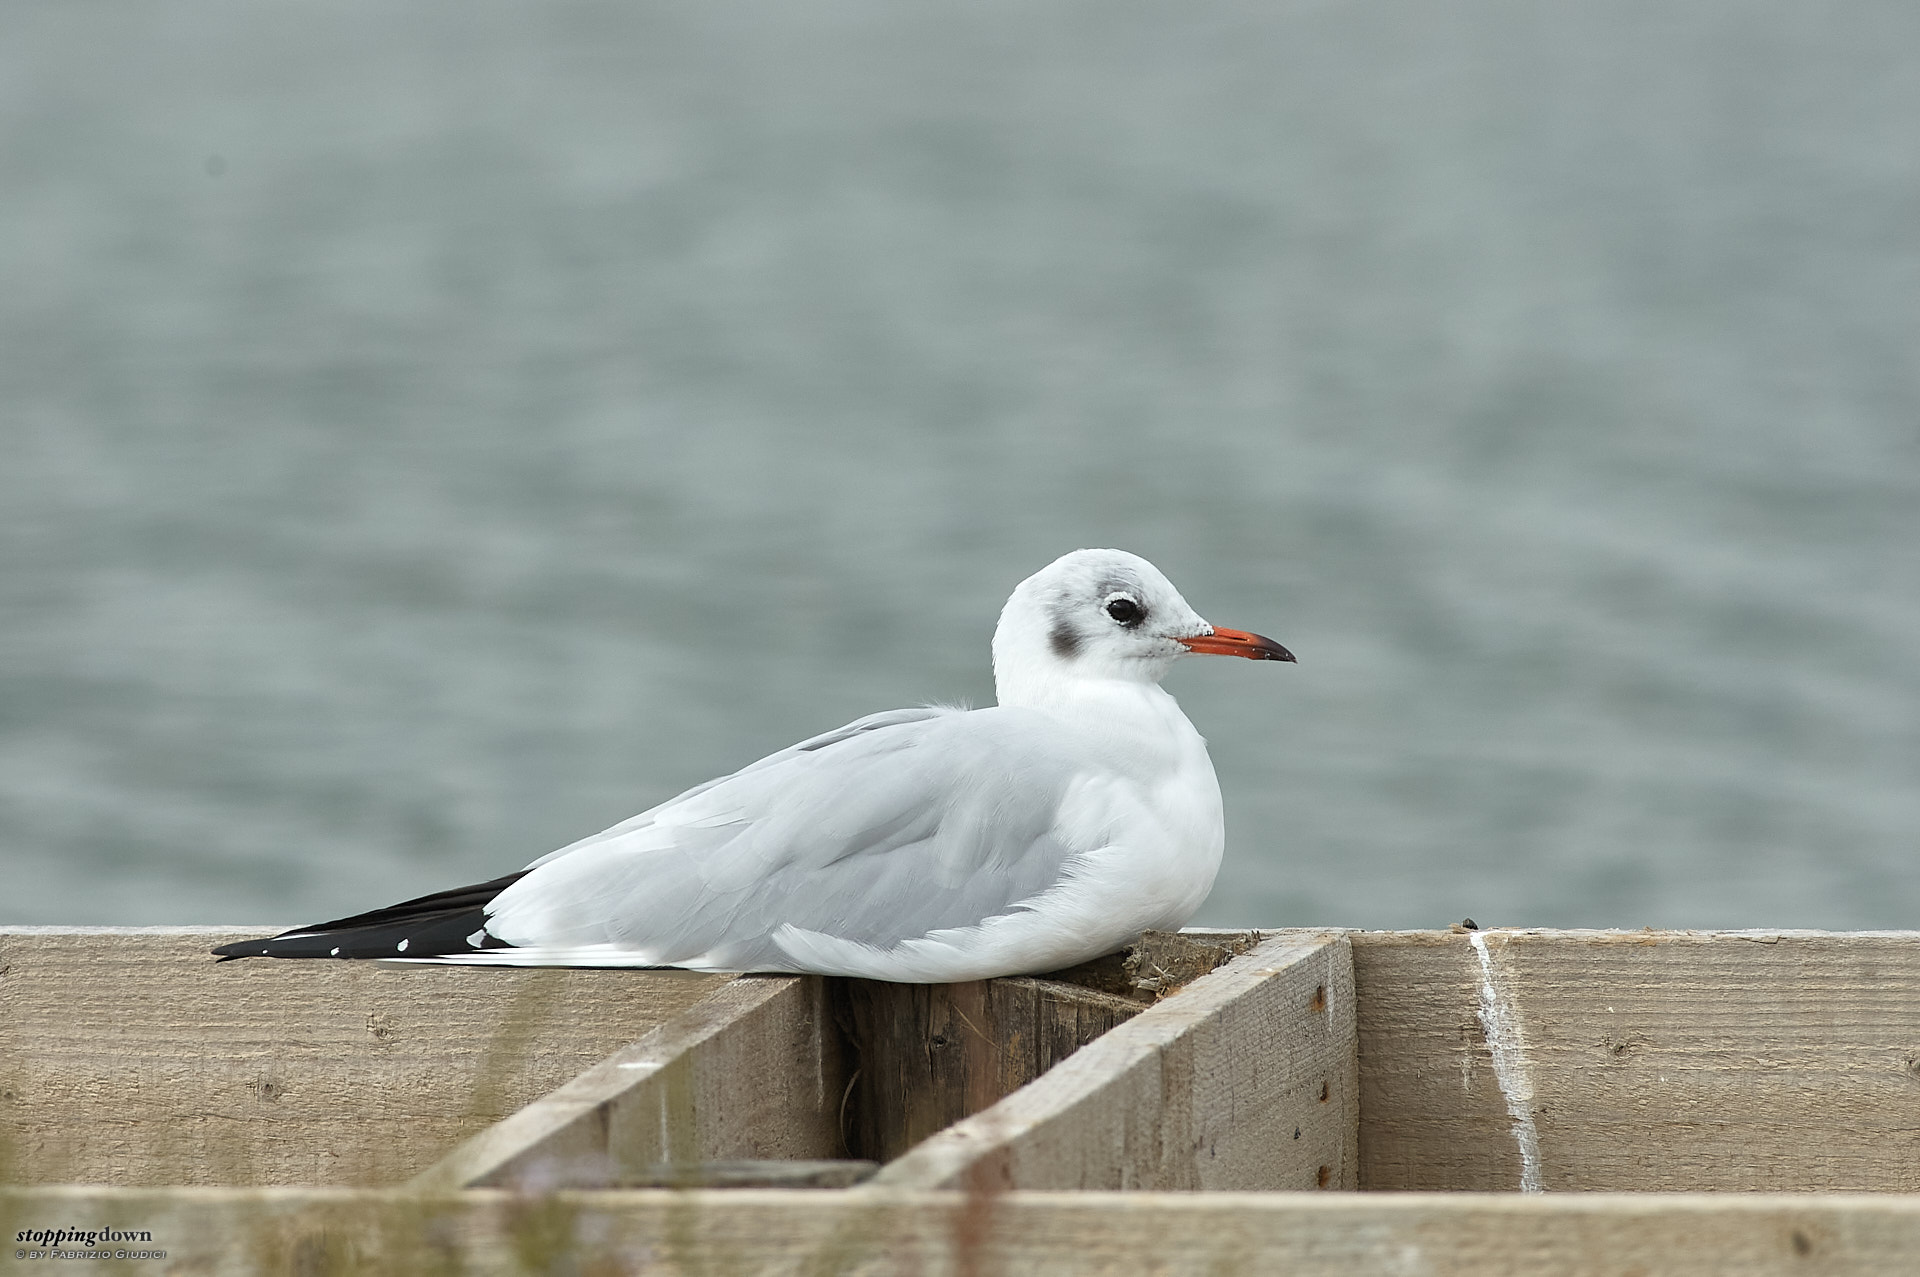
Consider the two images below. They have been taken with the very same ambient light and in both cases the flash unit fired; the bird brightness is the same in both photos, while the background is sensibly darker in the latter. Aperture and shutter were the same in both cases, while for the photo in the right ISO sensitivity has been reduced by one stop (from ISO 400 to ISO 200), while flash power has been increased by one stop to compensate for the sensitivity change. The net result is that the subject tonality is the same (-1 EV + 1 EV = 0 EV), while the background, which was not illuminated by the flash unit since was beyond that critical distance, got darker.
The same effect can be achieved by changing the aperture — but this would also affect depth-of-field.
Again, remember: don't overdo, or your photos will look artificial, "flash-like". Looking at the following pair of photos, you can note that the background in the one at the right got so dark that it looks like it was night. Yes, the subject does pop out, but maybe this was not the effect you searched for...
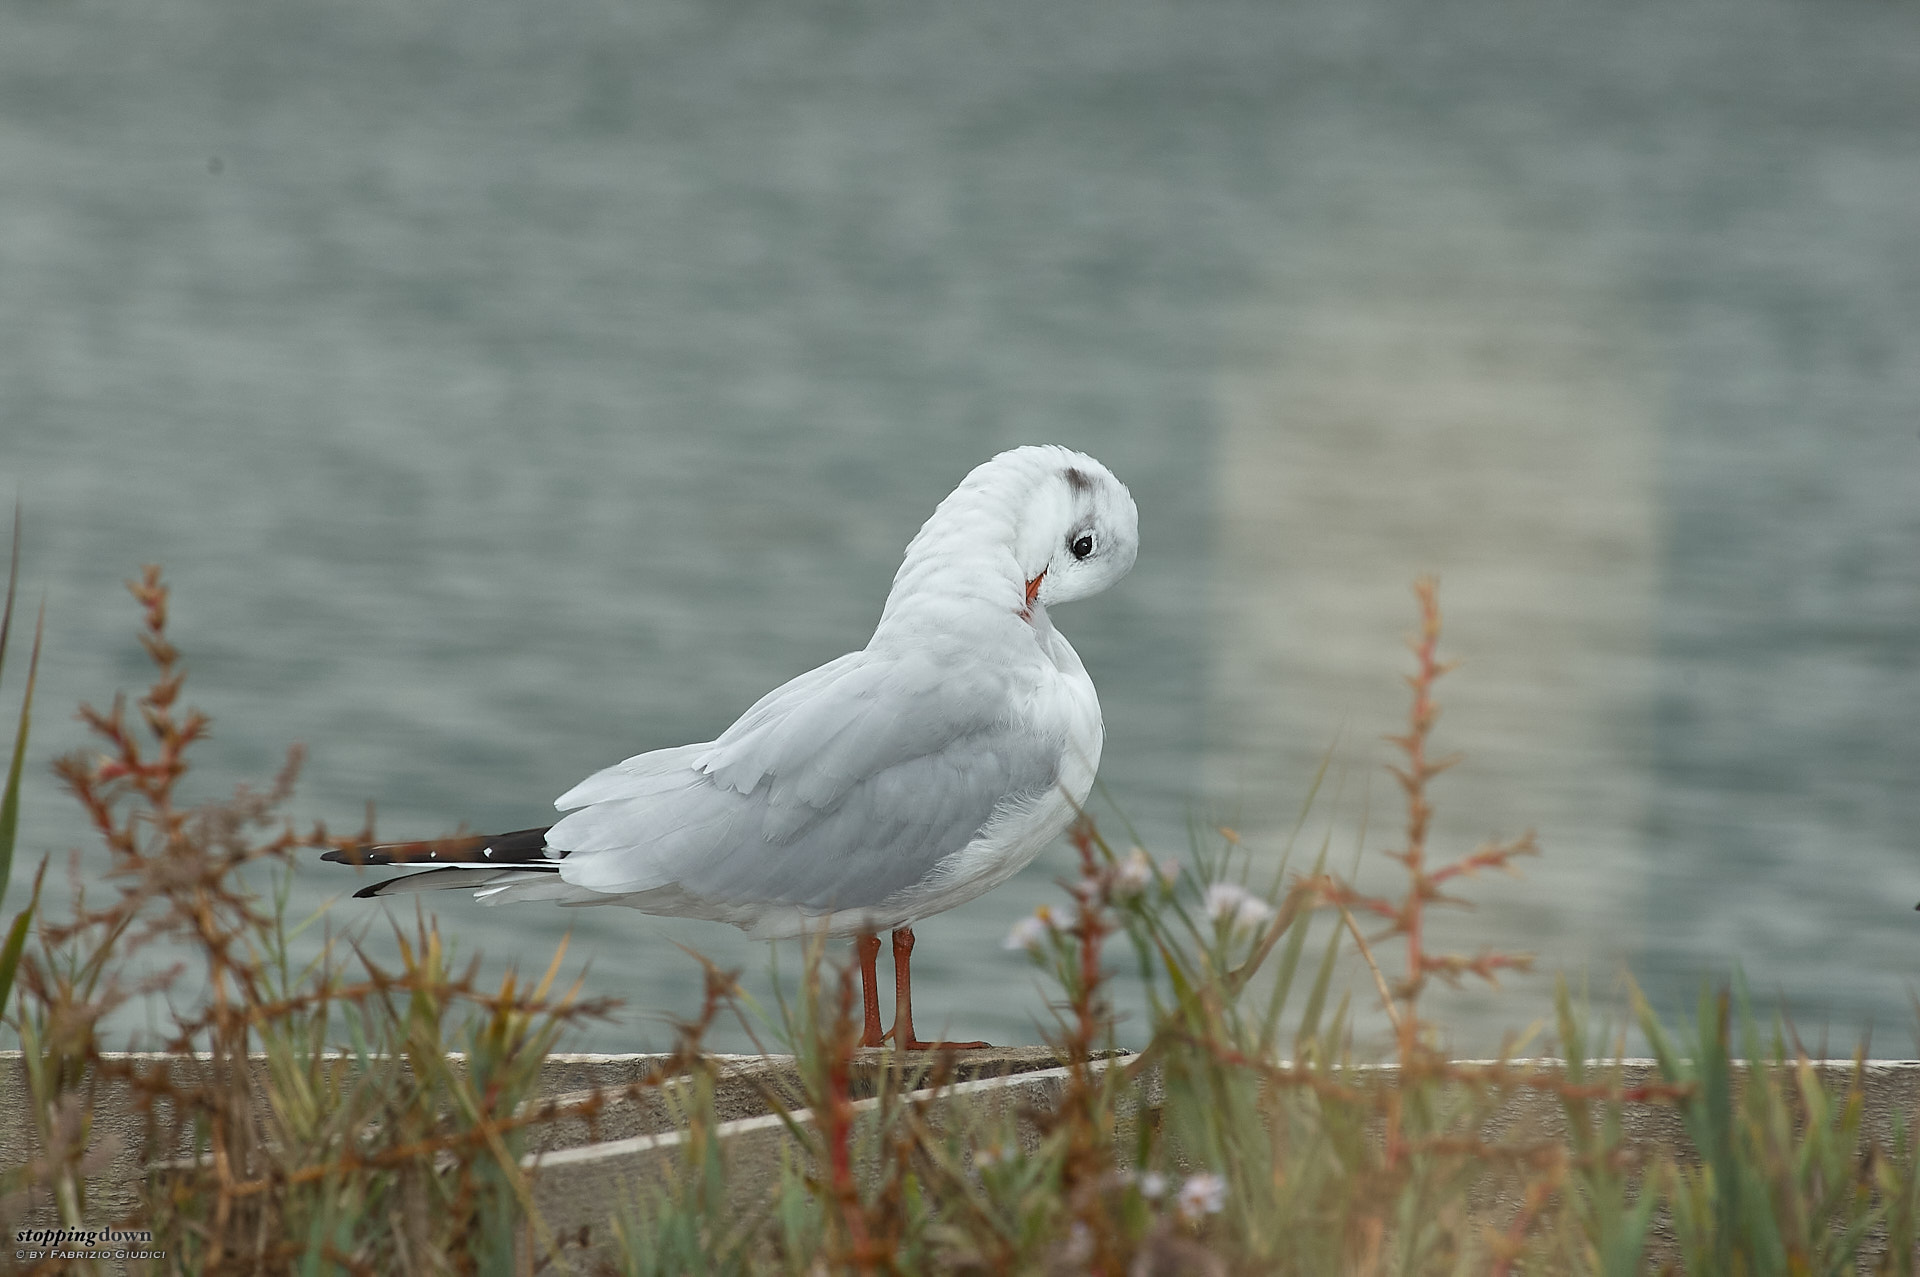
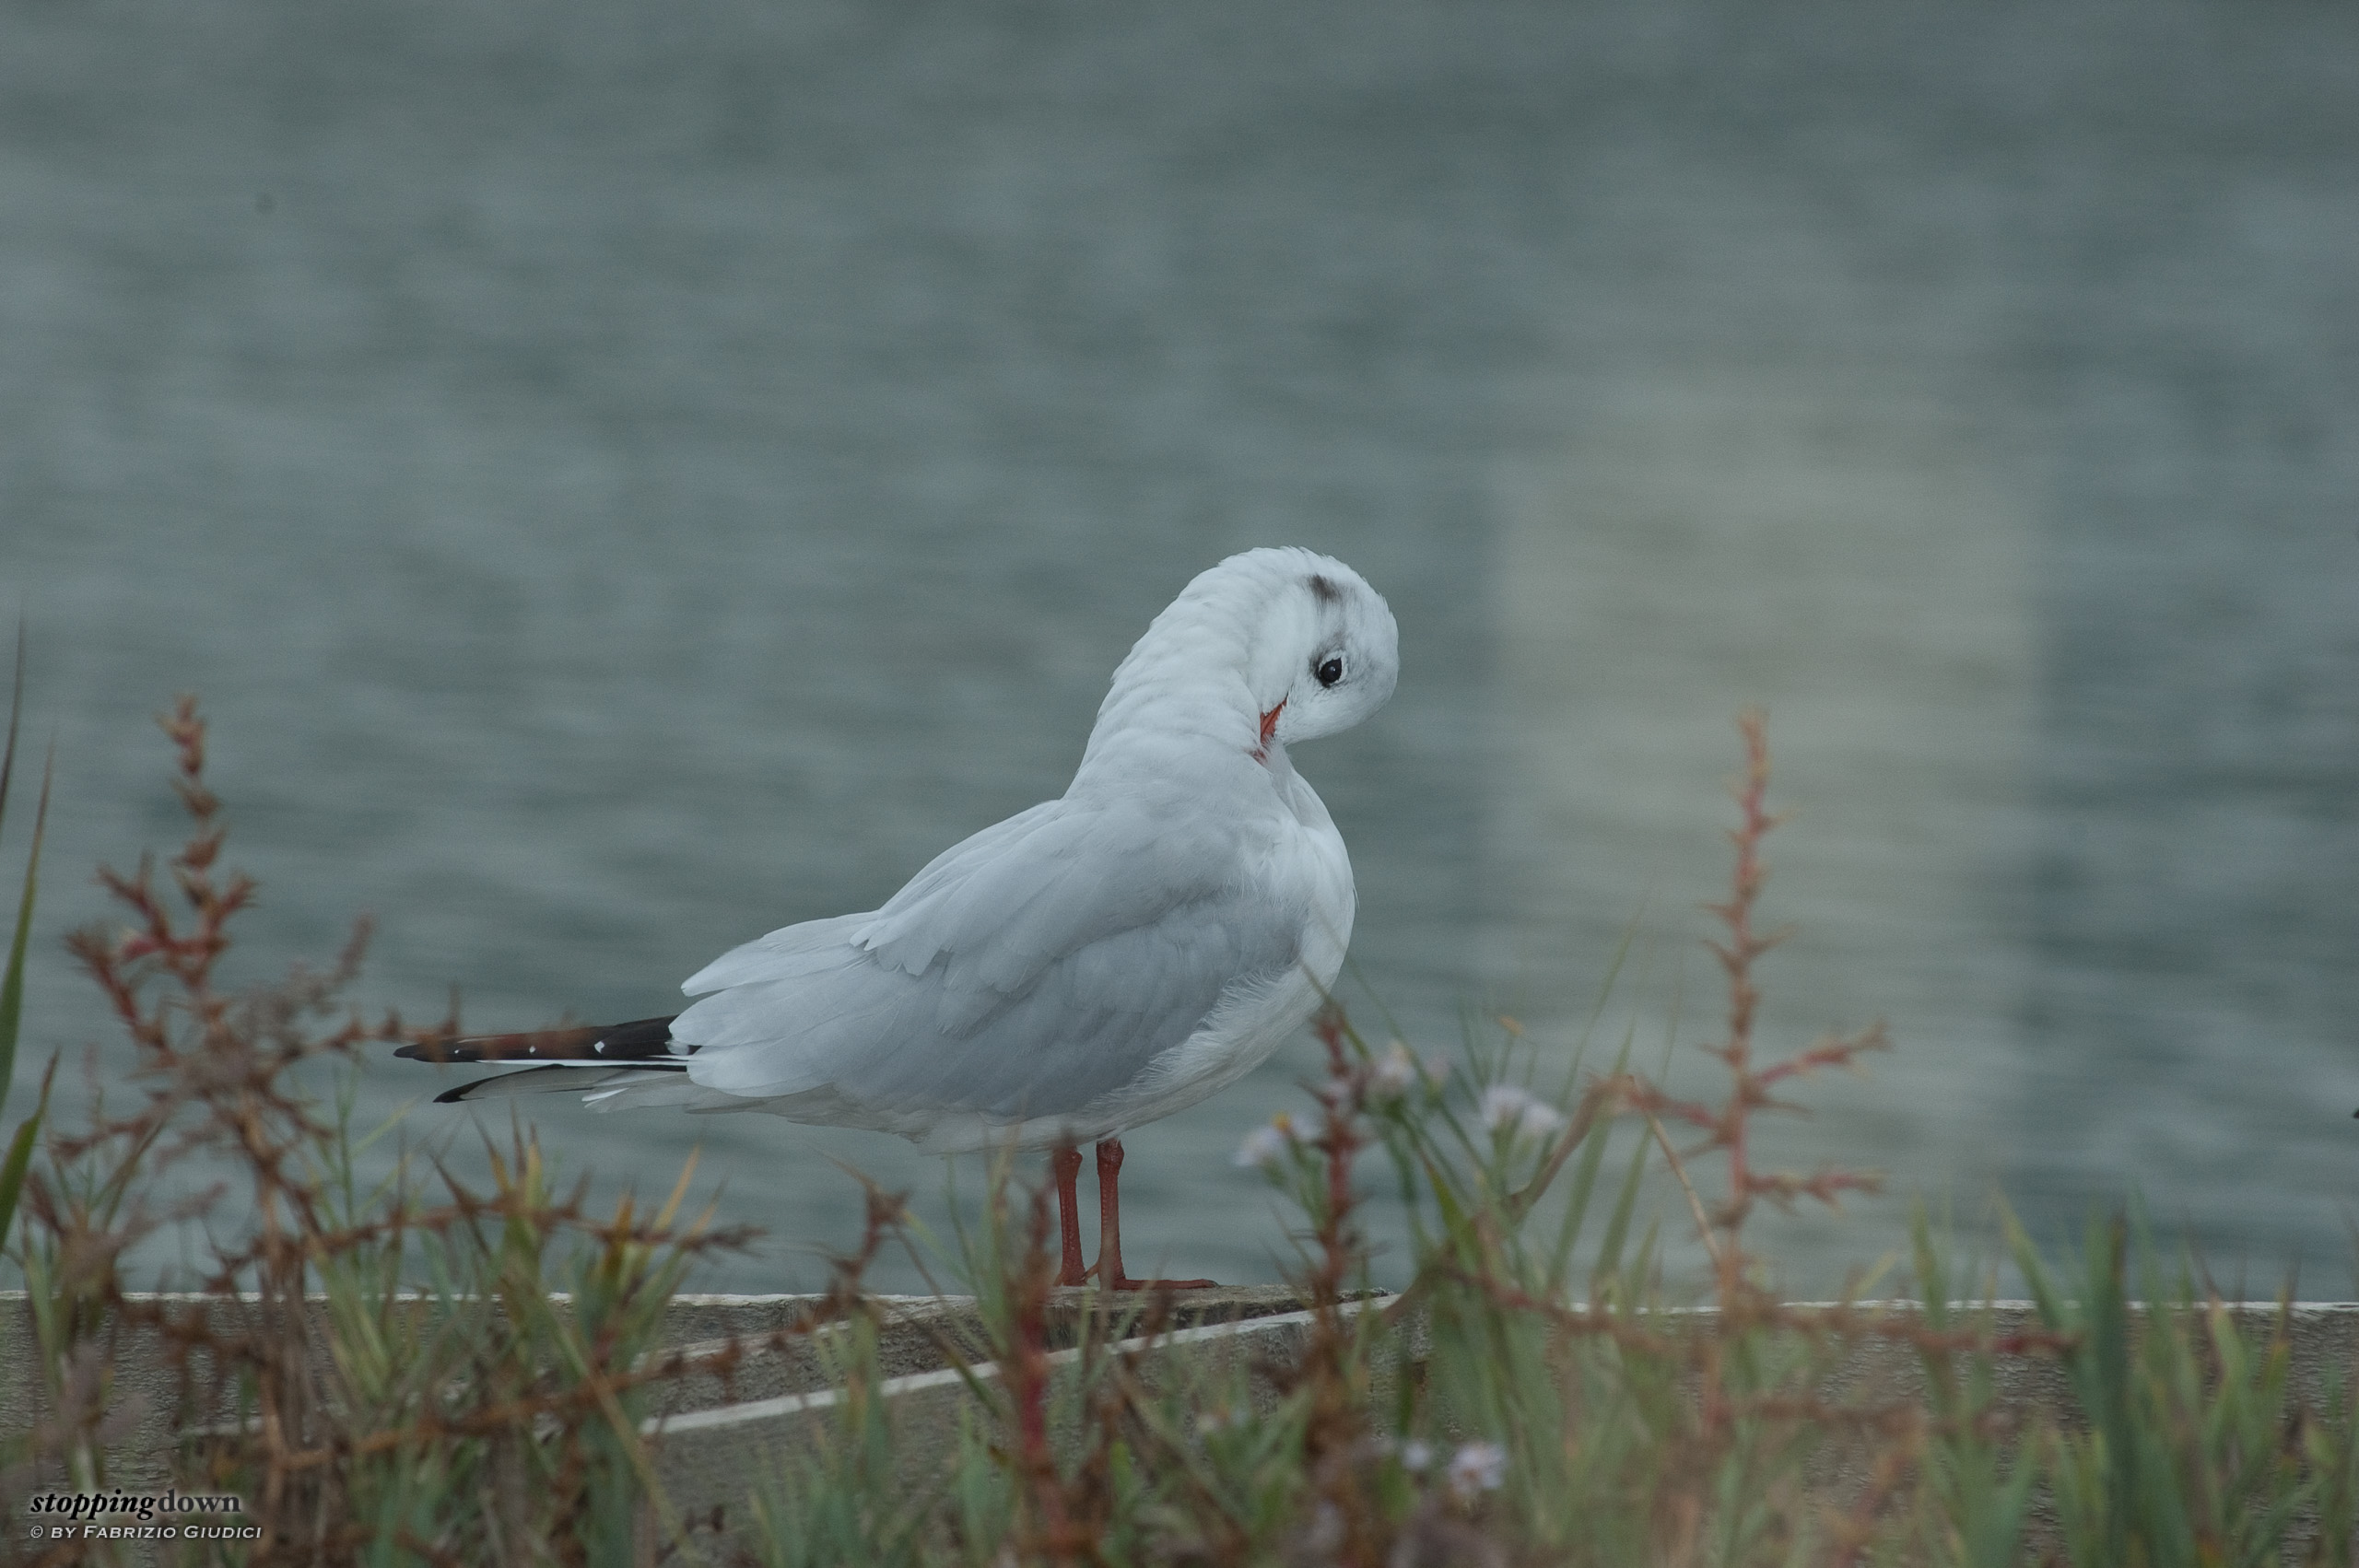
As a final note, pay special attention to foreign objects between you and your subject, such as grass, fences, nets or similar stuff. If they are quite close to you, they will be blurred away by the limited depth of field of your telephoto lens, so that they could be not a problem per se; but, unfortunately, they will become really bright because of the light of your flash (remember the old rule: the closer the object, the brighter it gets). So it's very easy to ruin a photo, such as the example below — and you'll not notice it in the viewfinder, since when you are looking in the viewfinder the flash unit is obviously off.